
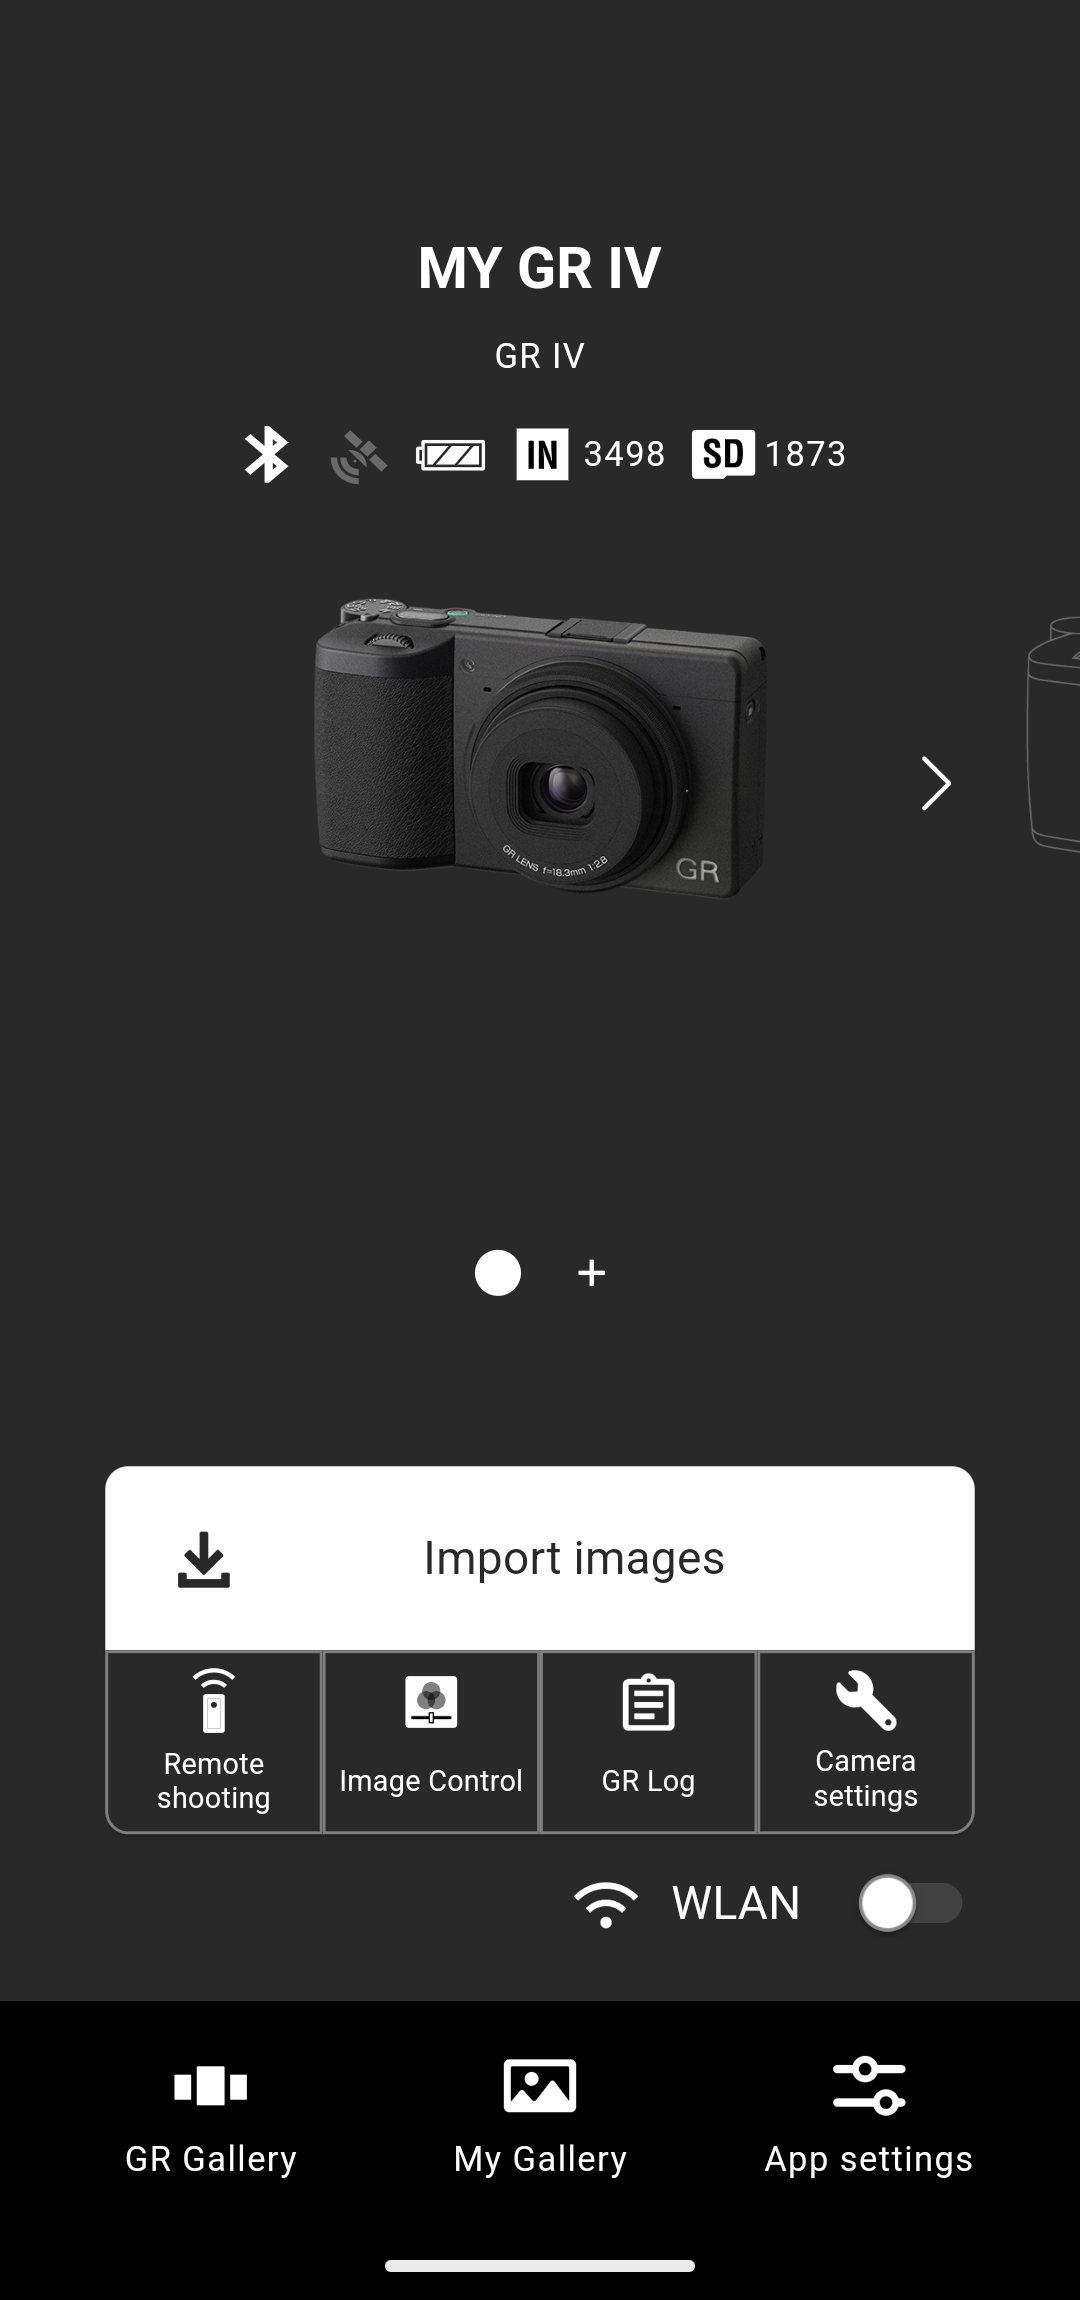
1. Tap [Import images] on the home screen.
The Image Control save/write function is available on the GR IV (firmware version 1.04 or later). The GR III, GR IIIx, and GR II do not support this function.
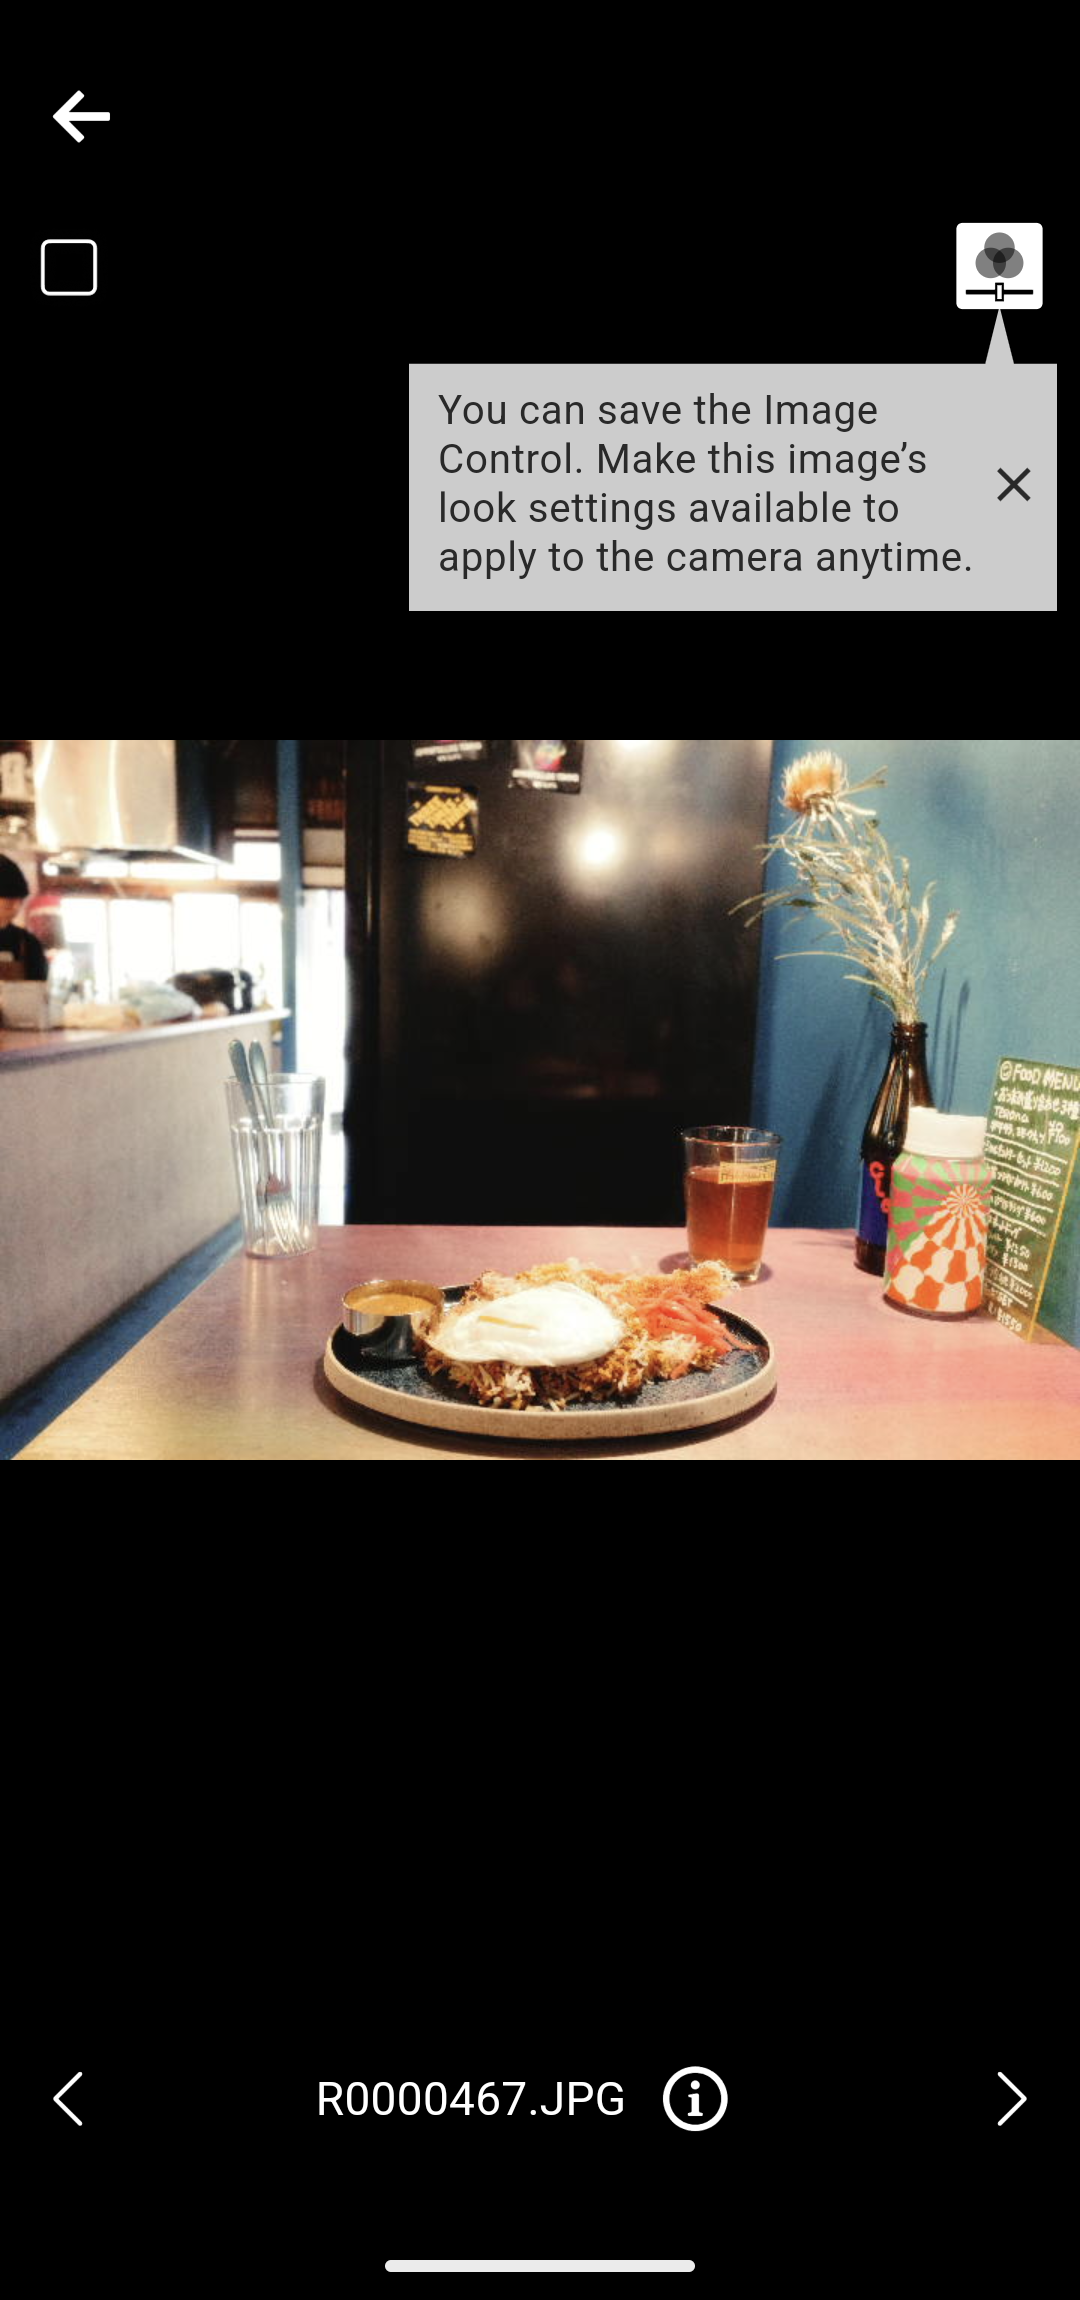
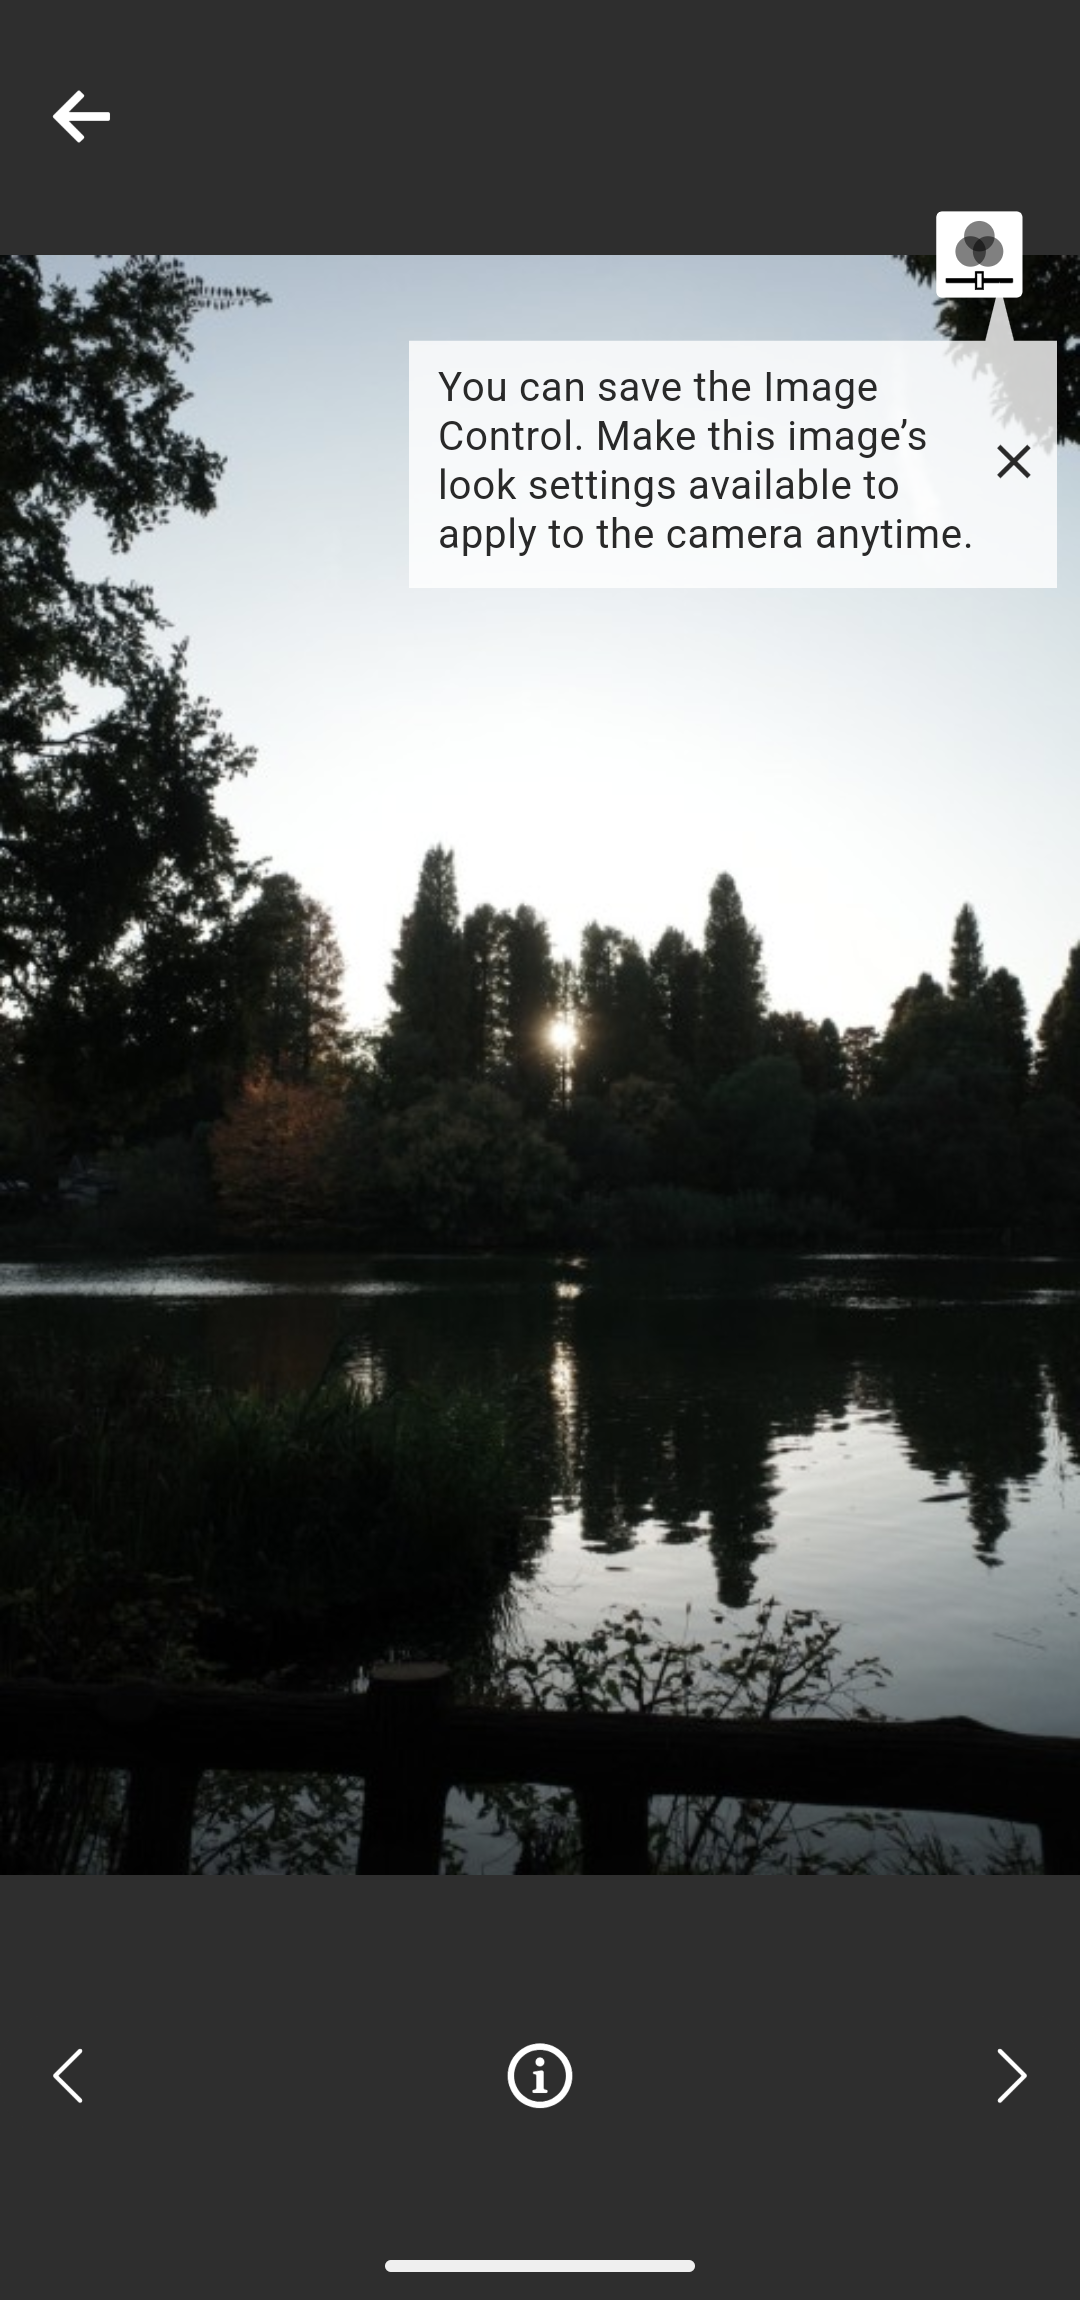
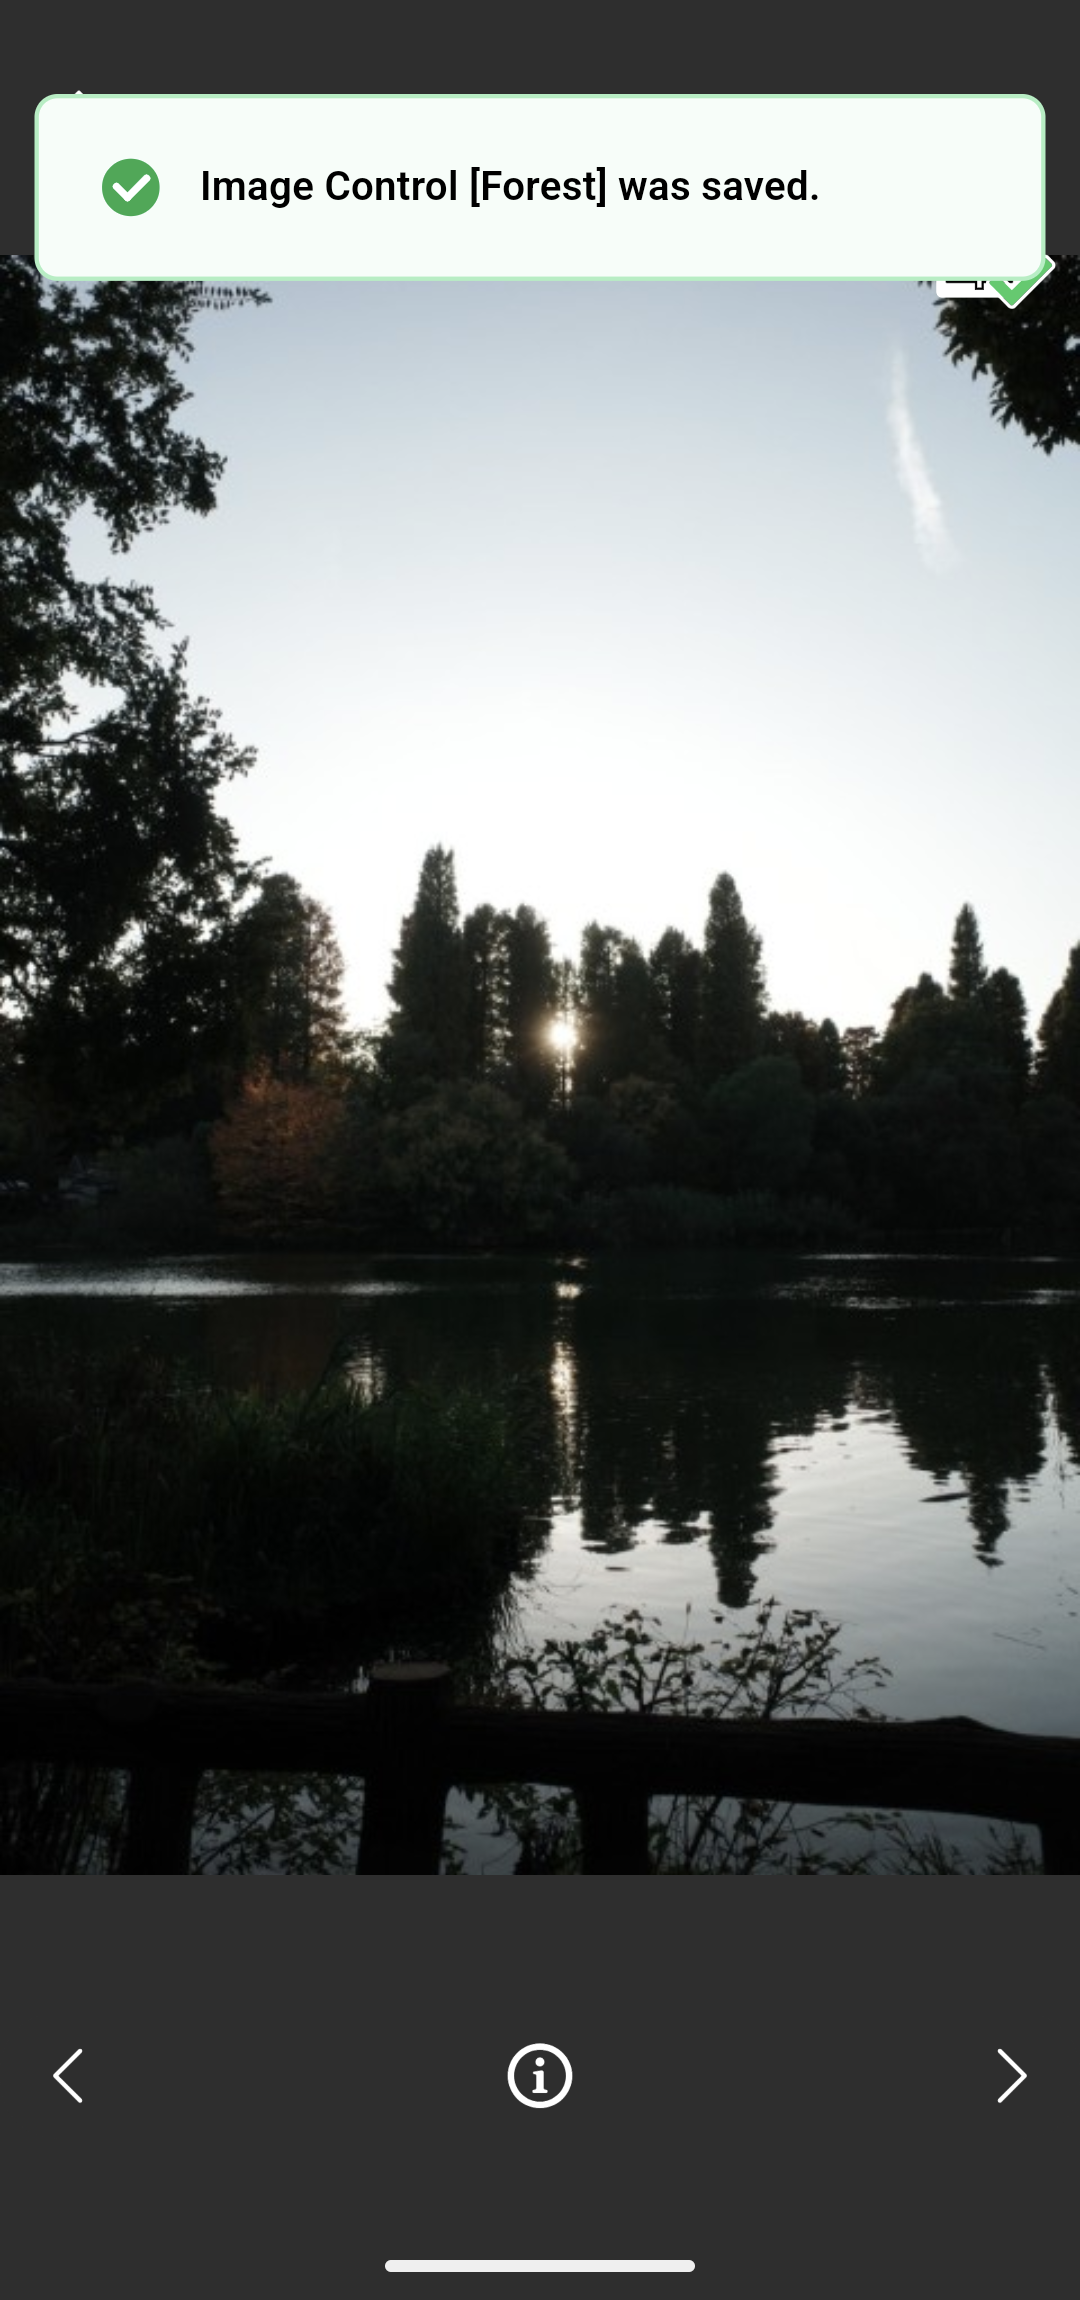
Saving the Image Control parameters
The Image Control save/write function is available on the GR IV (firmware version 1.04 or later). The GR III, GR IIIx, and GR II do not support this function.
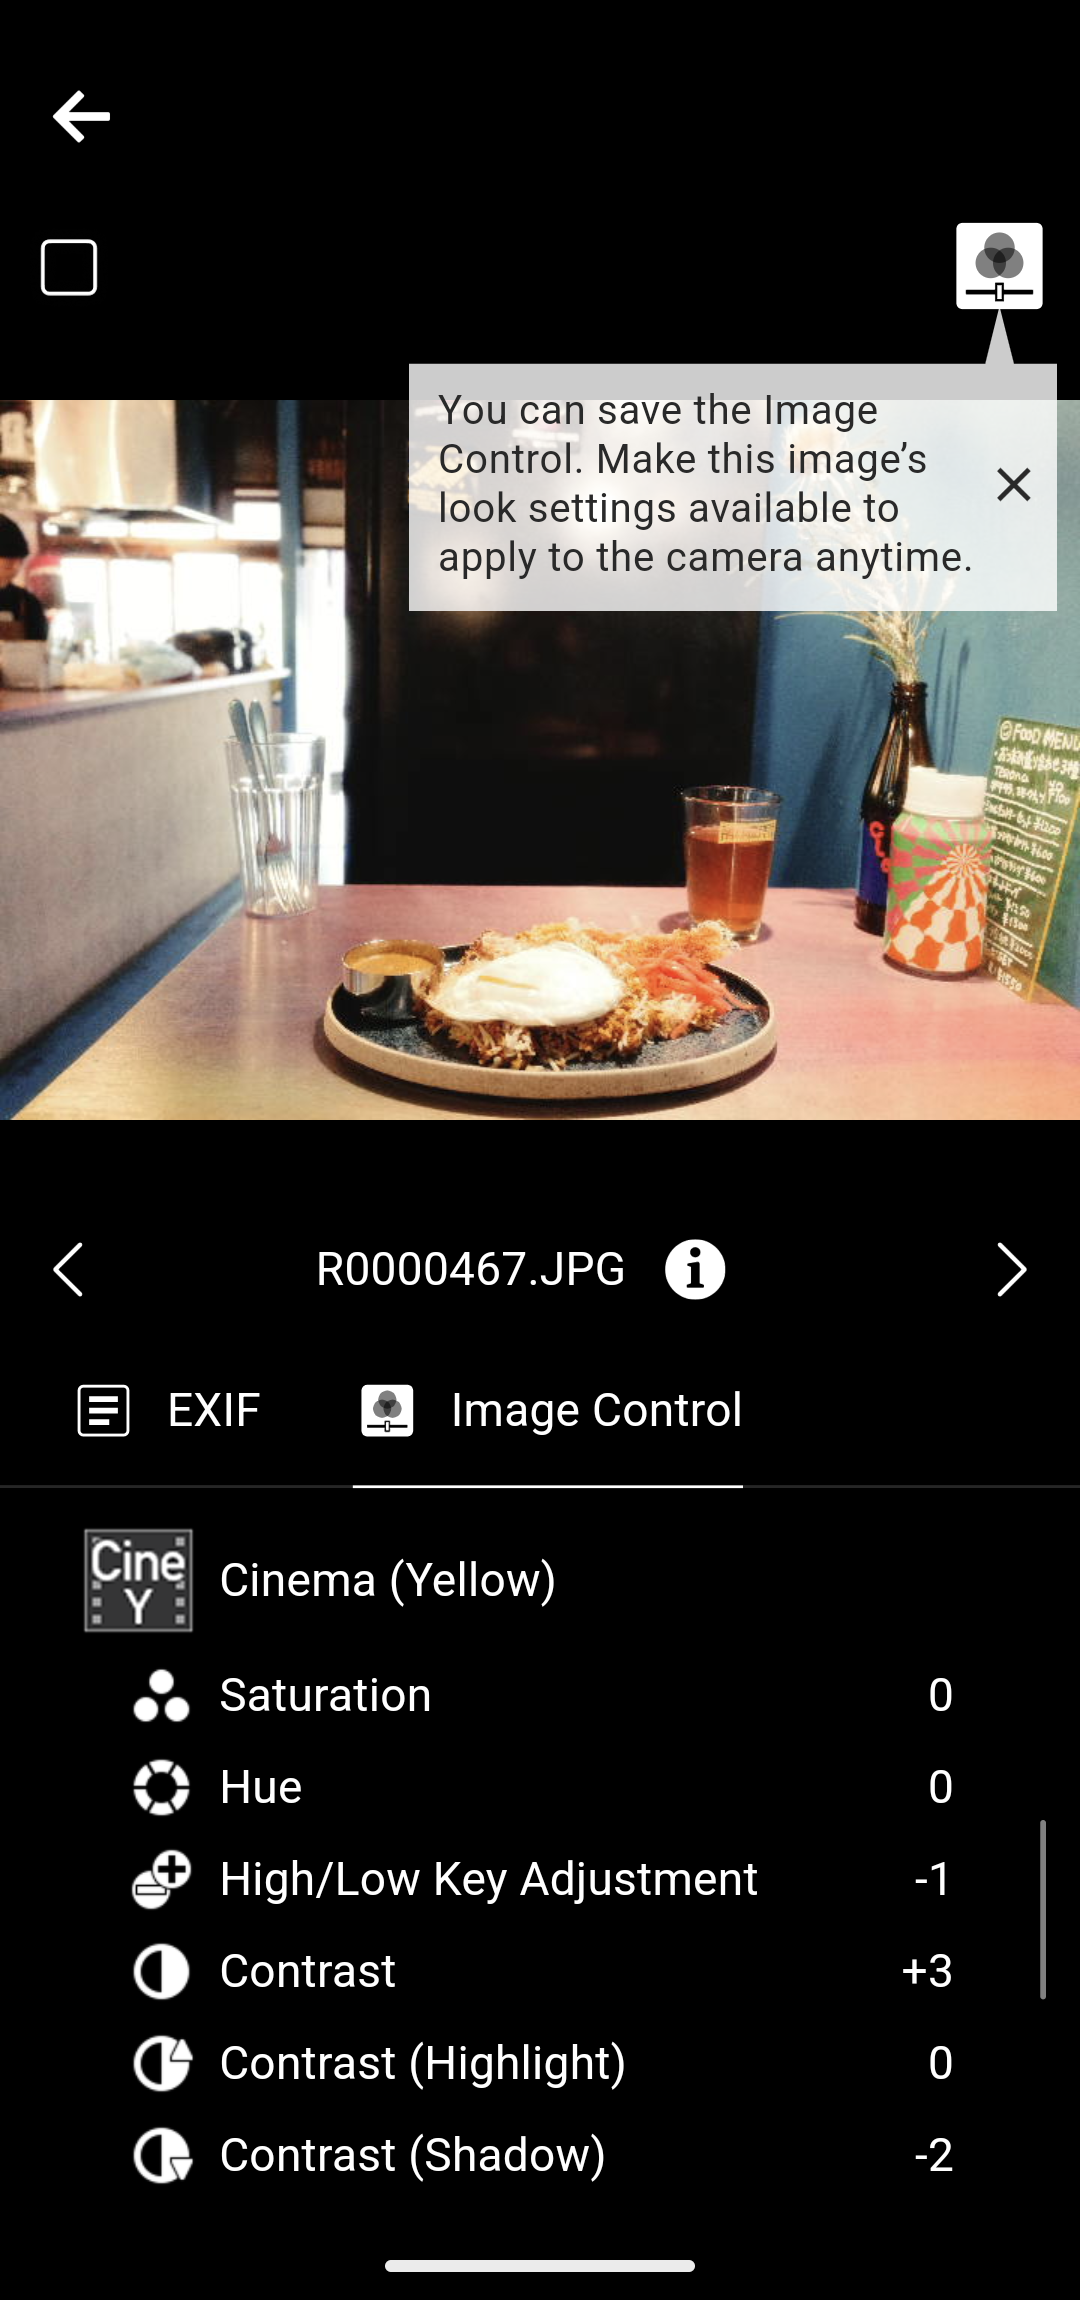
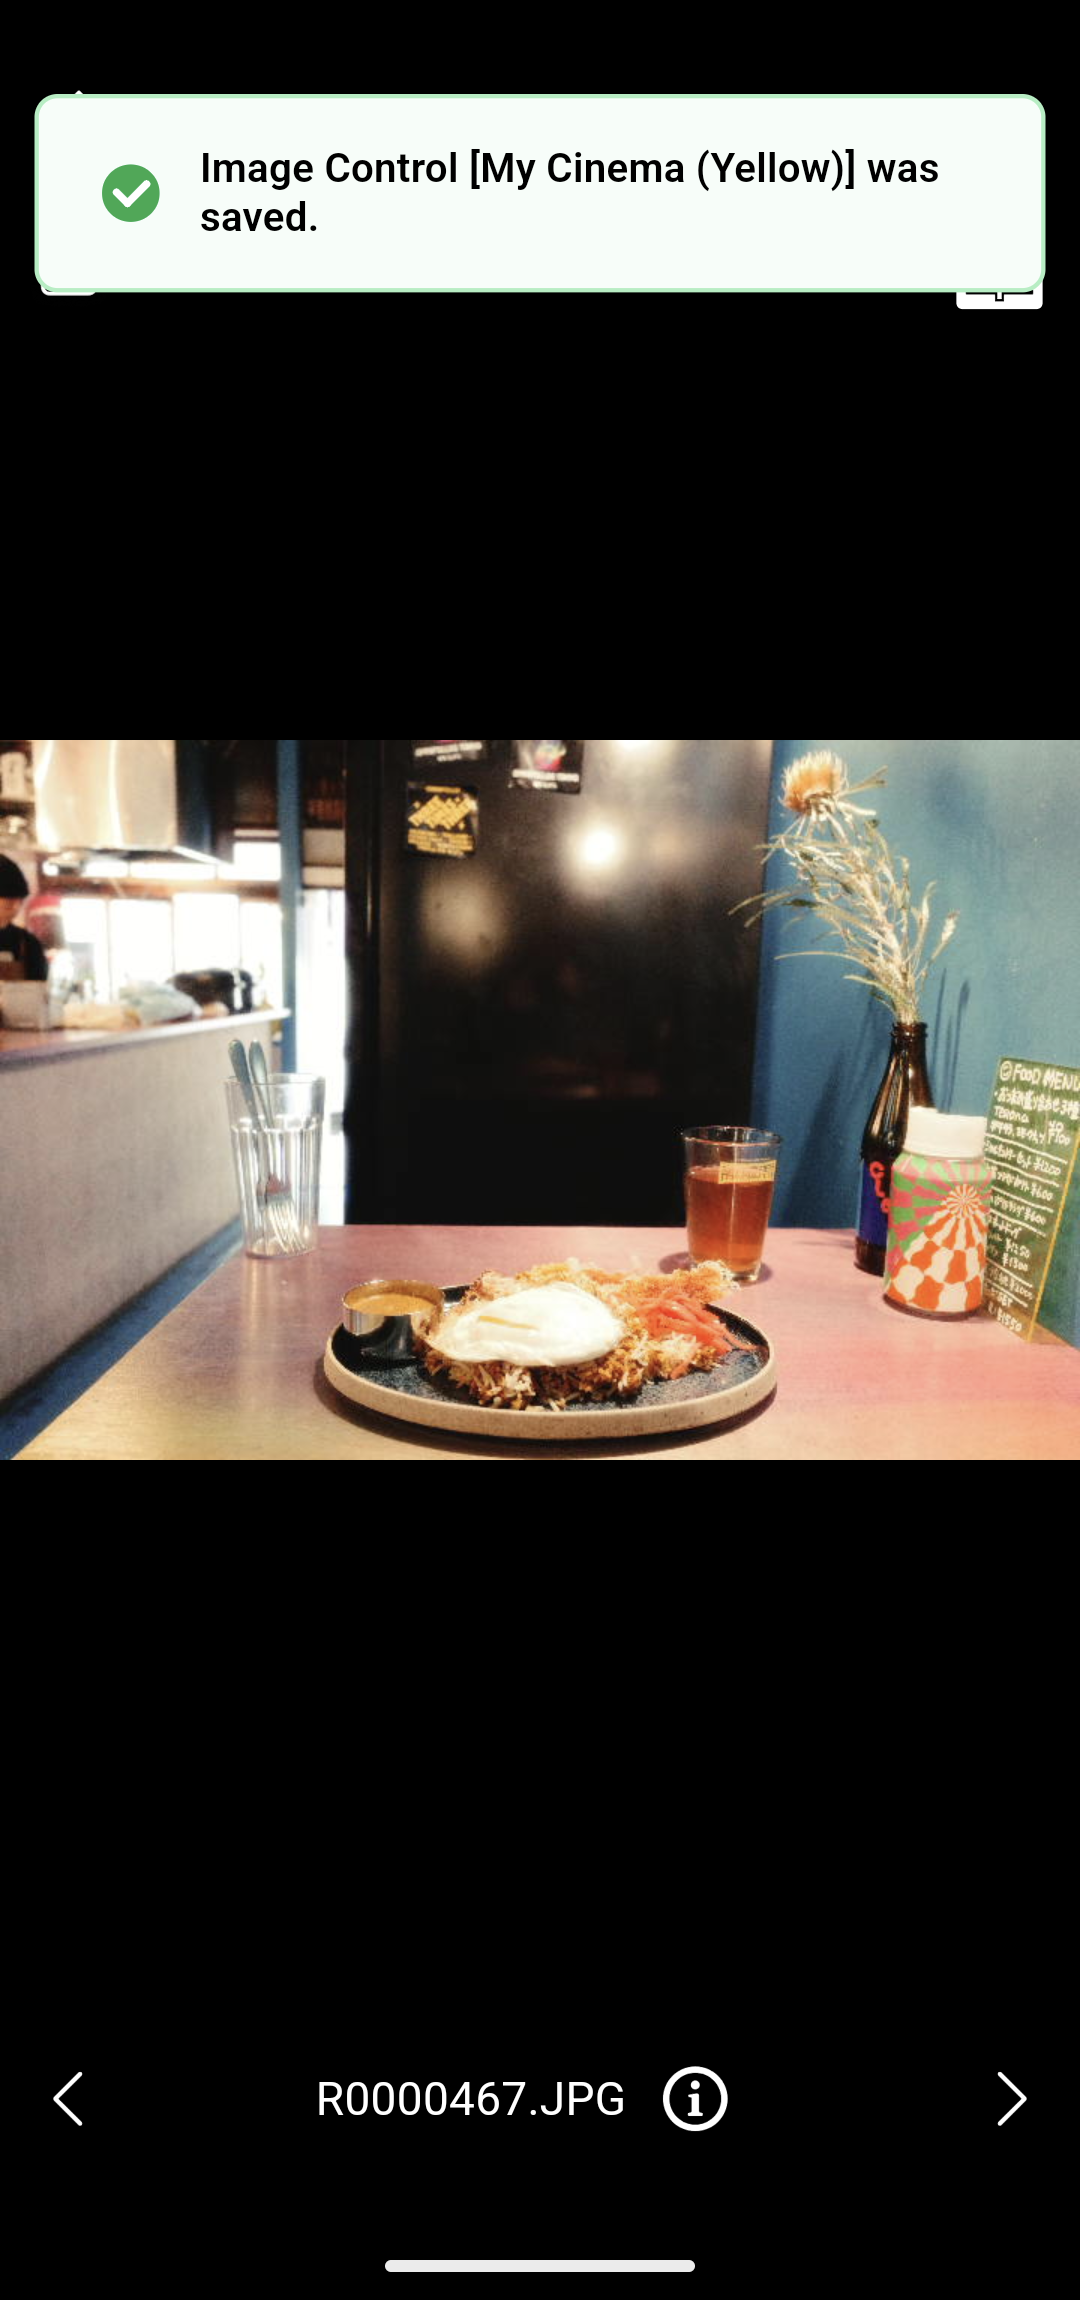
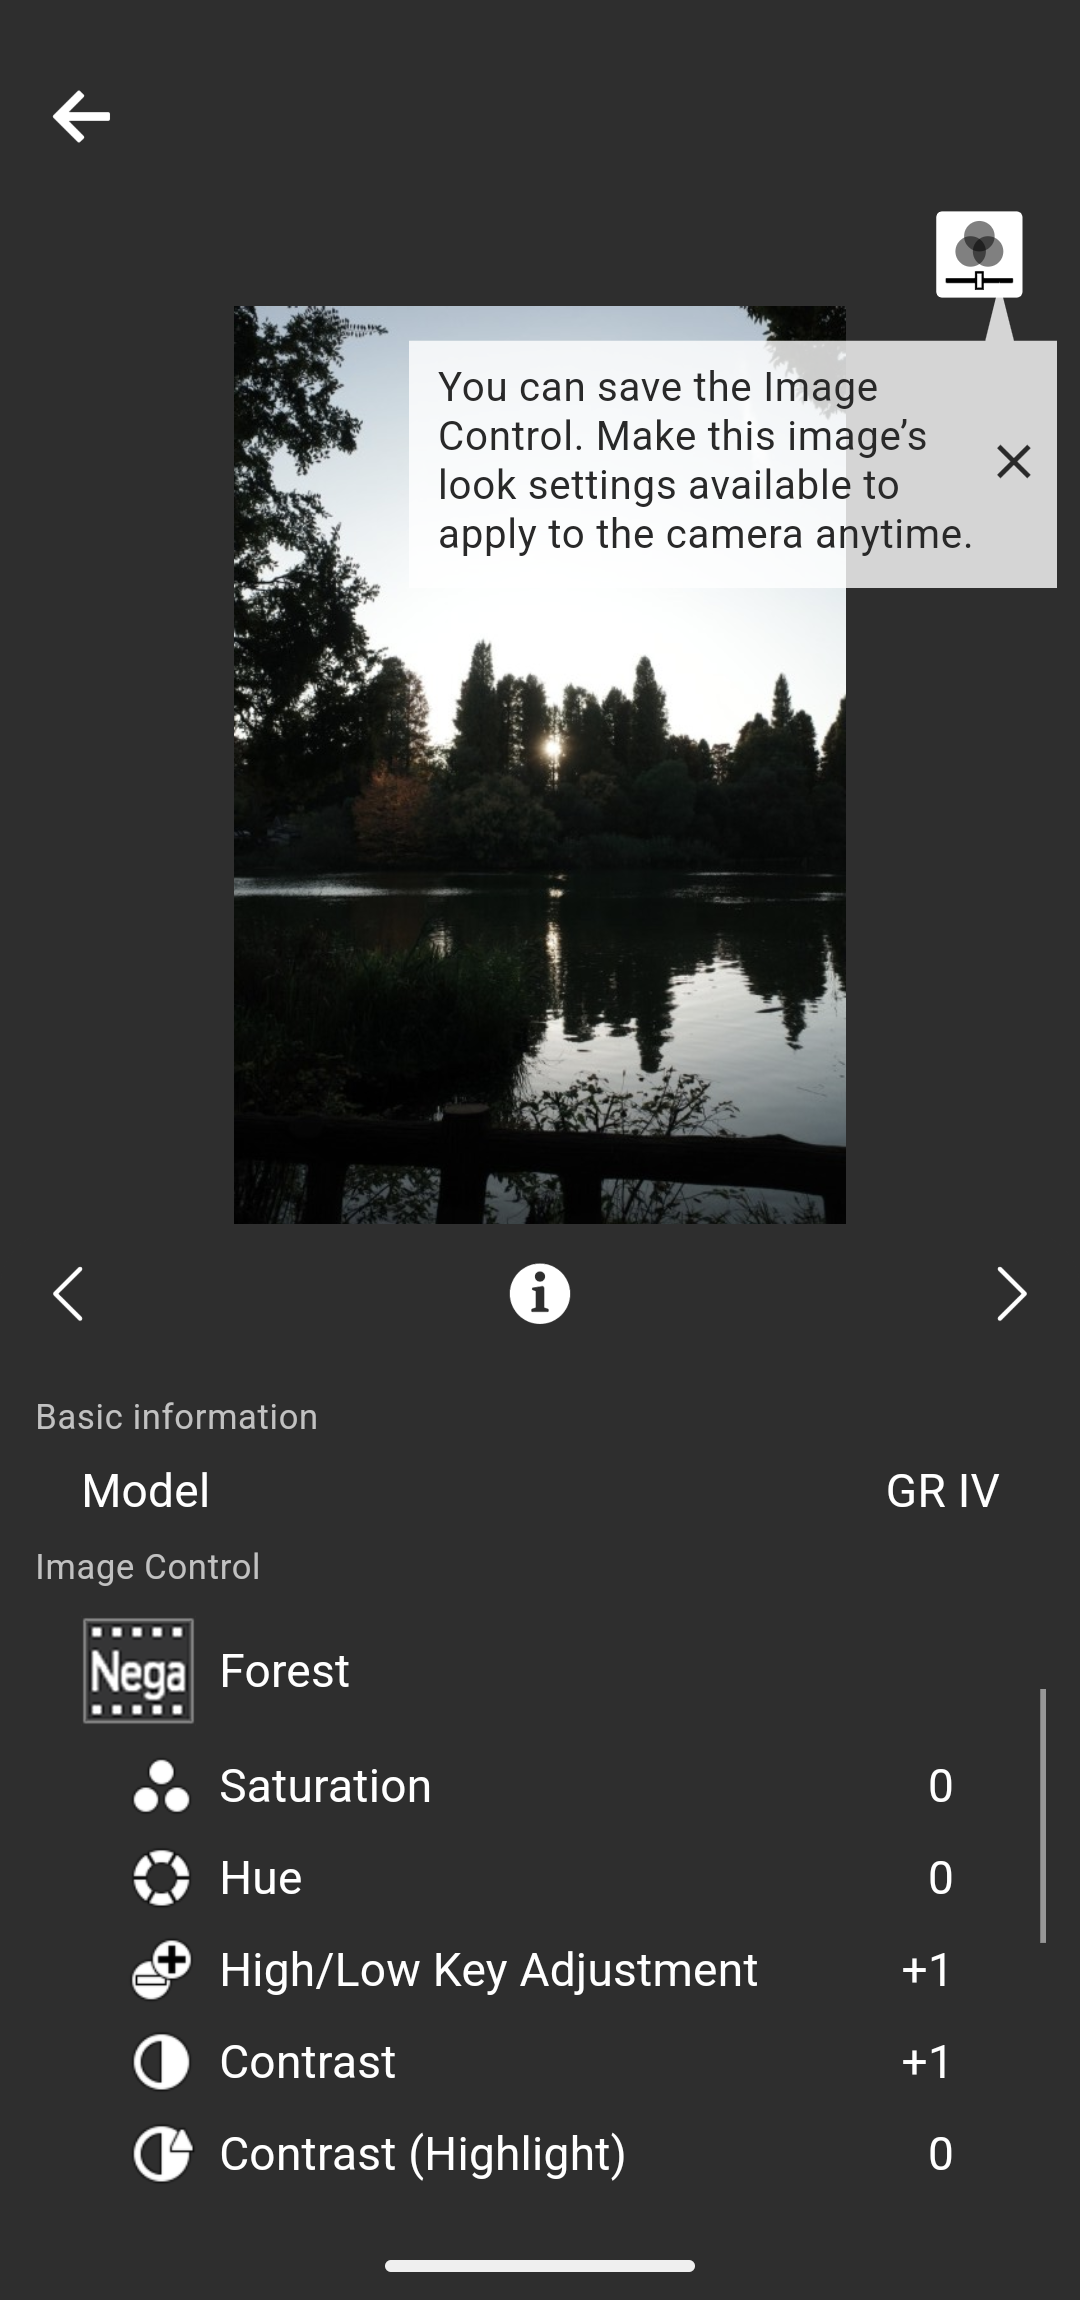
You can also tap the i button at the bottom of the screen to view the details of the Image Control.
You can save Image Controls only from images taken with the GR IV.
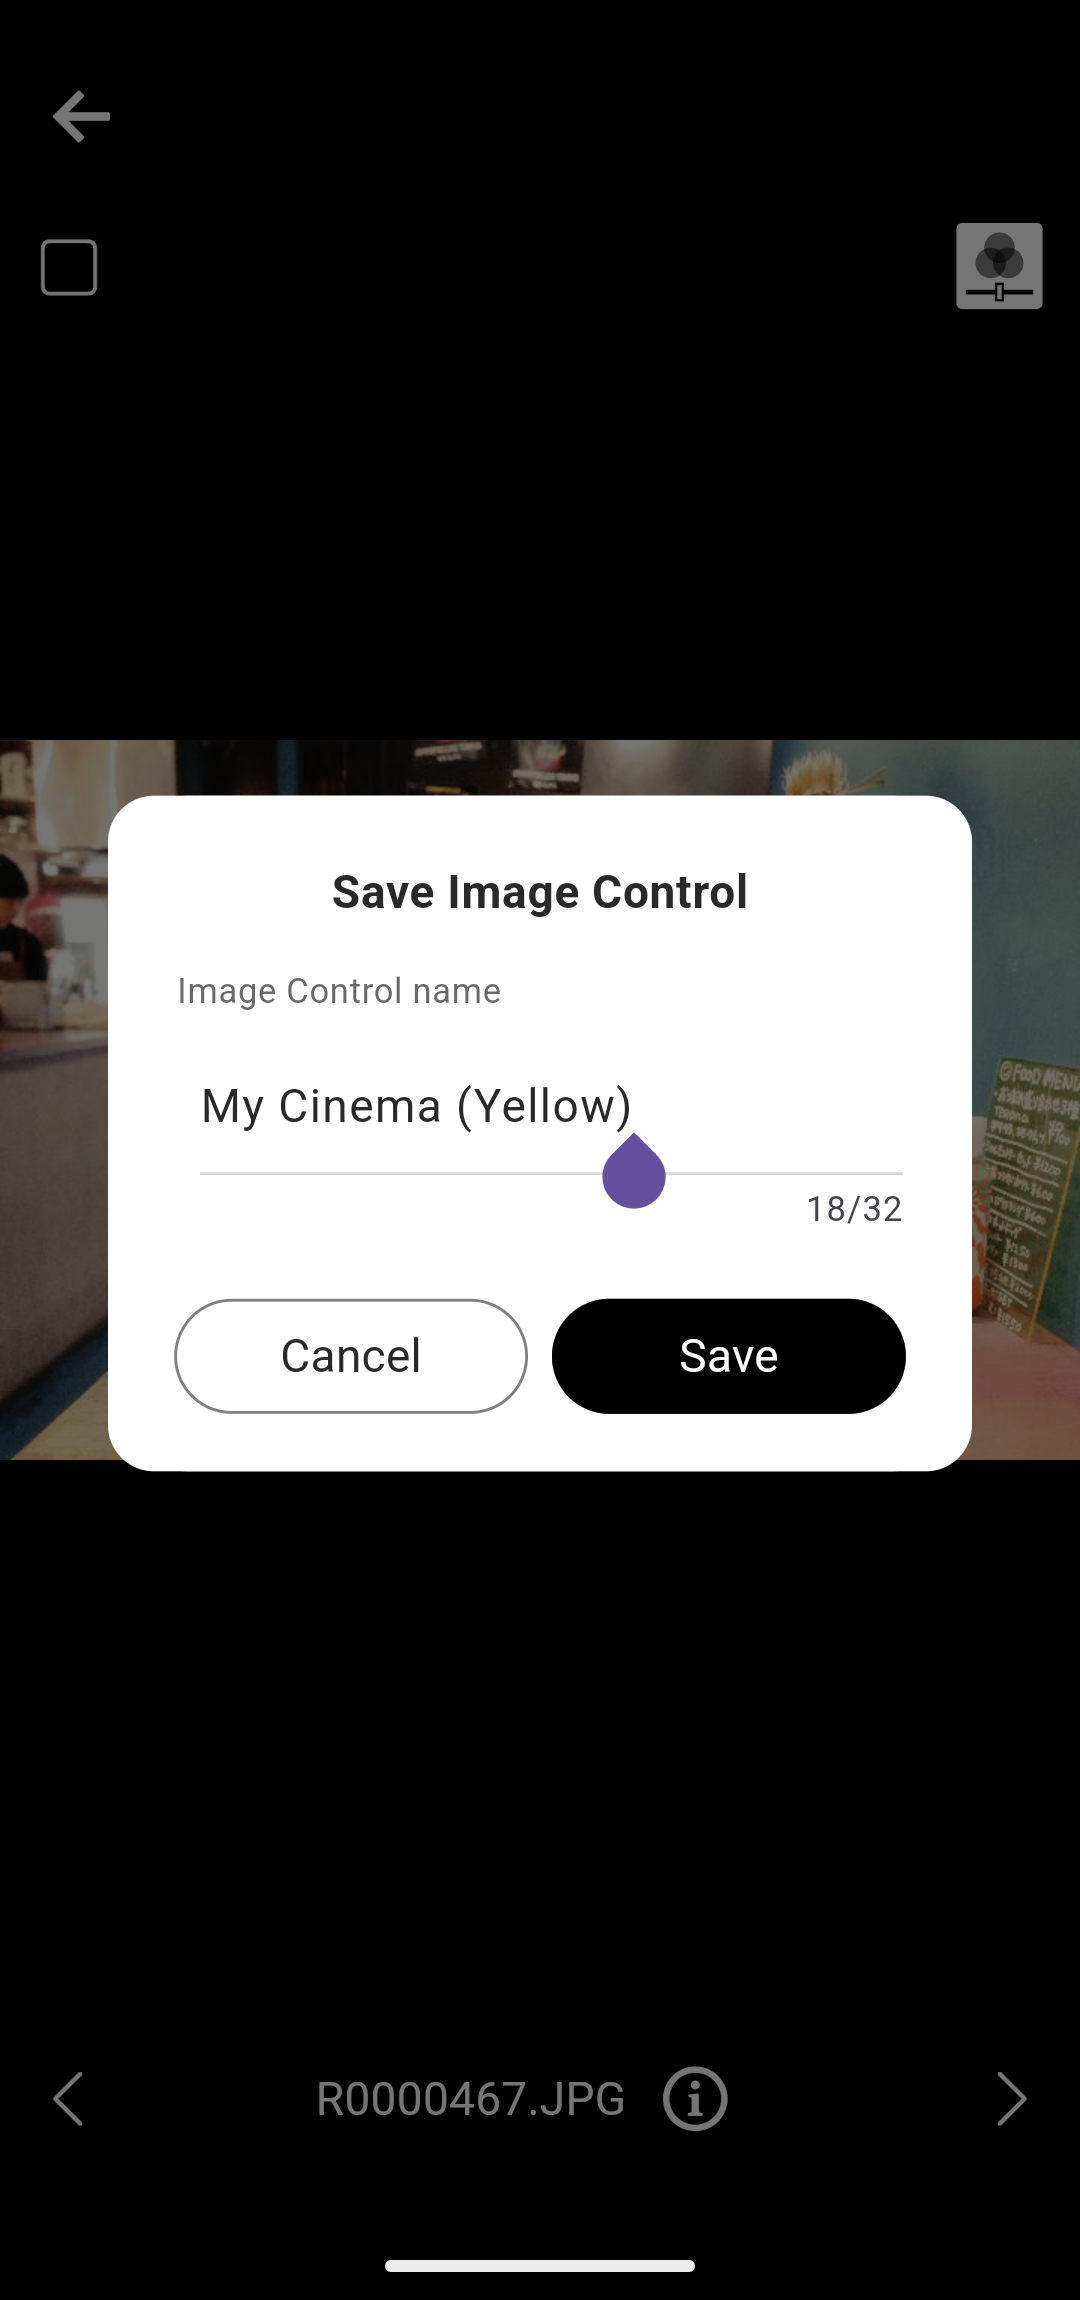
The Image Control name can be up to 32 single-byte characters long and can include alphanumeric characters and symbols.
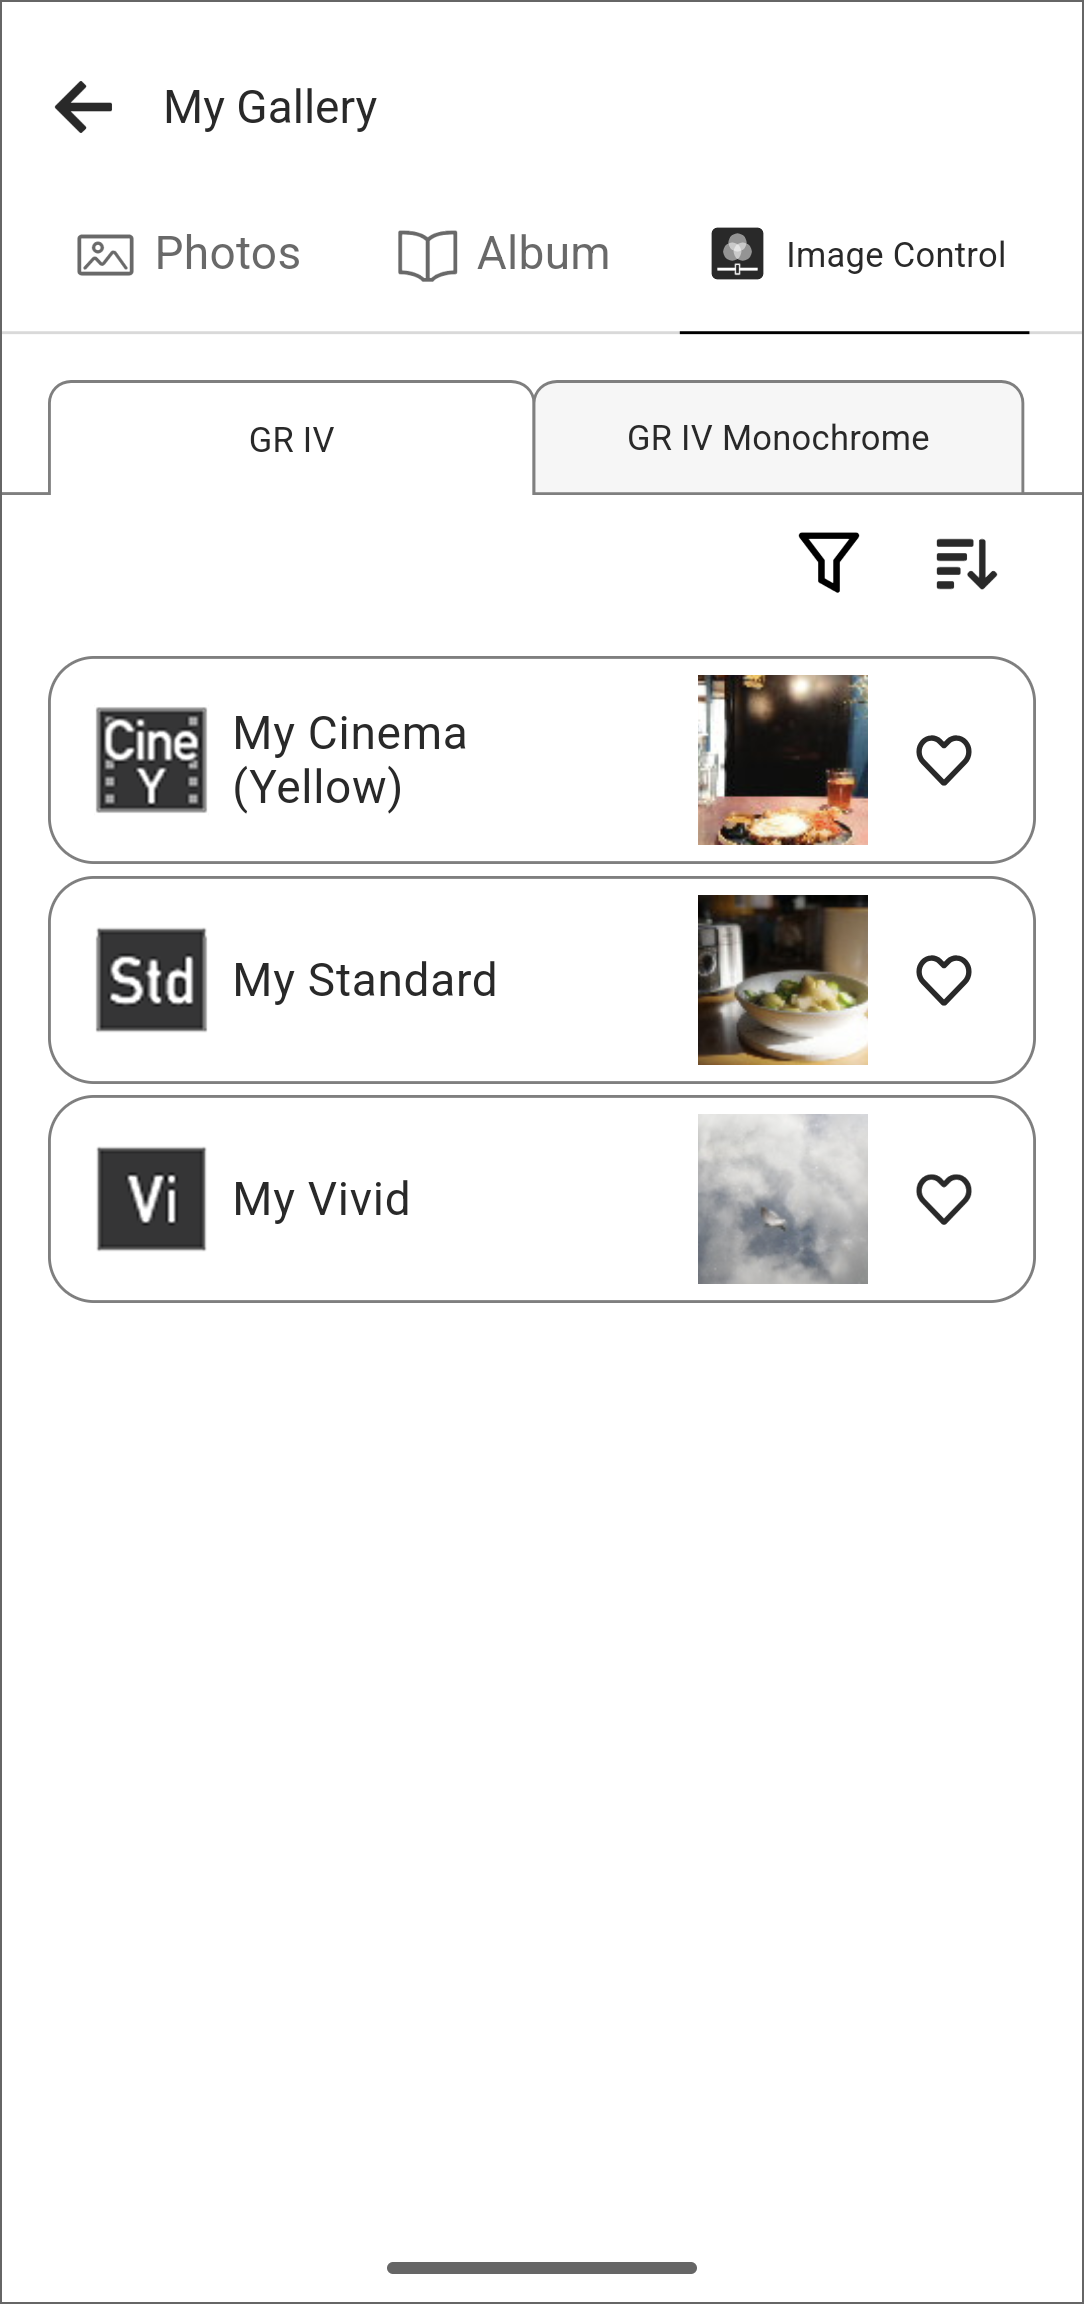

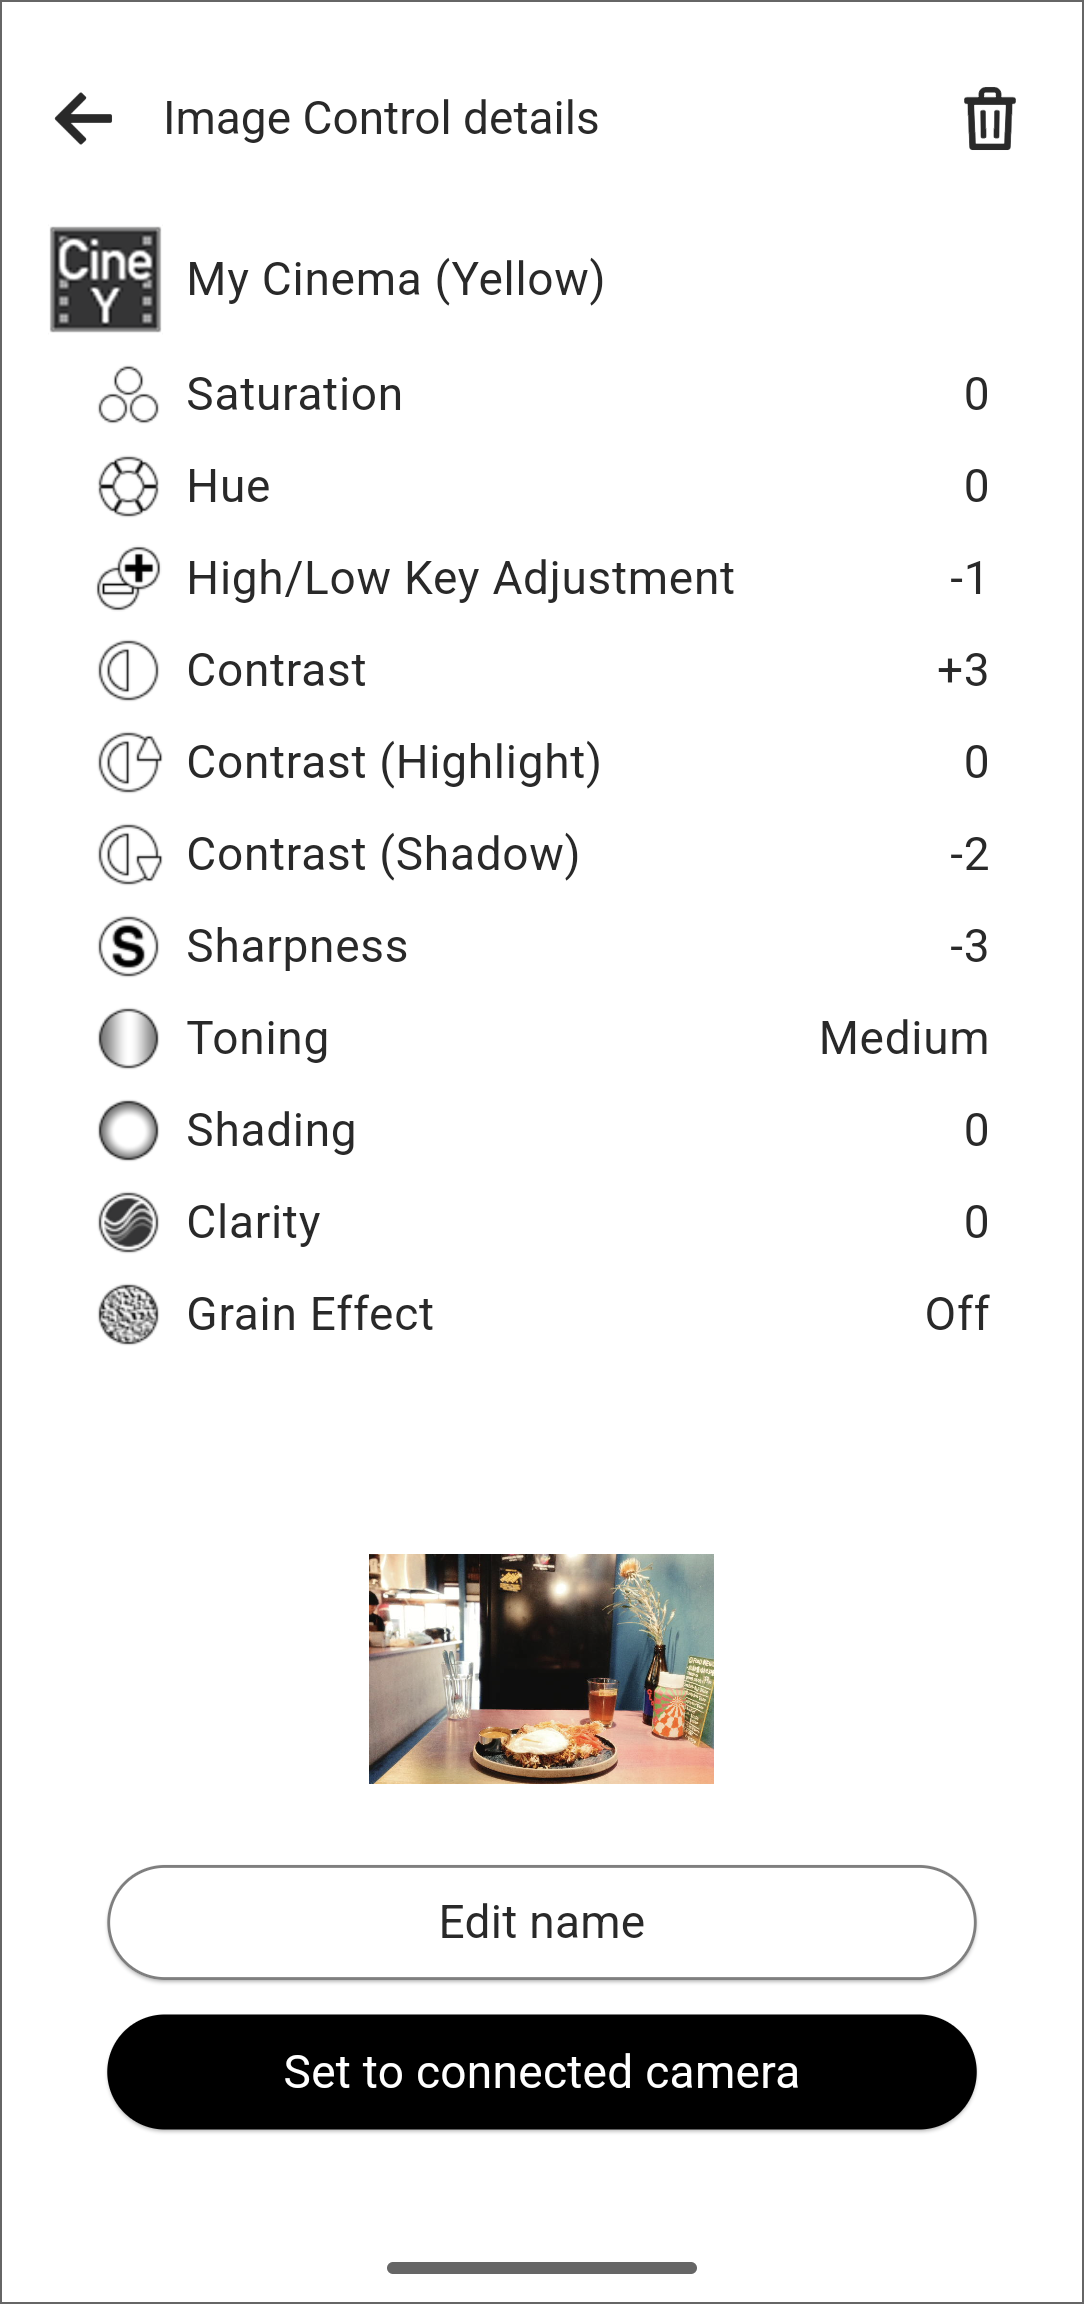
Selecting an Image Control allows you to change its name, delete it, or write it to the connected camera.
You can also tap the i button at the bottom of the screen to view the details of the Image Control.
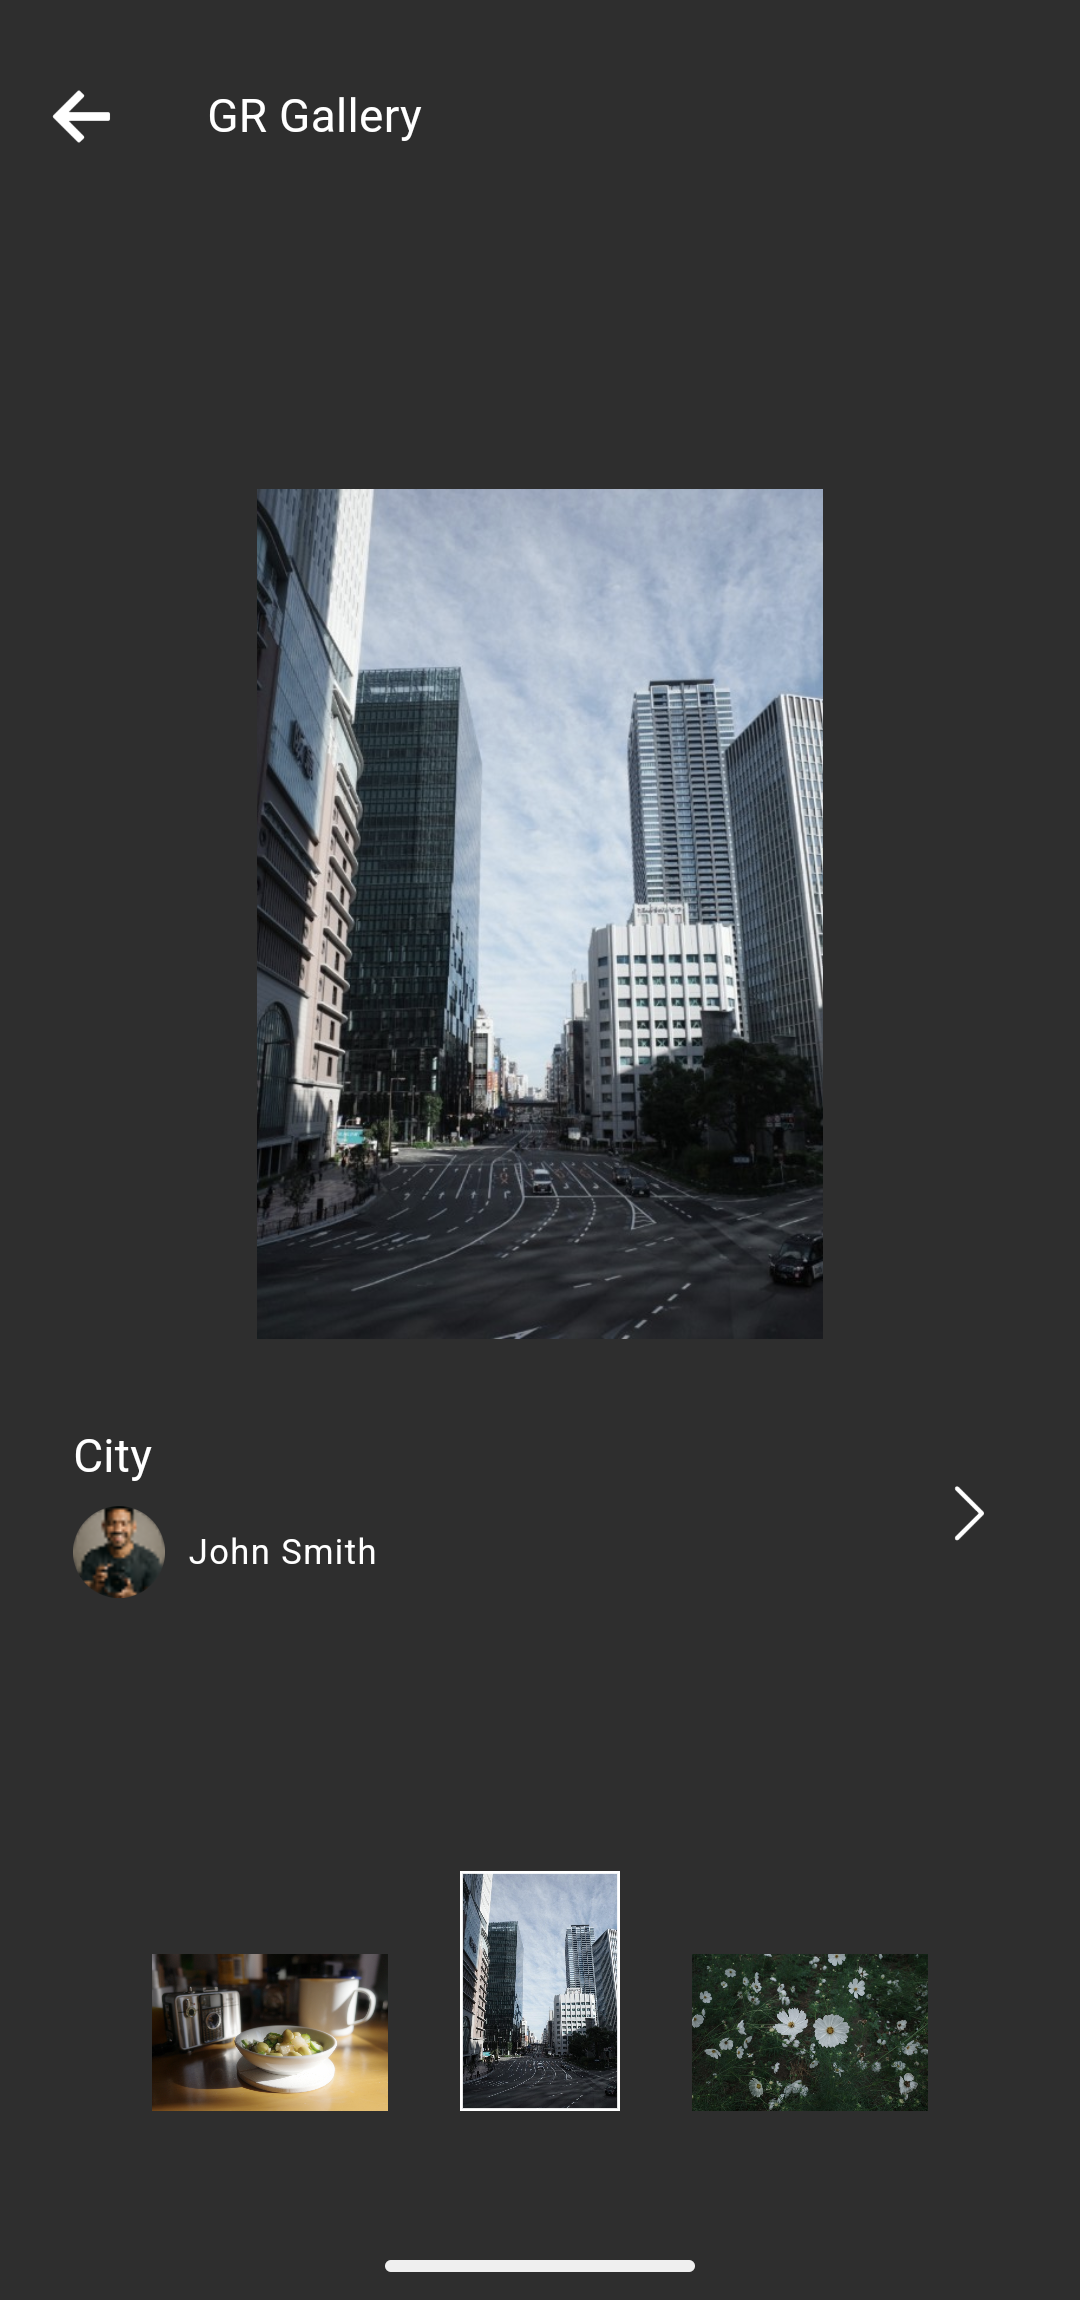
You cannot change the name of the Image Controls applied to images within the GR Gallery.
Writing the Image Control parameters
The Image Control save/write function is available on the GR IV (firmware version 1.04 or later). The GR III, GR IIIx, and GR II do not support this function.
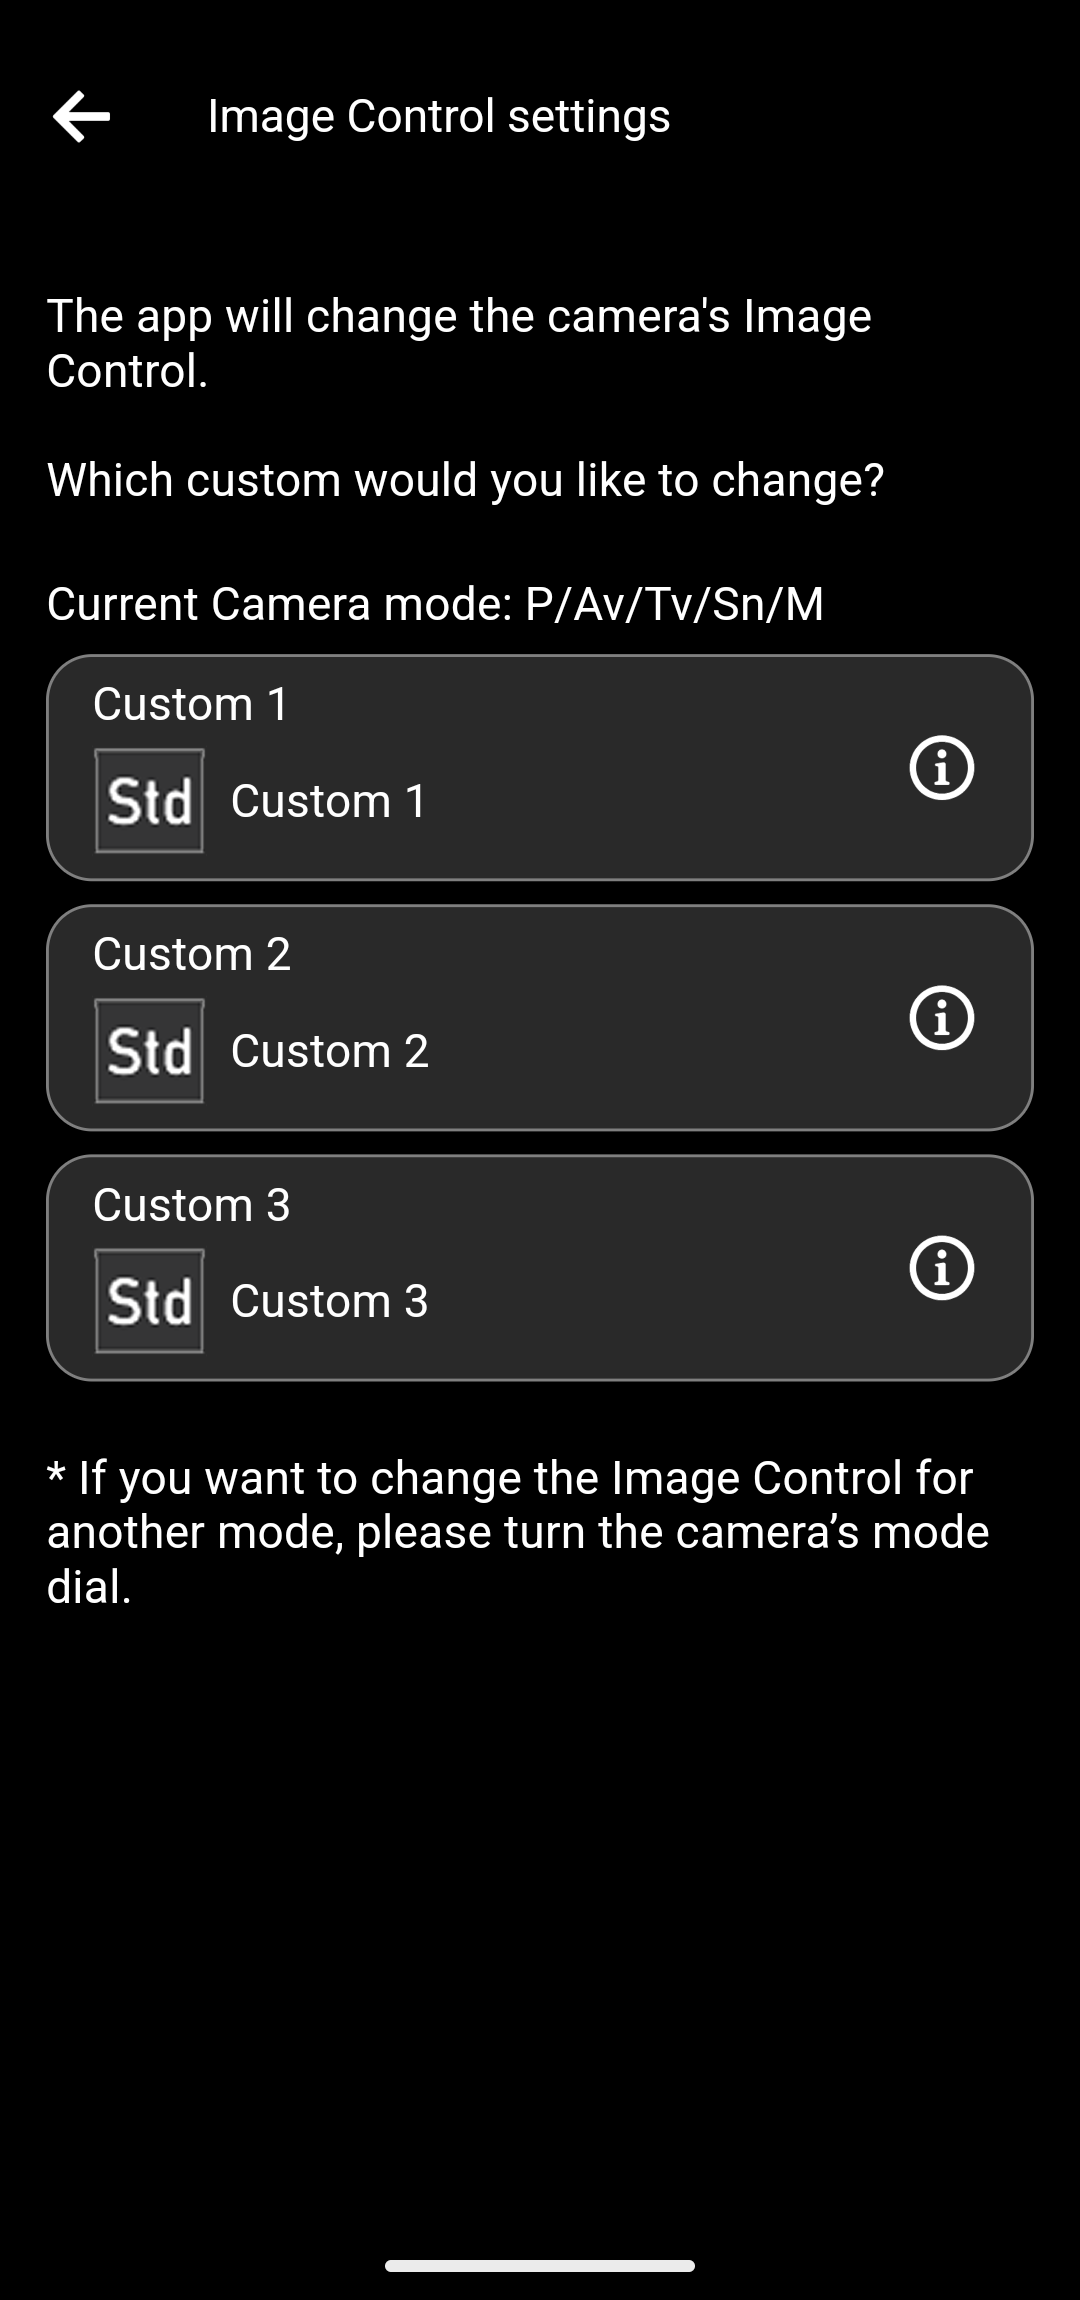
You can tap the i buttons to view the details of the Image Controls currently set on the camera.
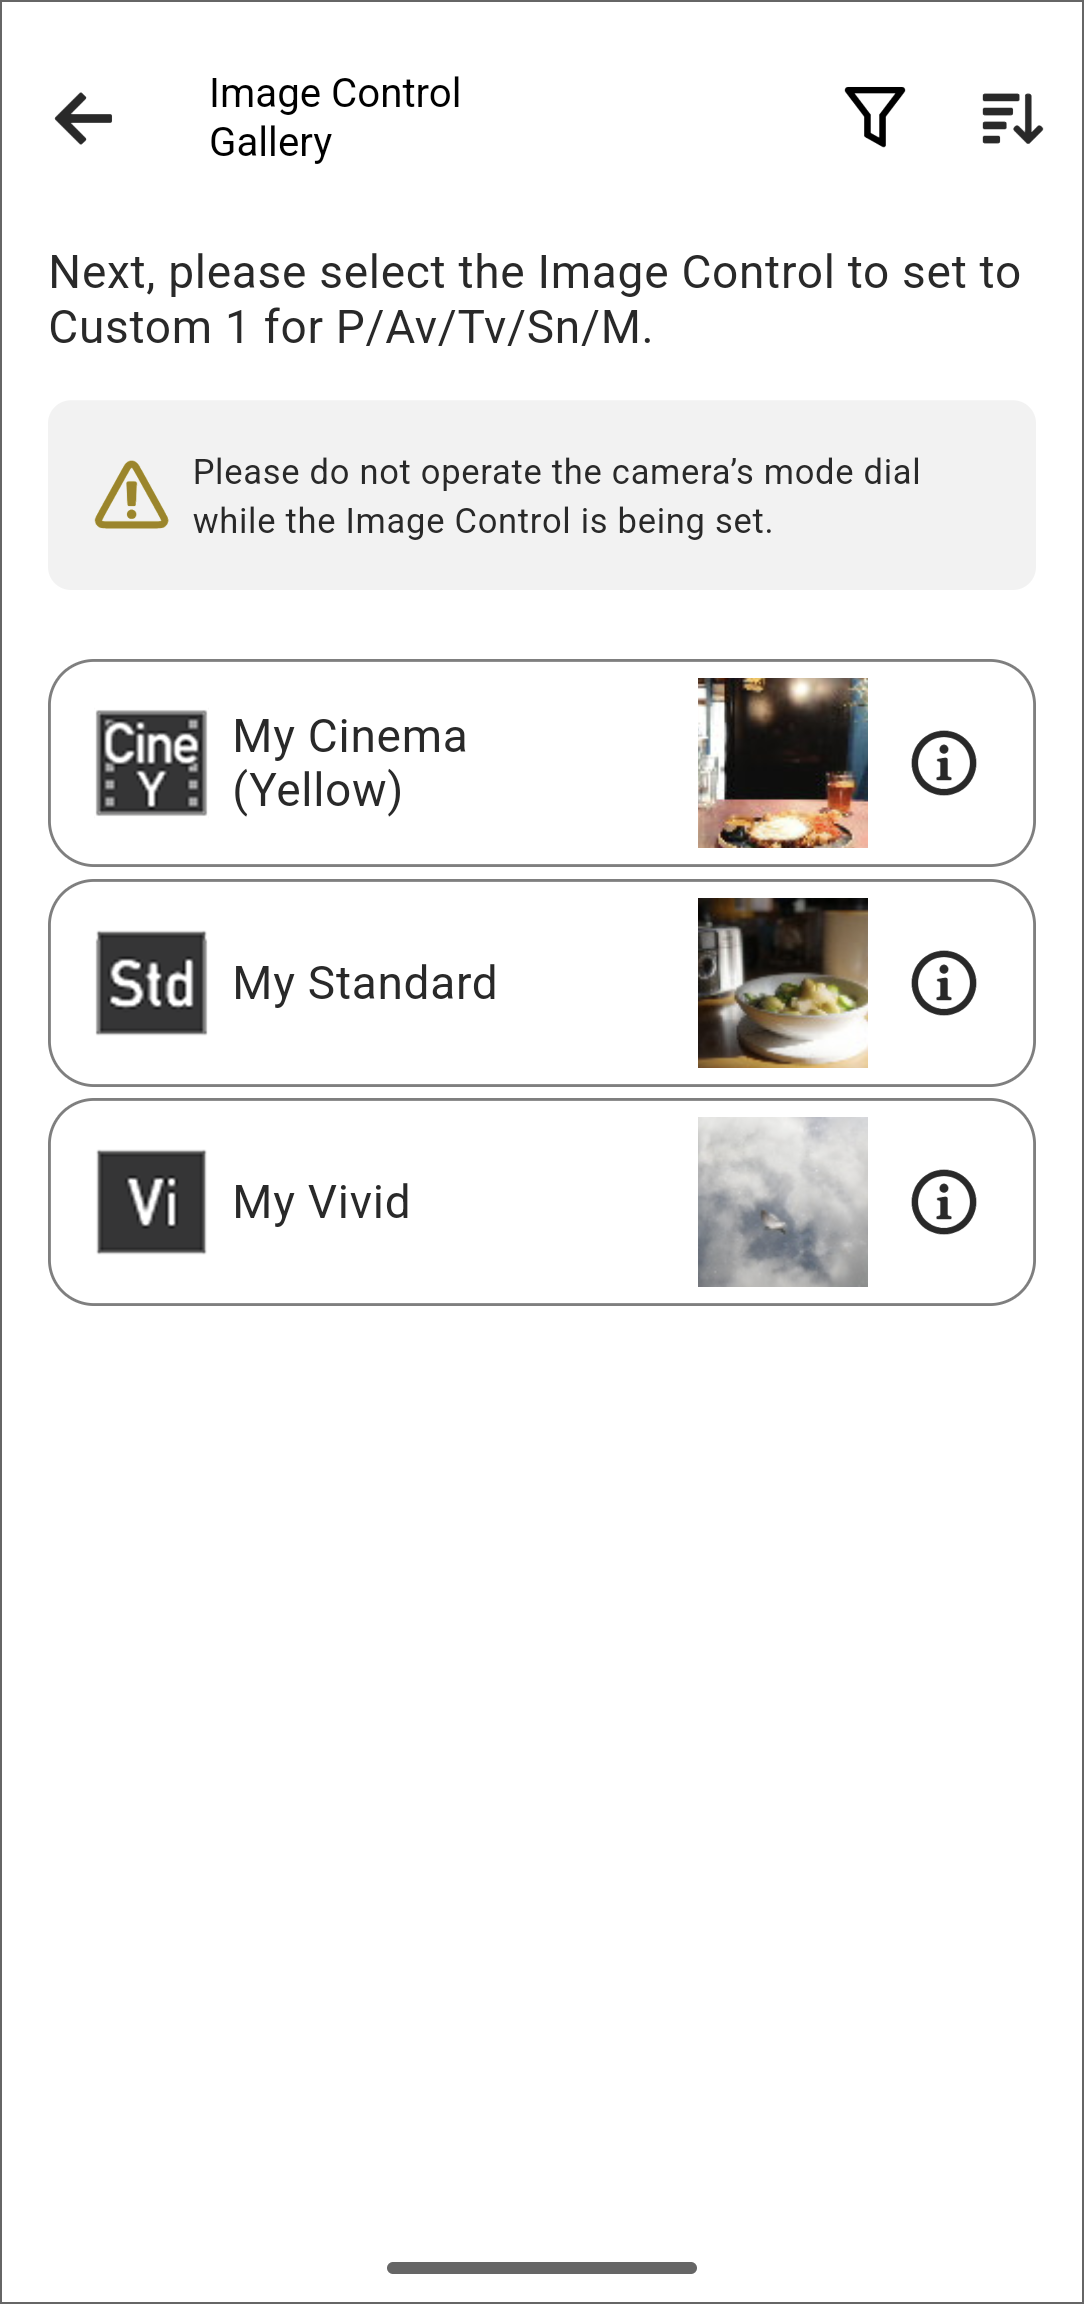
You can tap the i buttons to view the details of the Image Controls saved in the app.

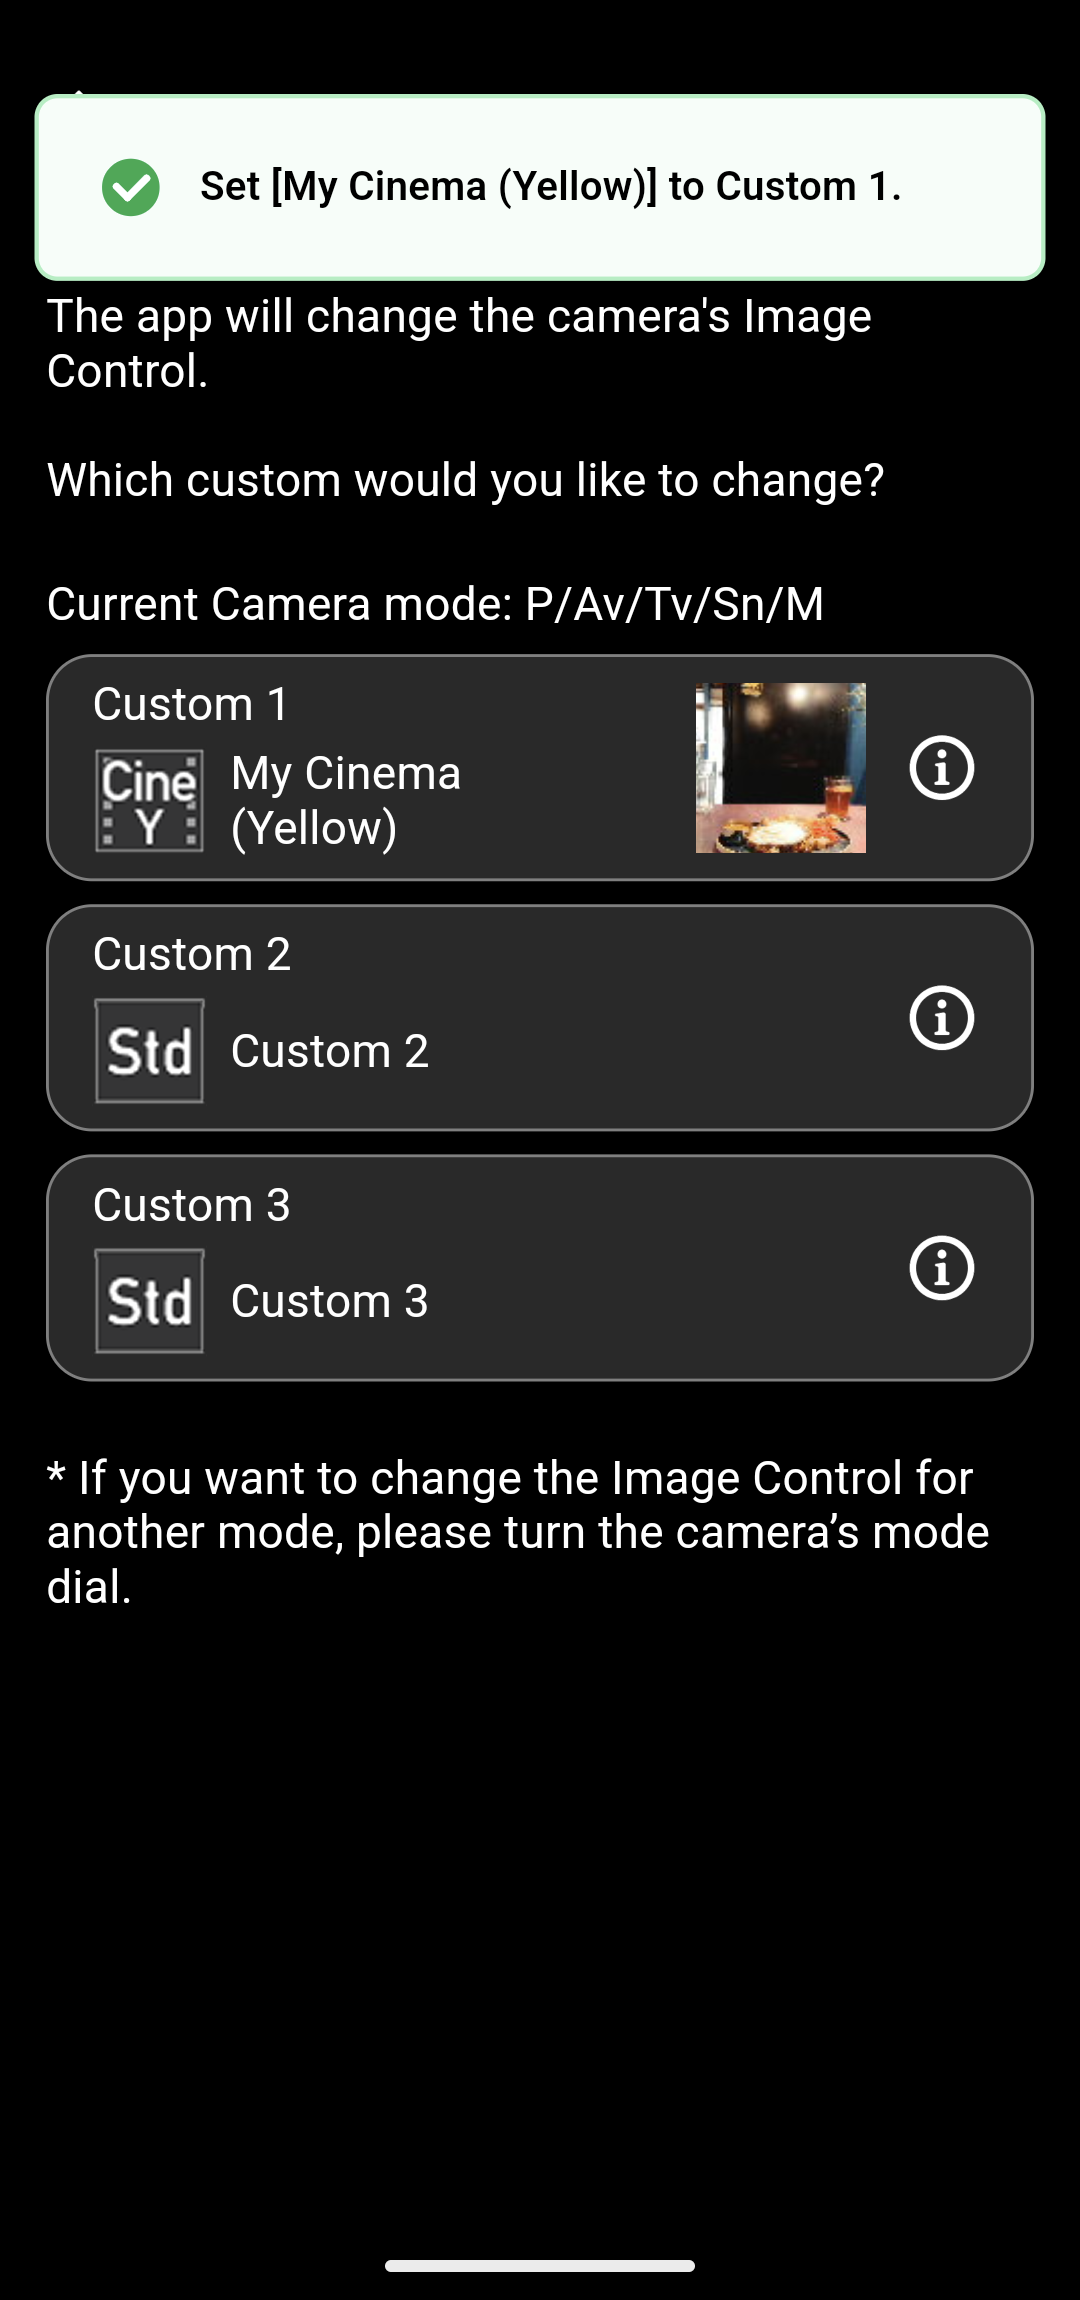
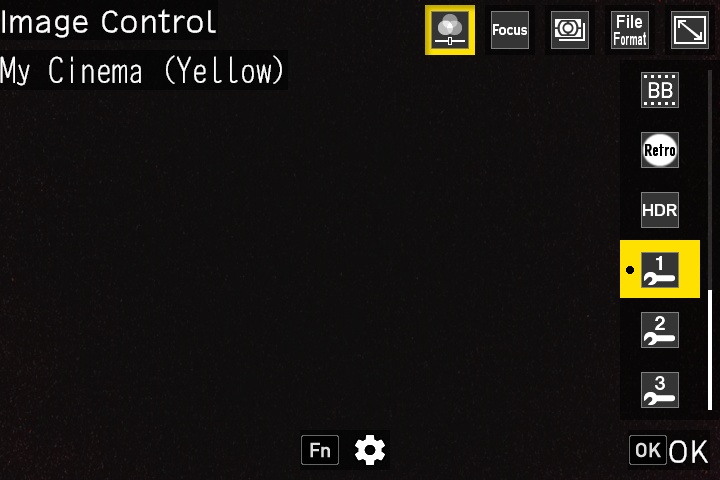
Check that the new Image Control has been set to the camera.

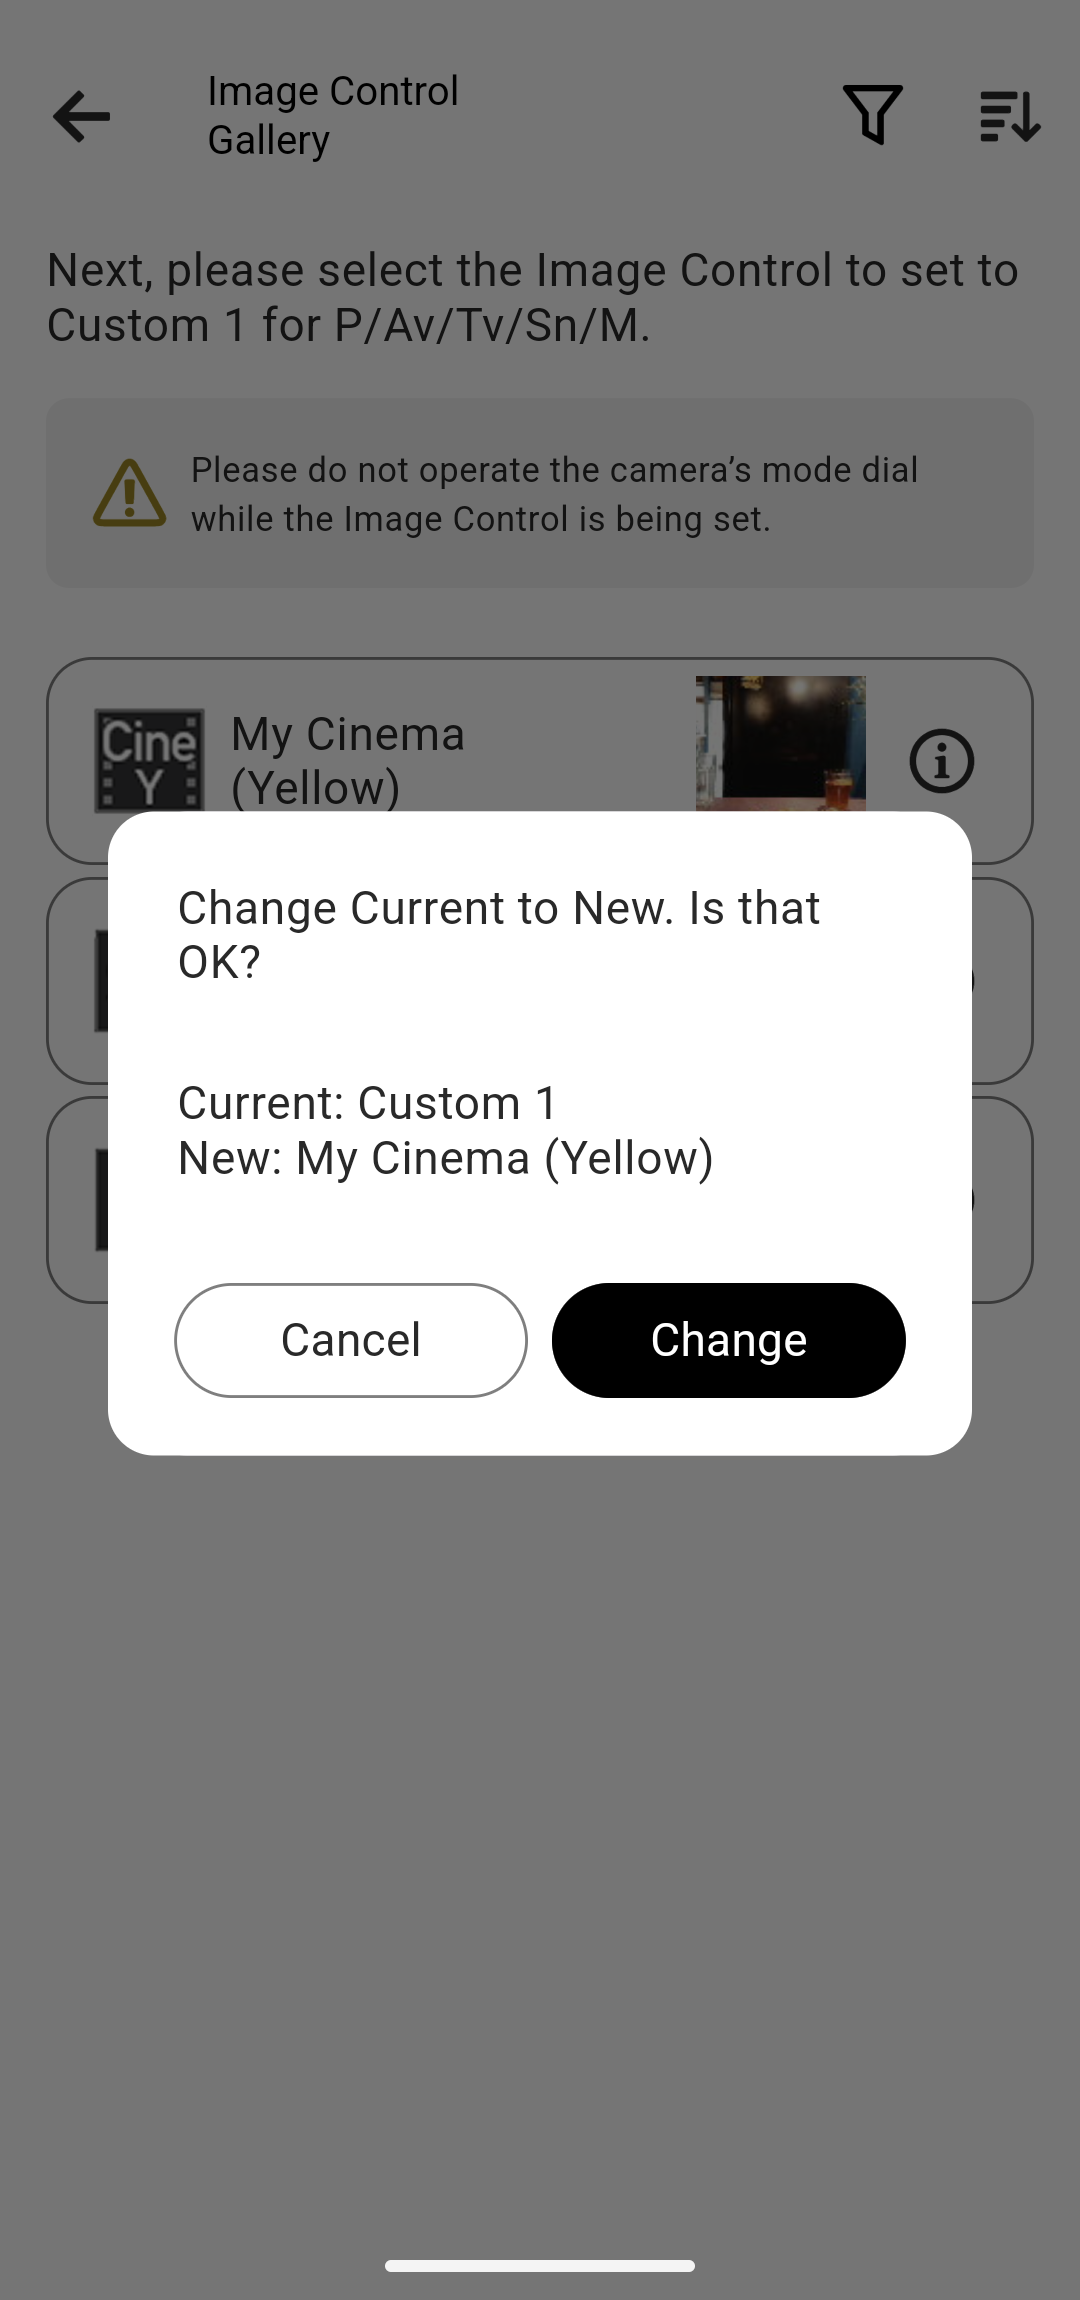
Tap [Set to connected camera].

You can tap the i buttons to view the details of the Image Controls currently set on the camera.
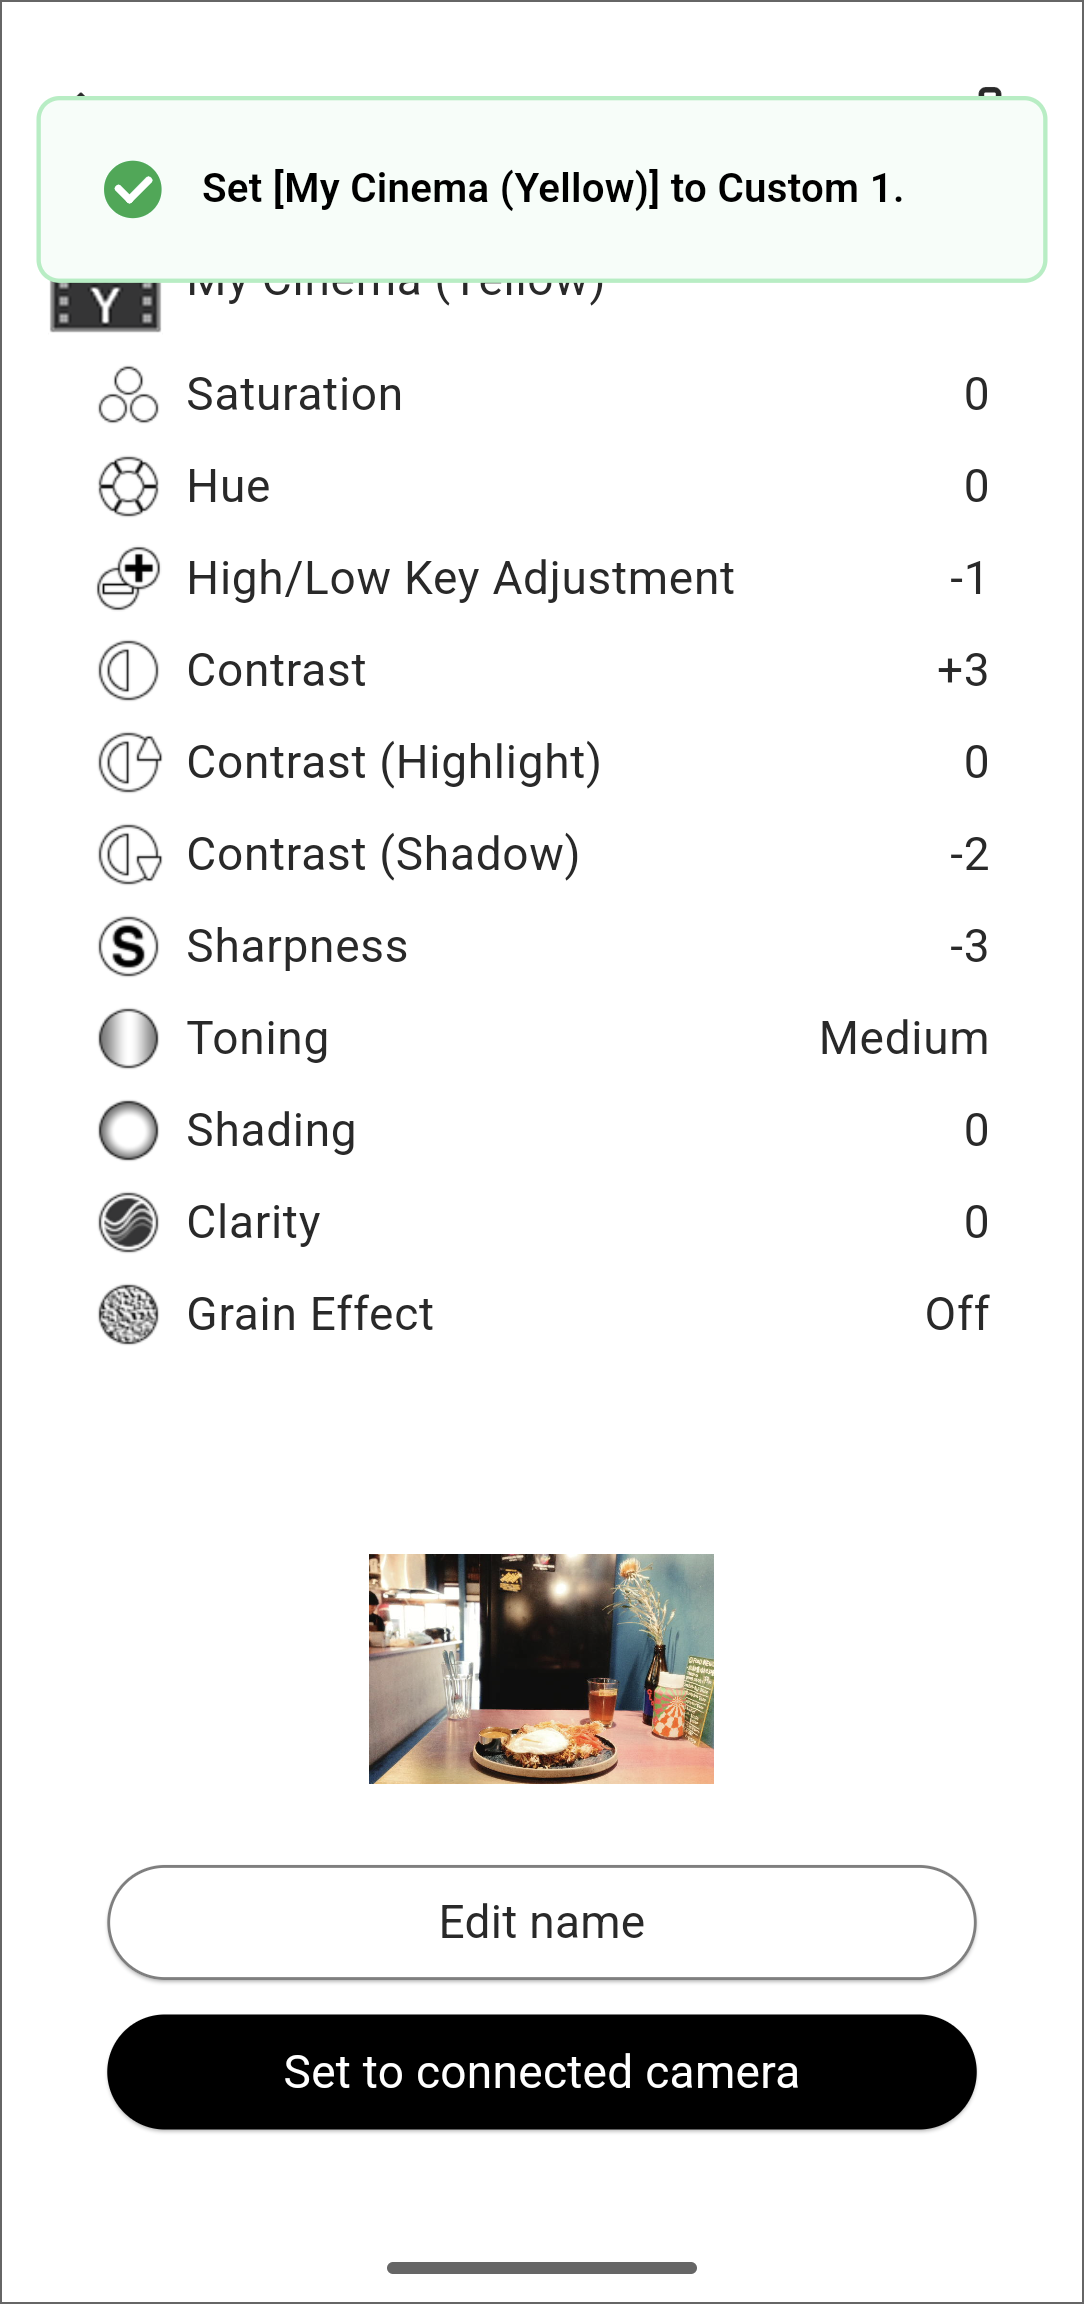
Check that the new Image Control has been set to the camera.
