1. Connection
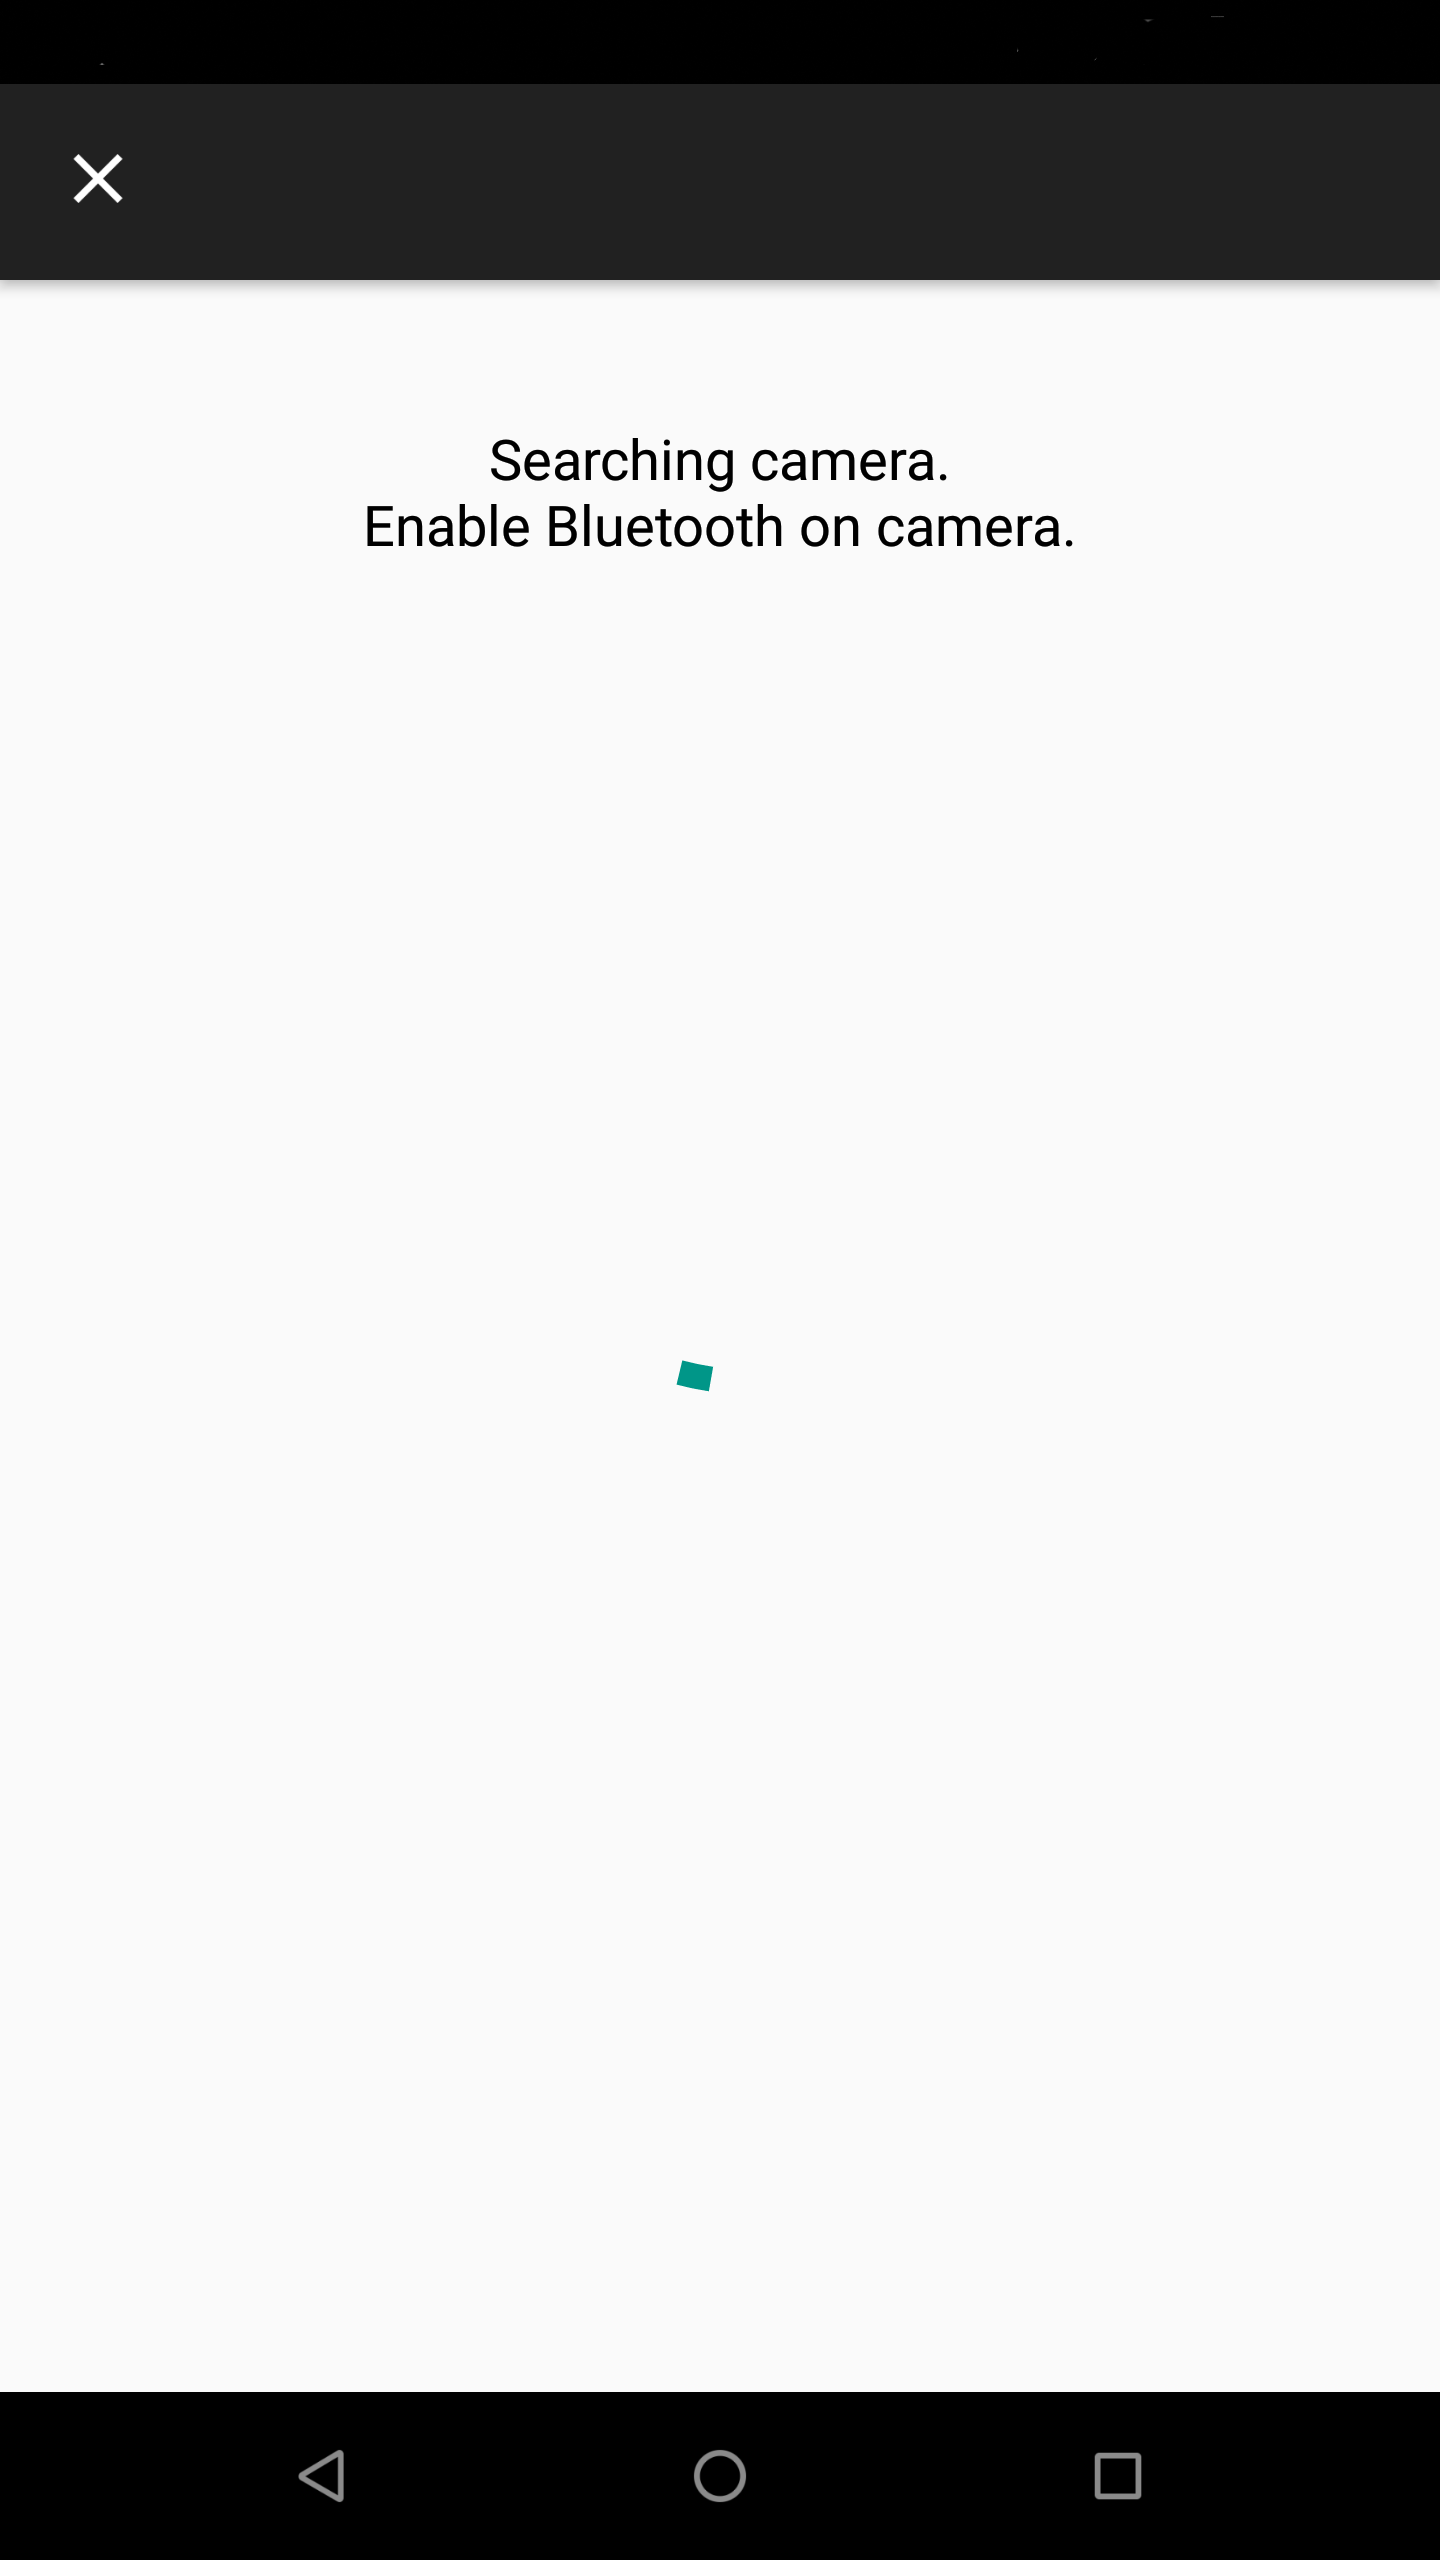
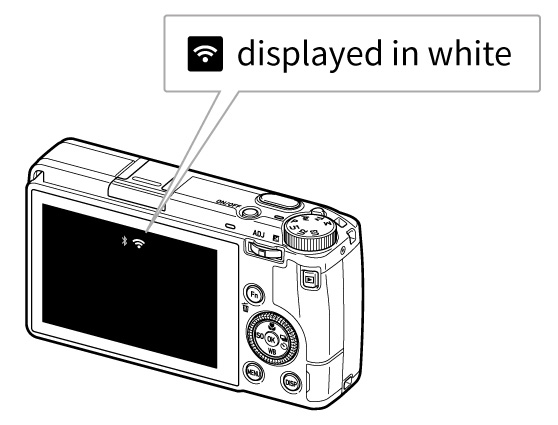
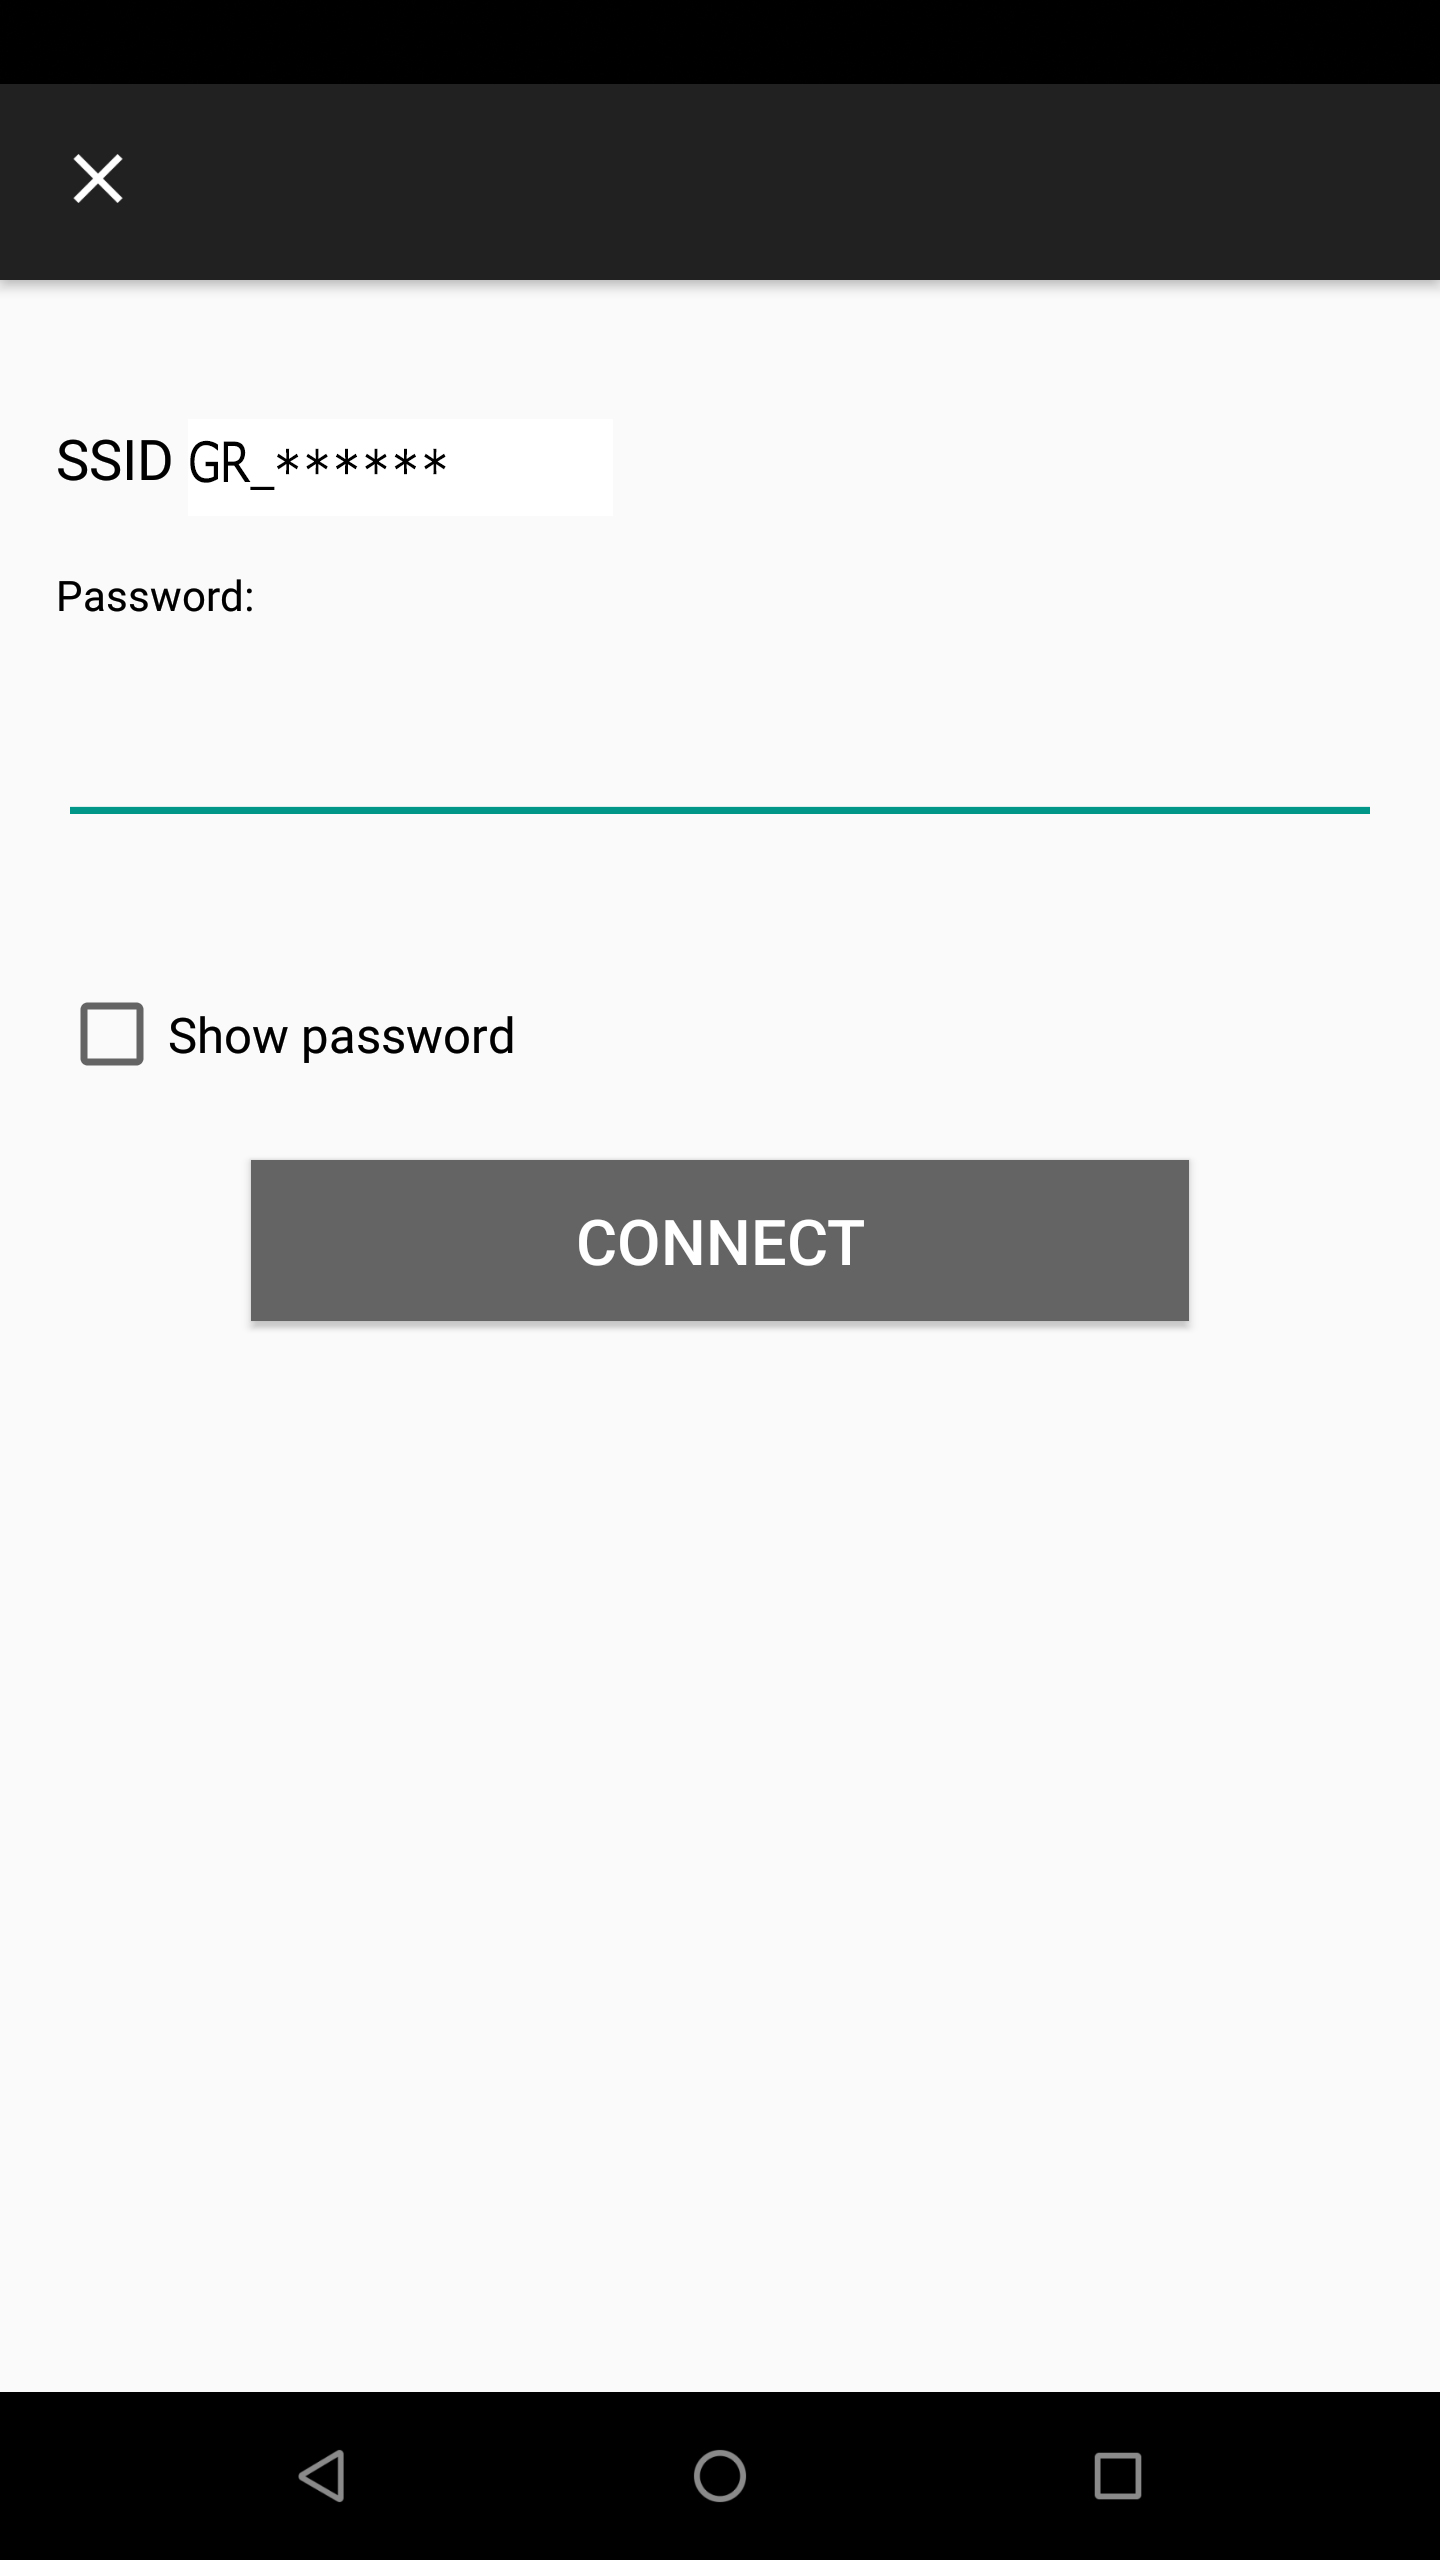
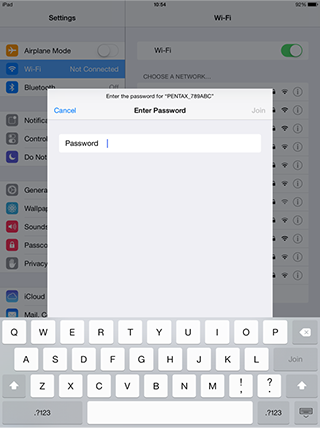
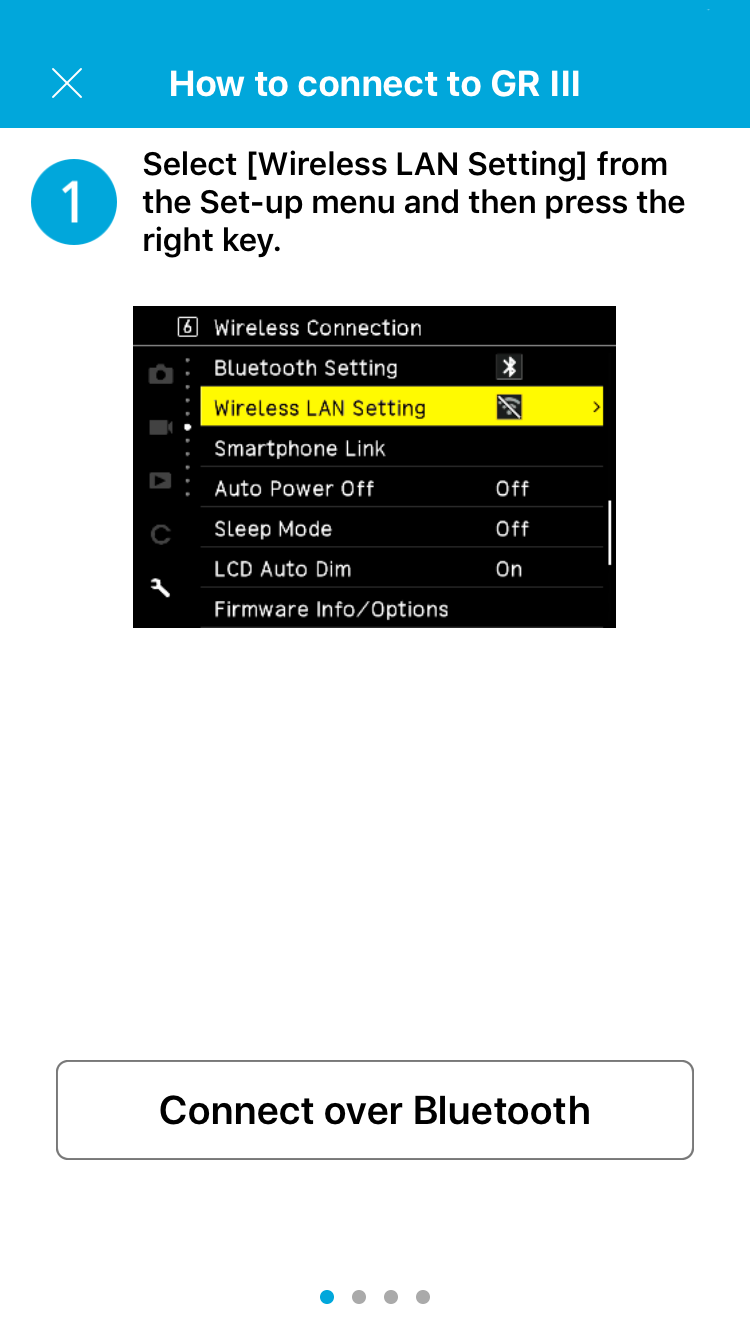
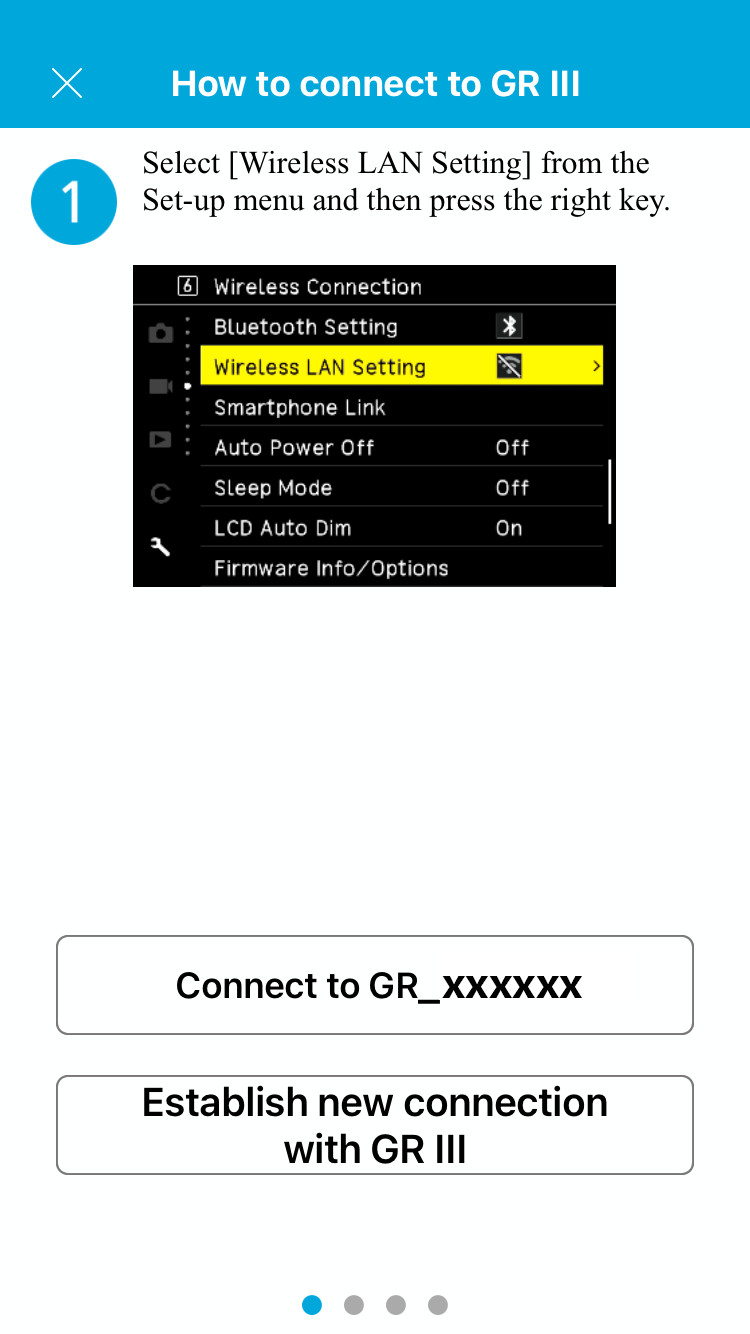
Set the wireless LAN (Wi-Fi) function to ON in your camera body. In addition, set the wireless LAN (Wi-Fi) function to ON in the smart device settings.
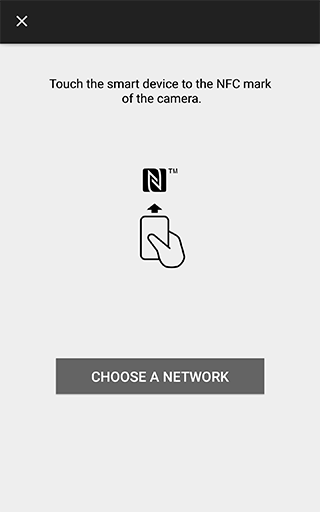
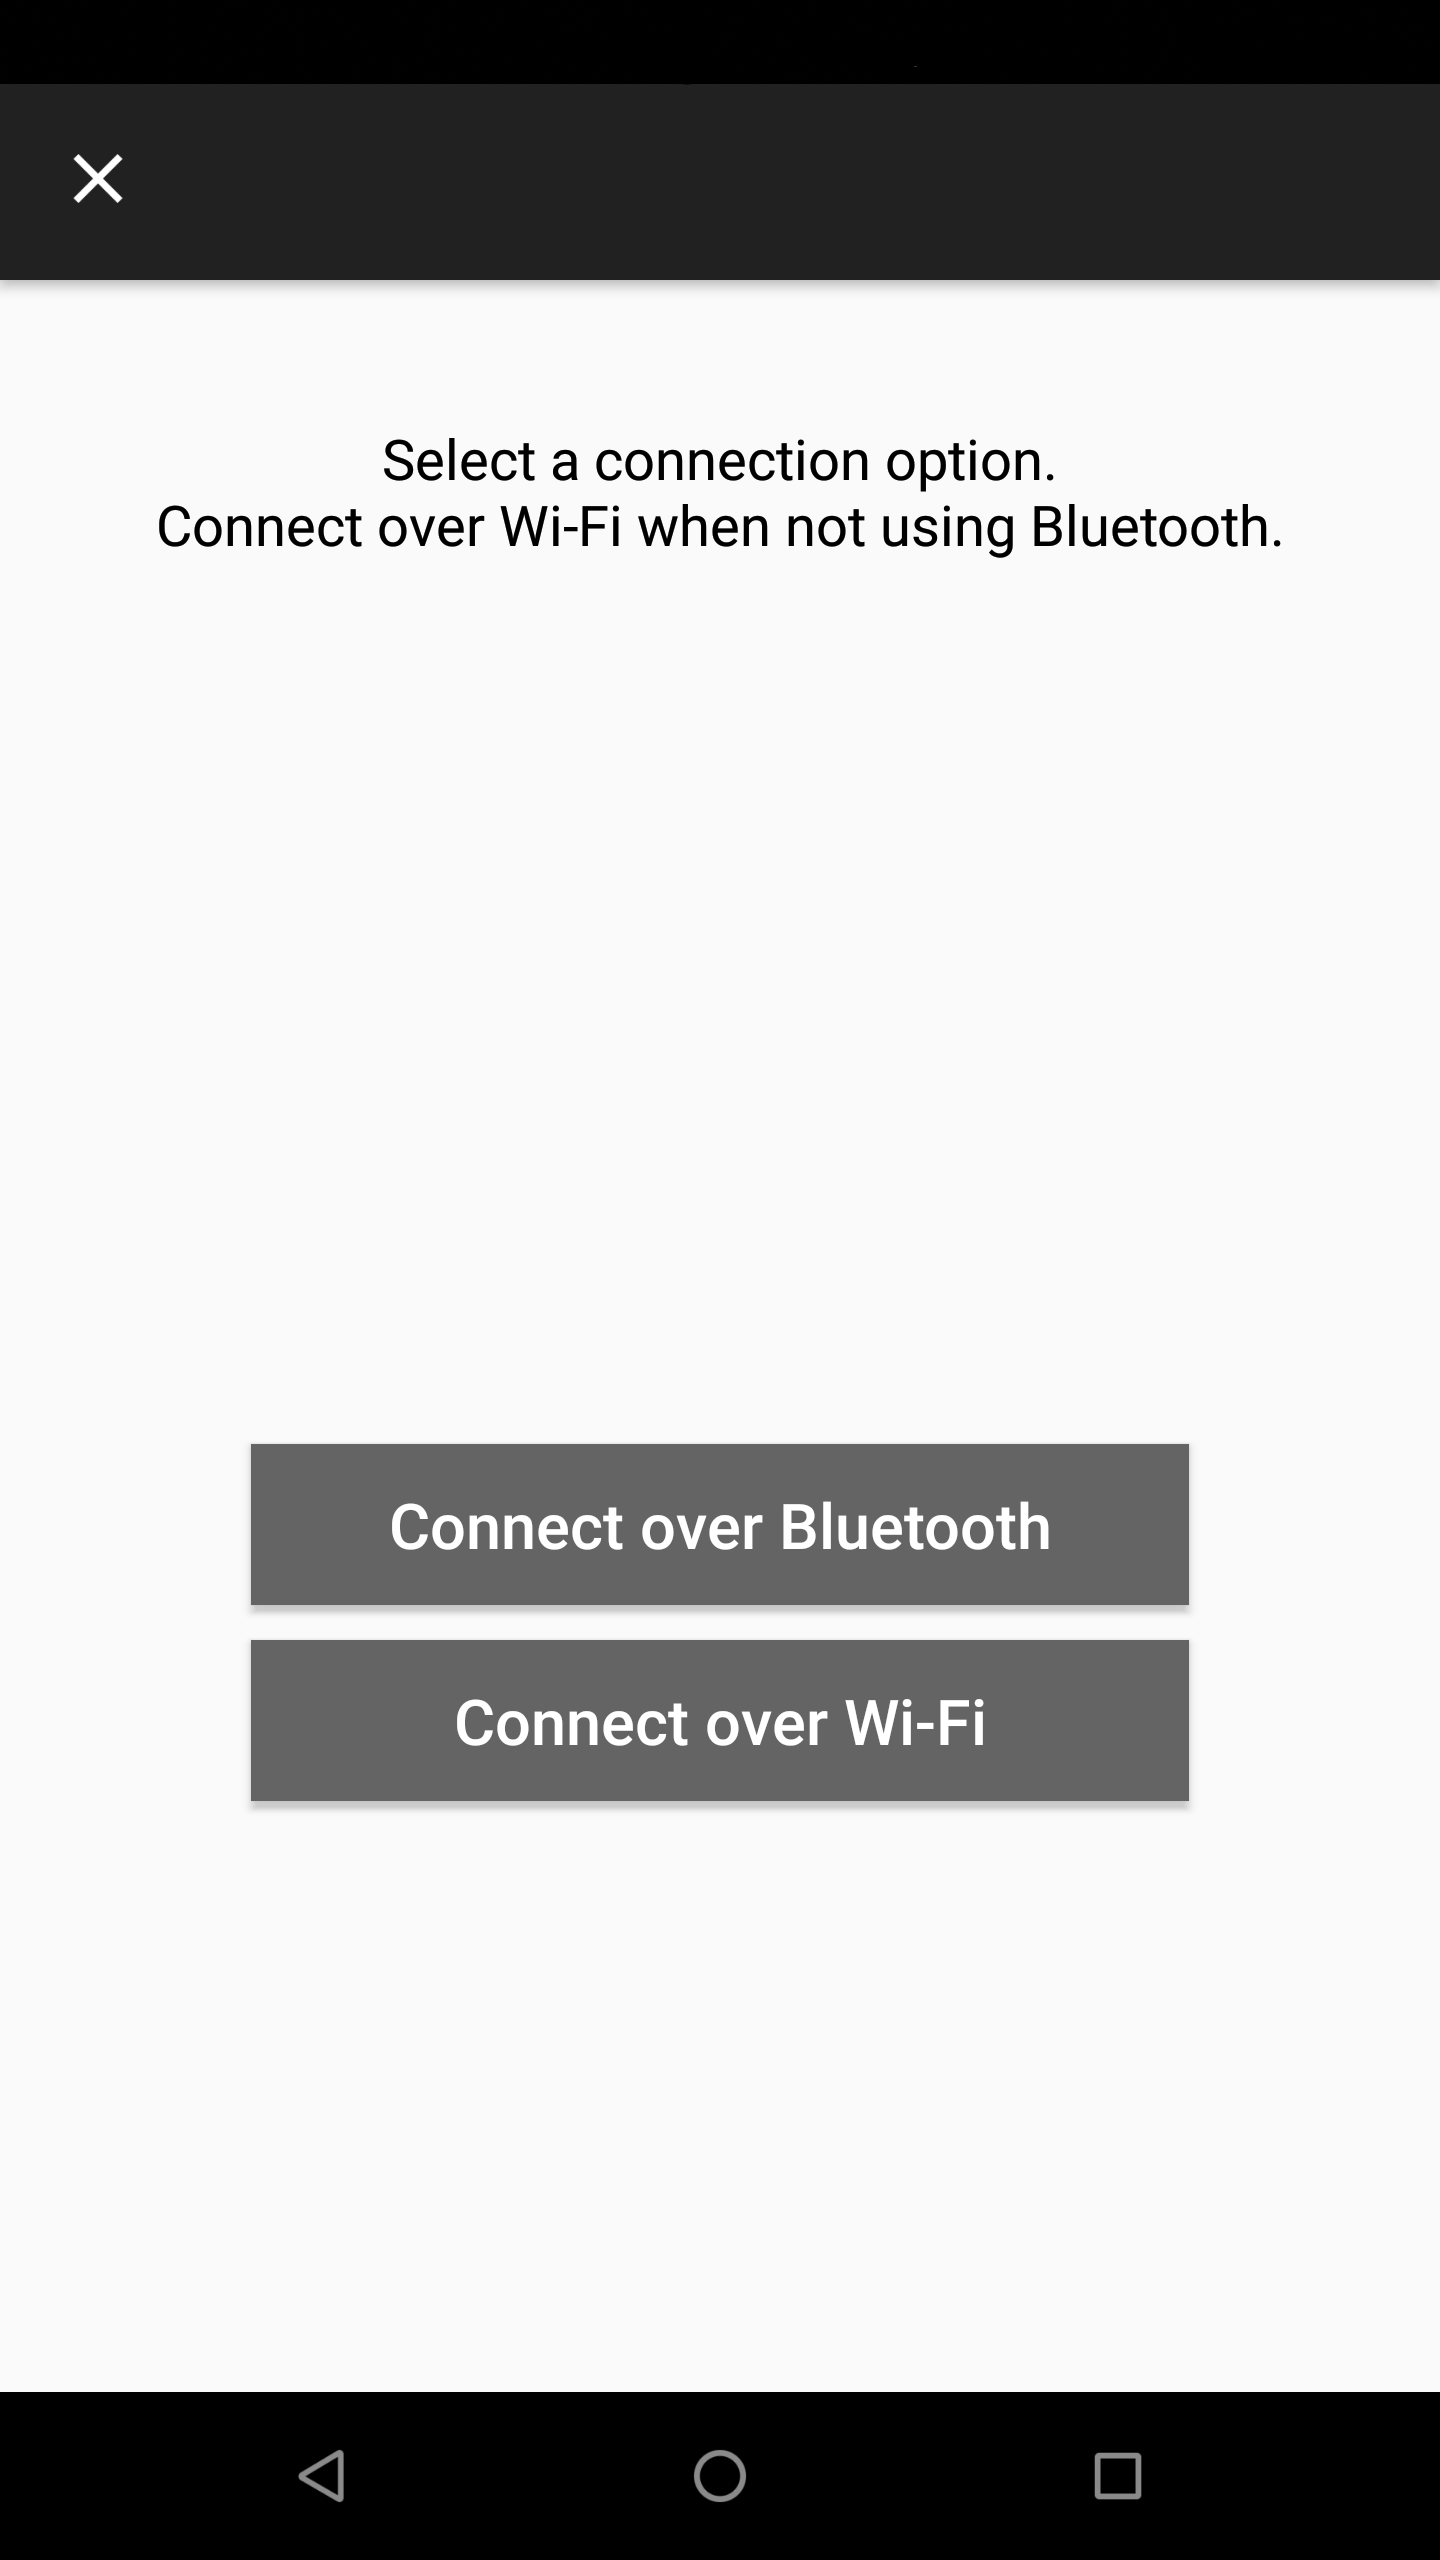
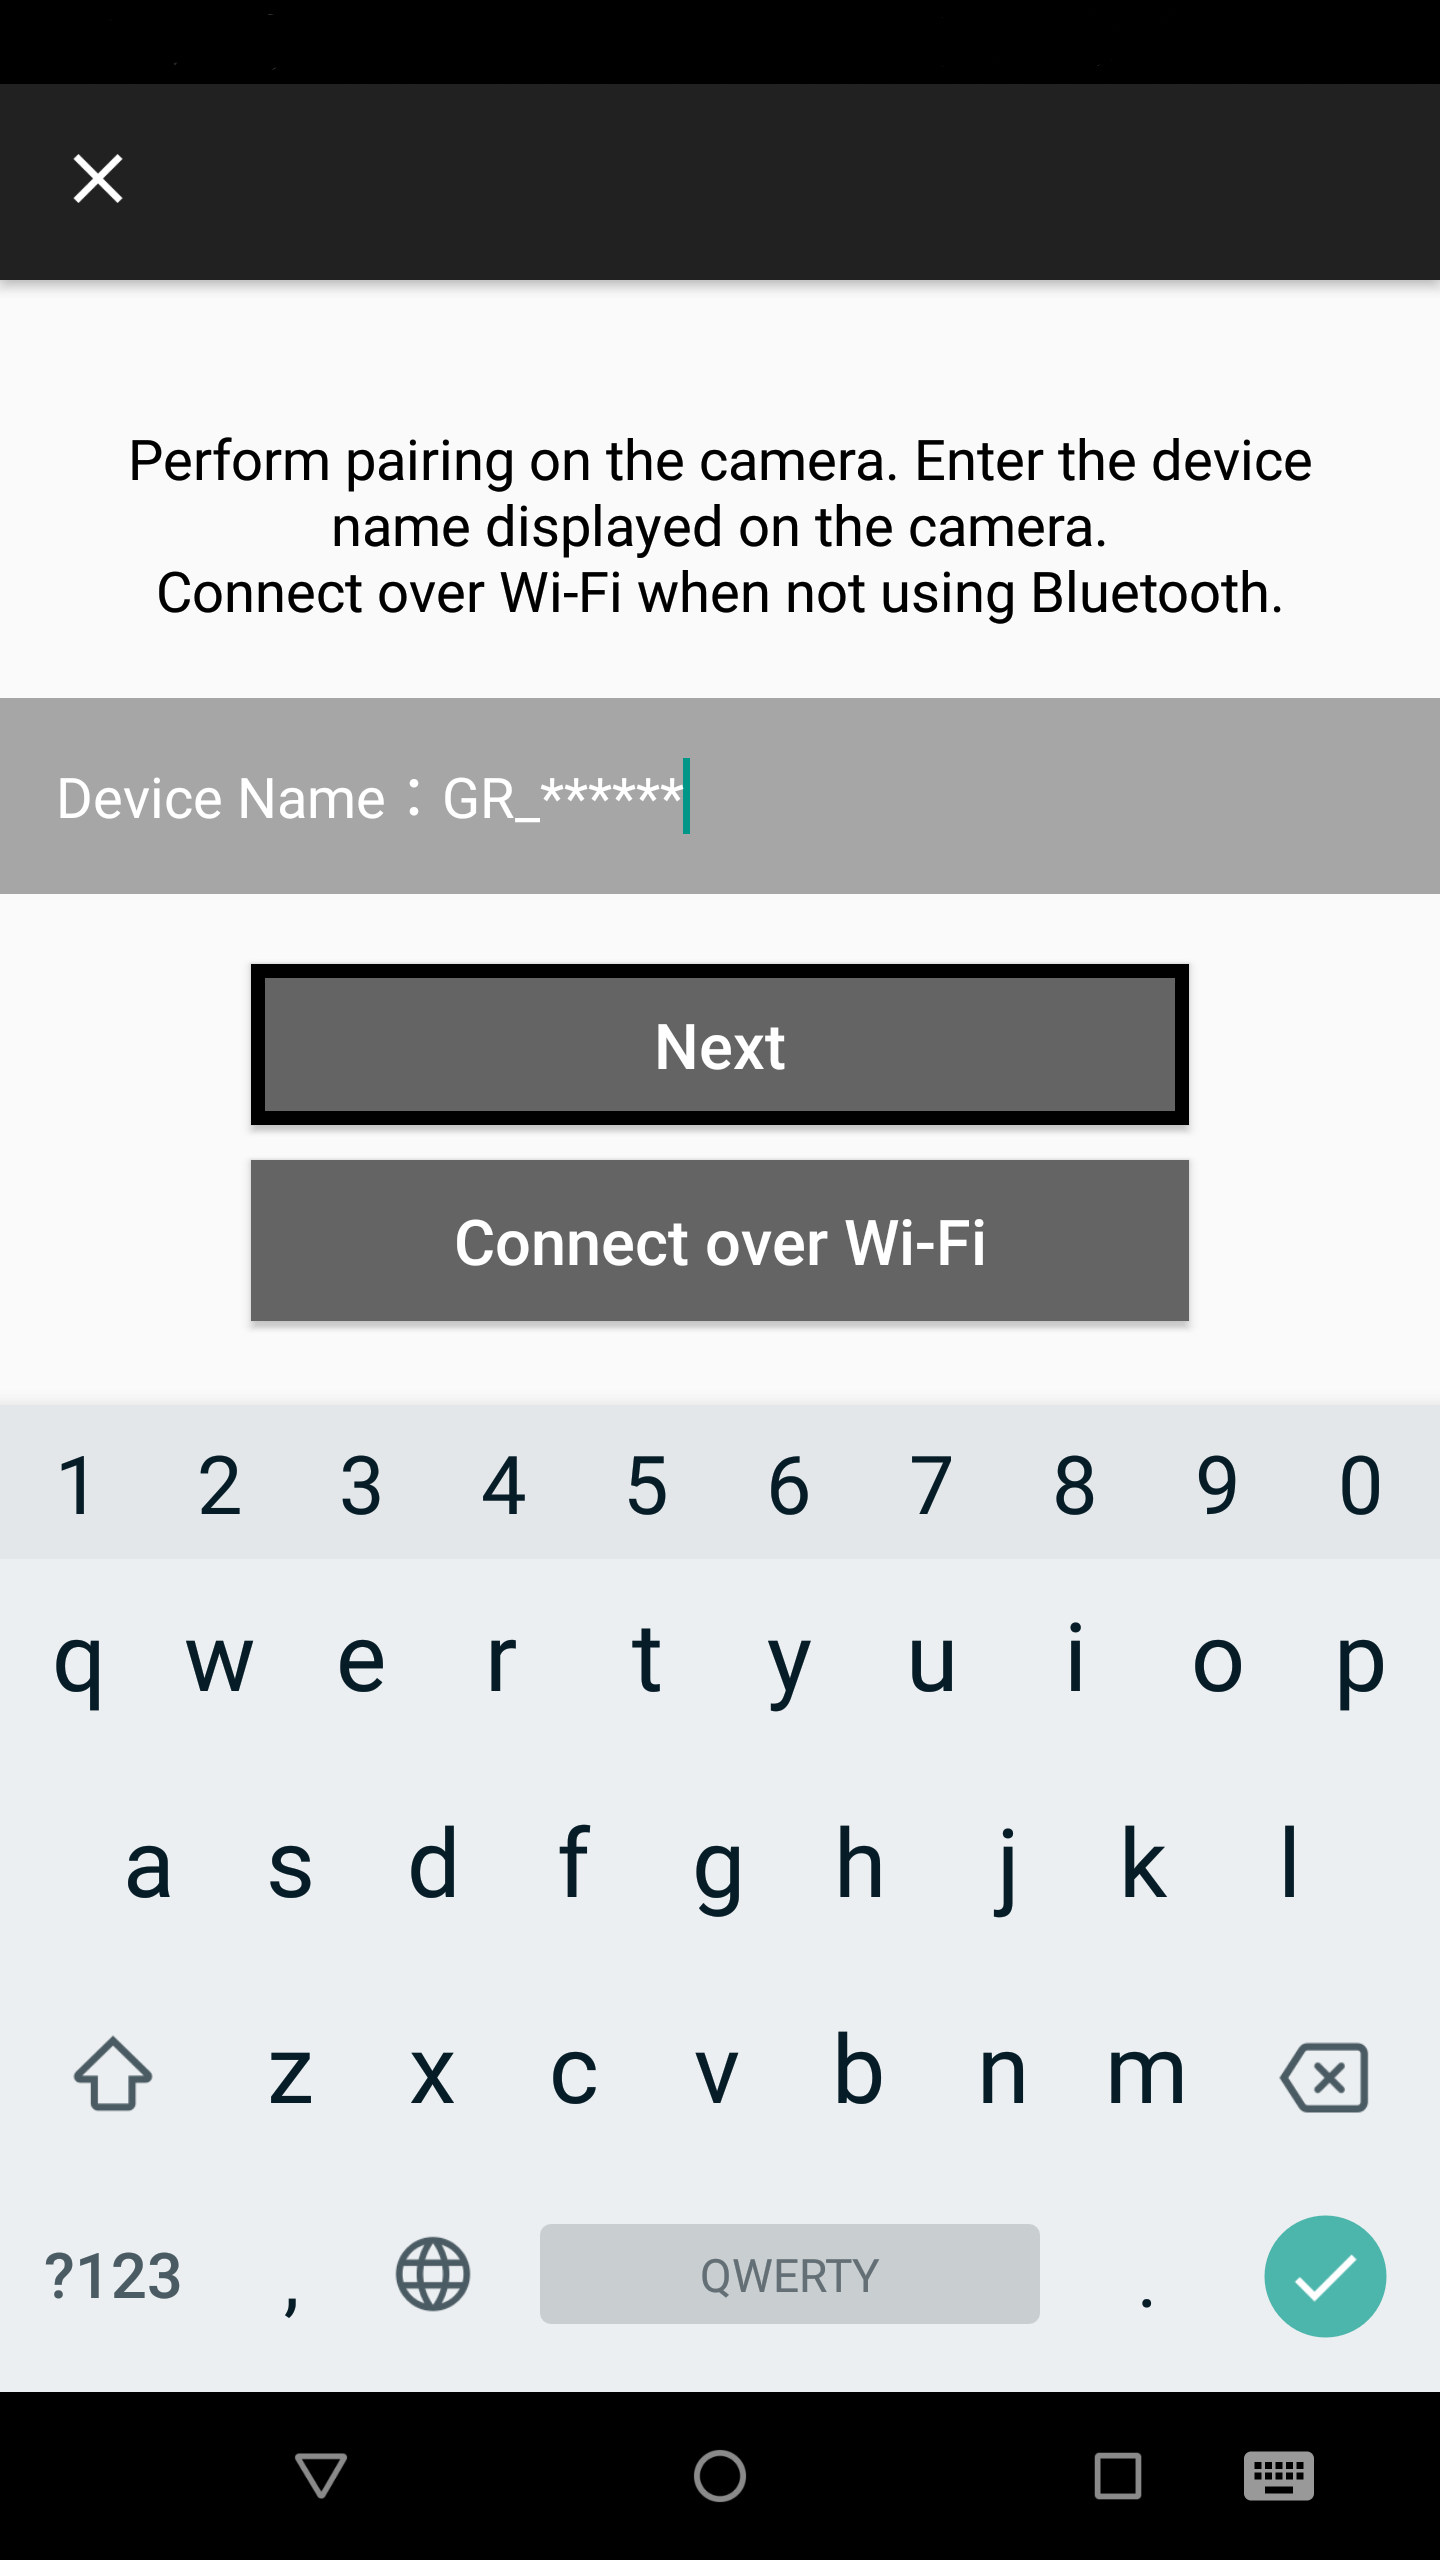
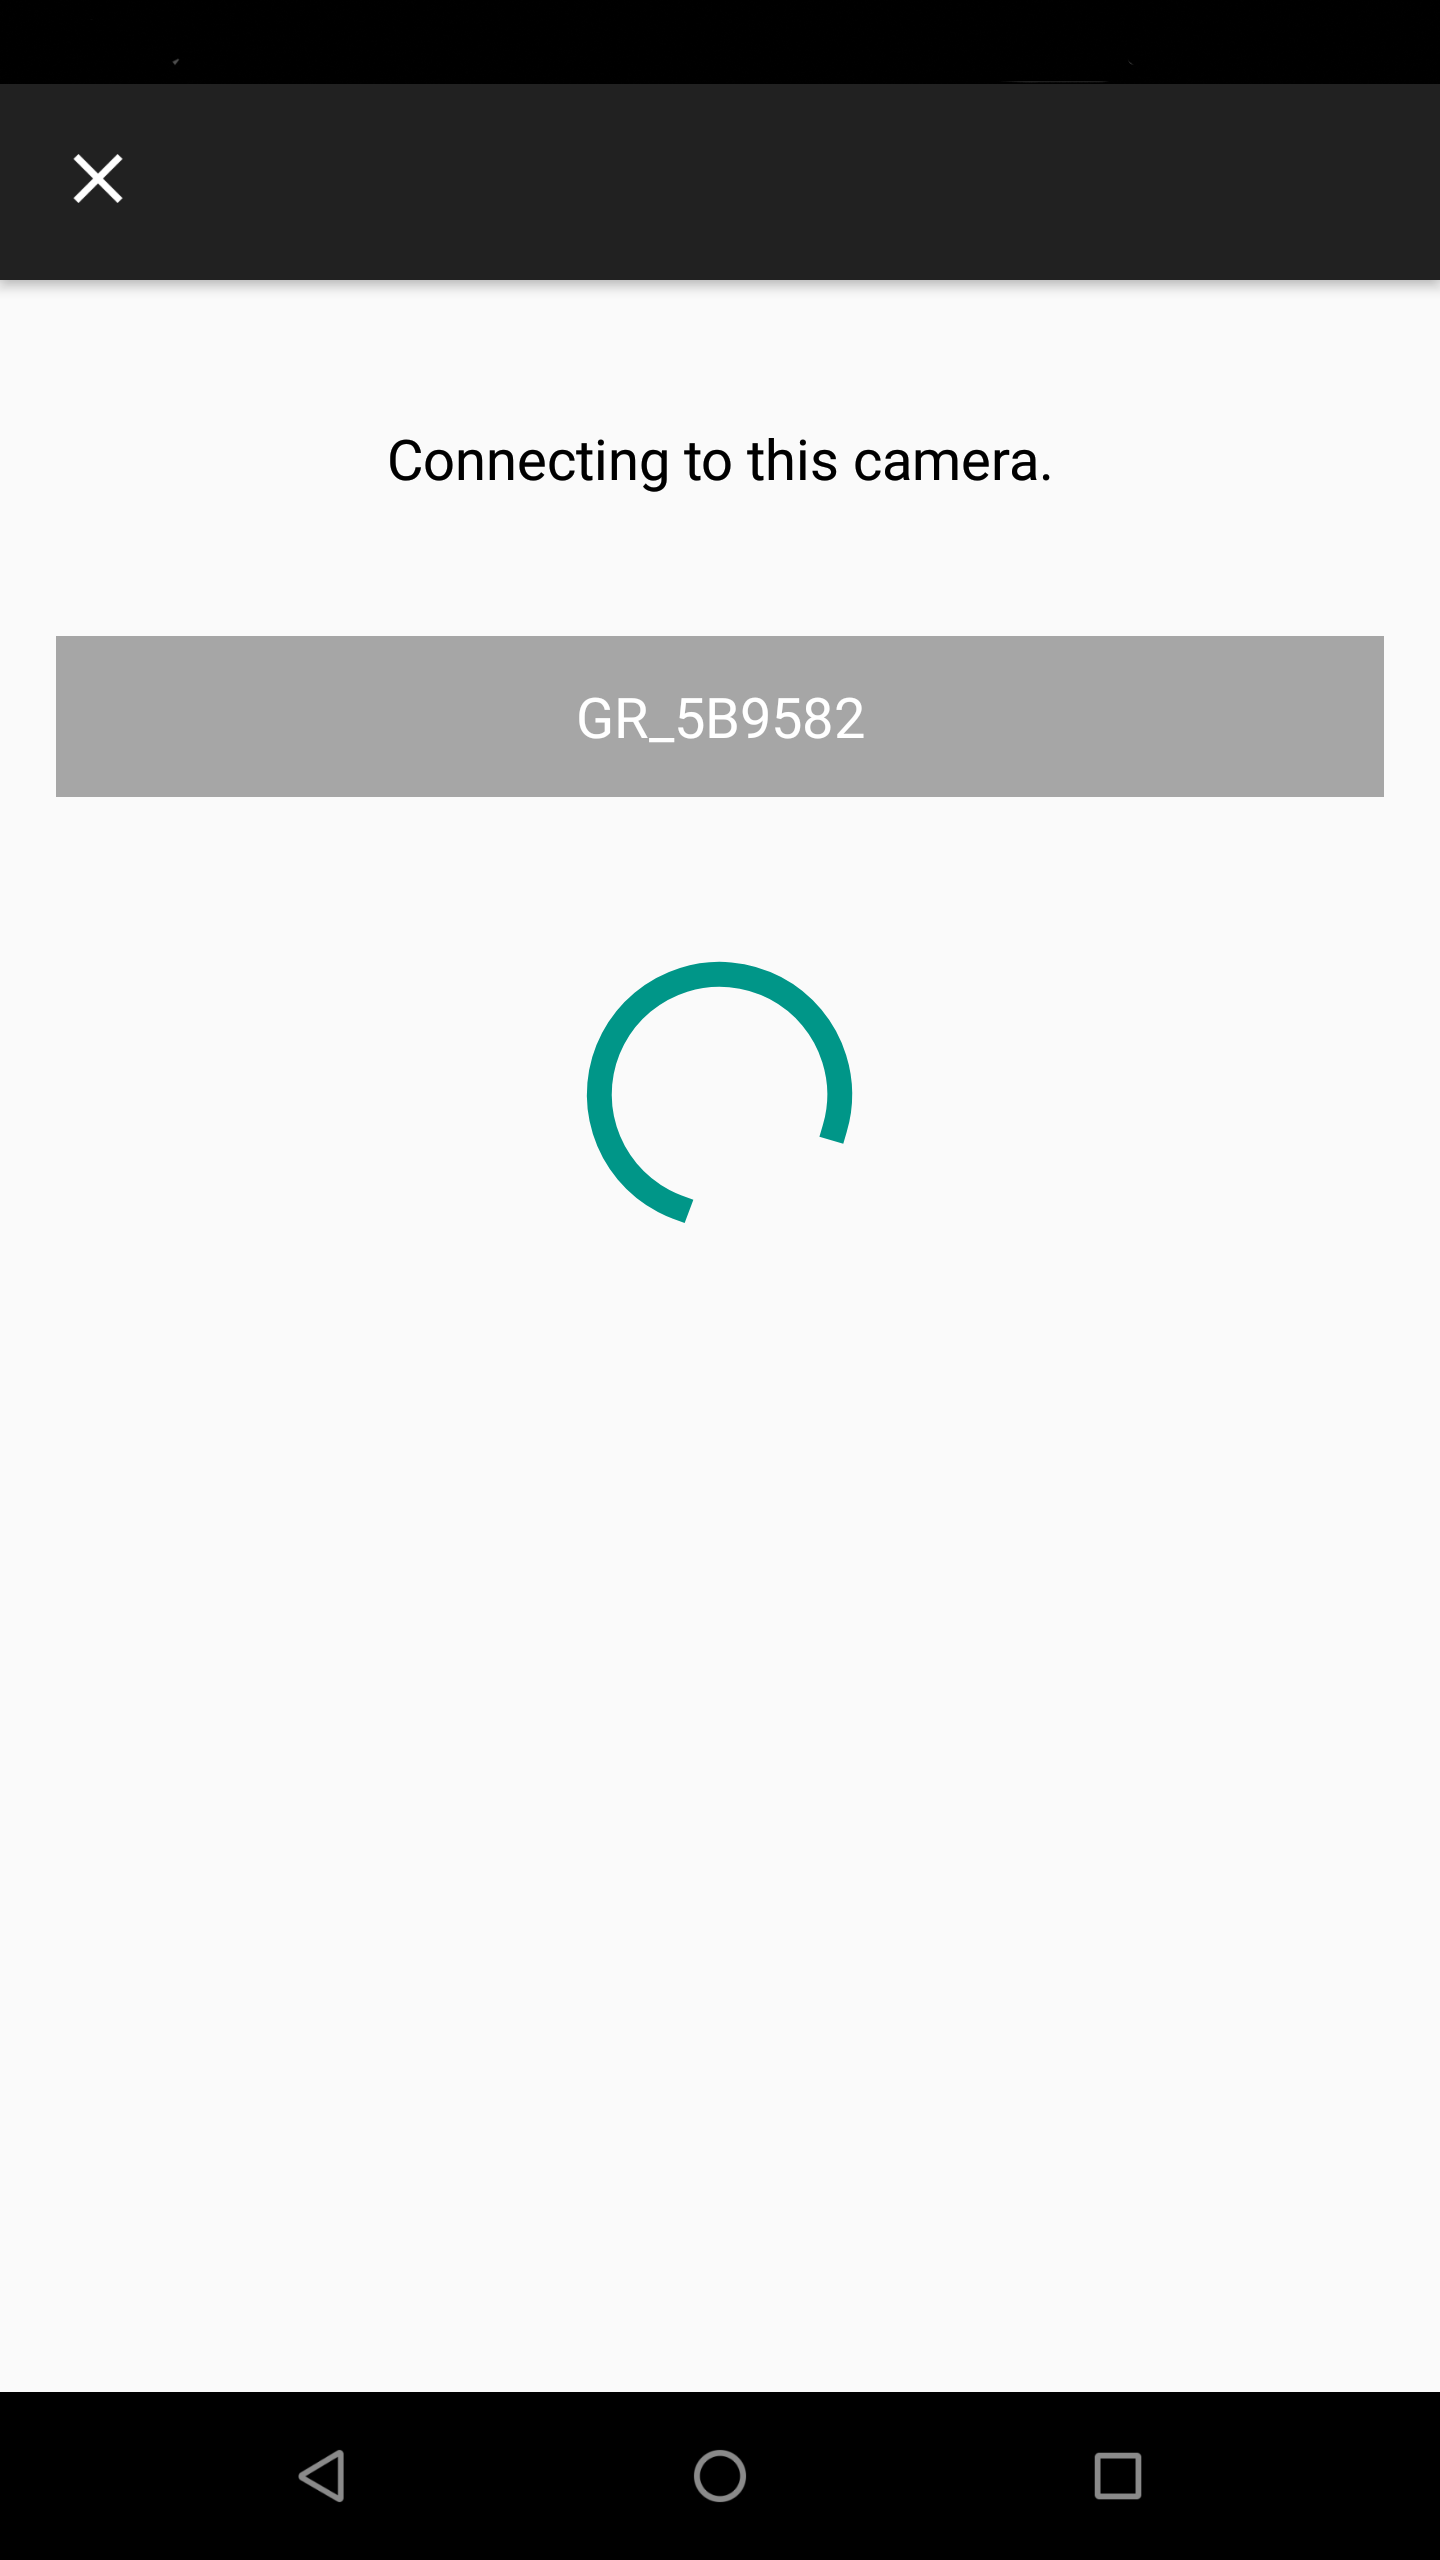
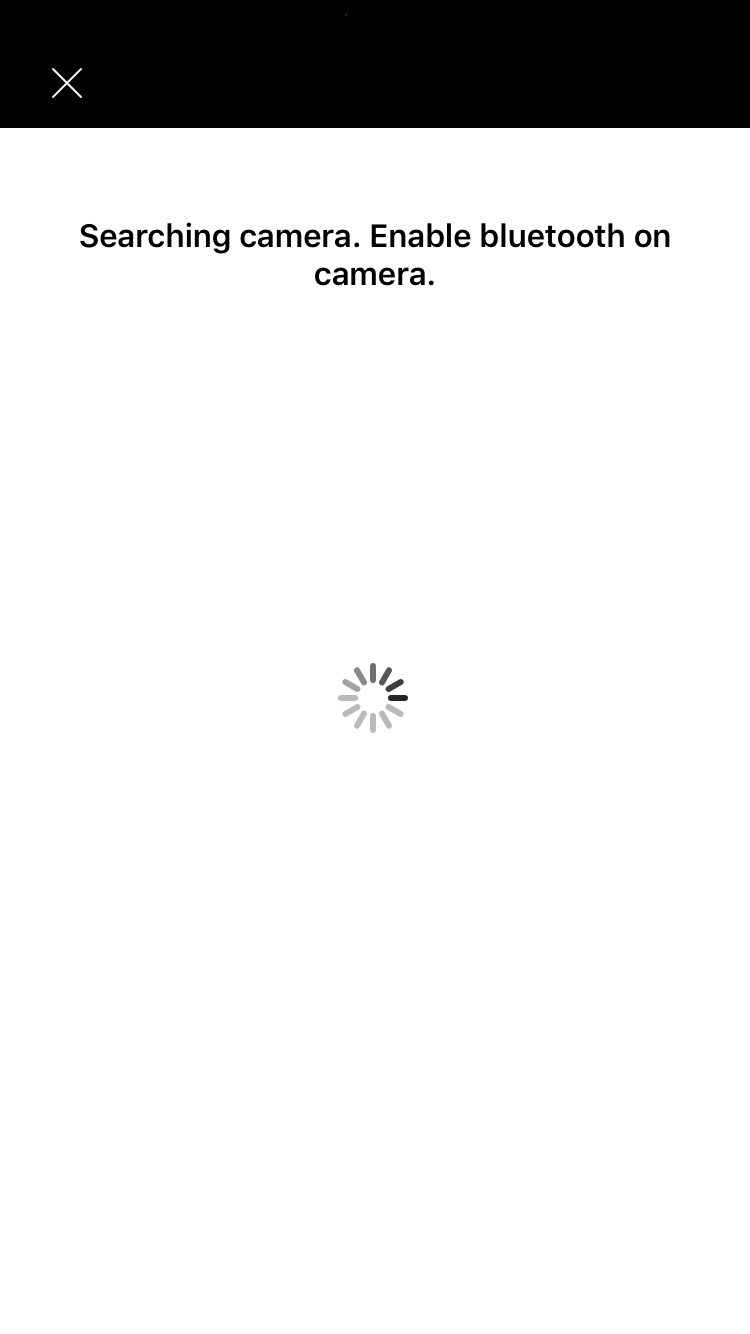
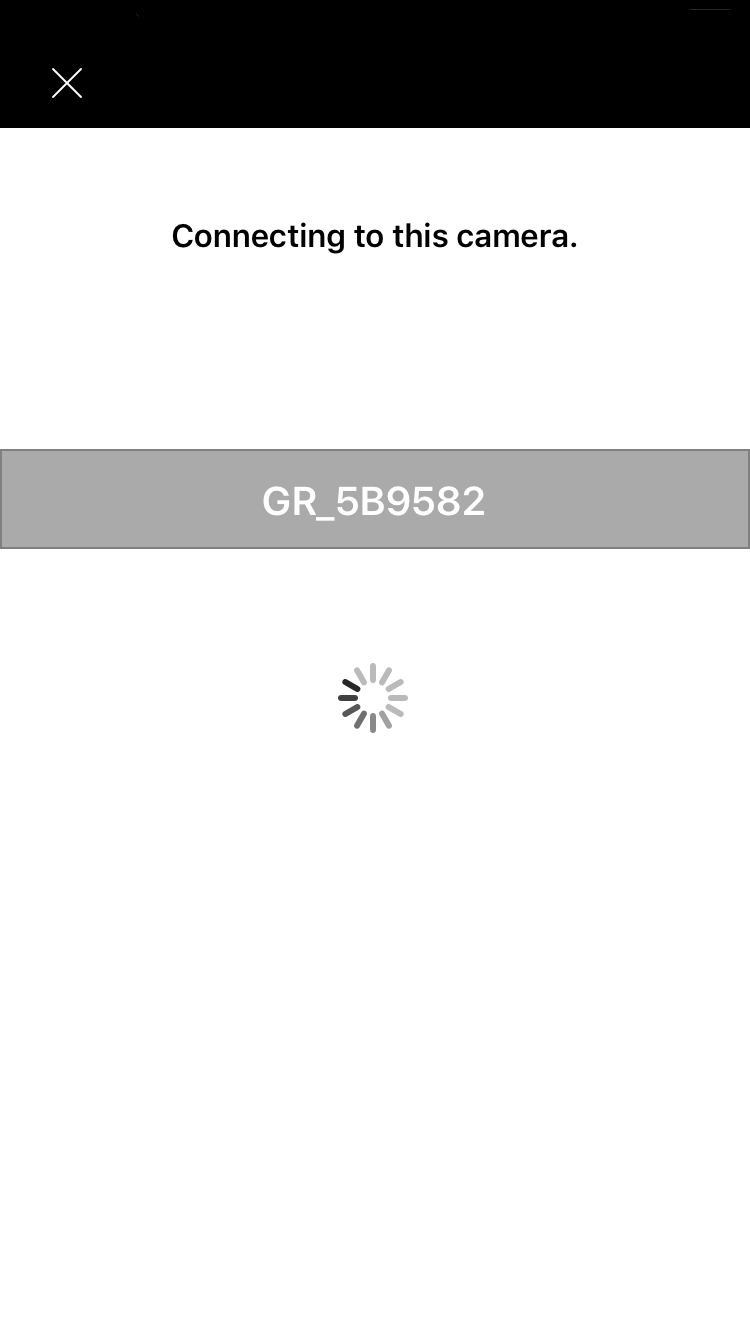
Start Image Sync.*1
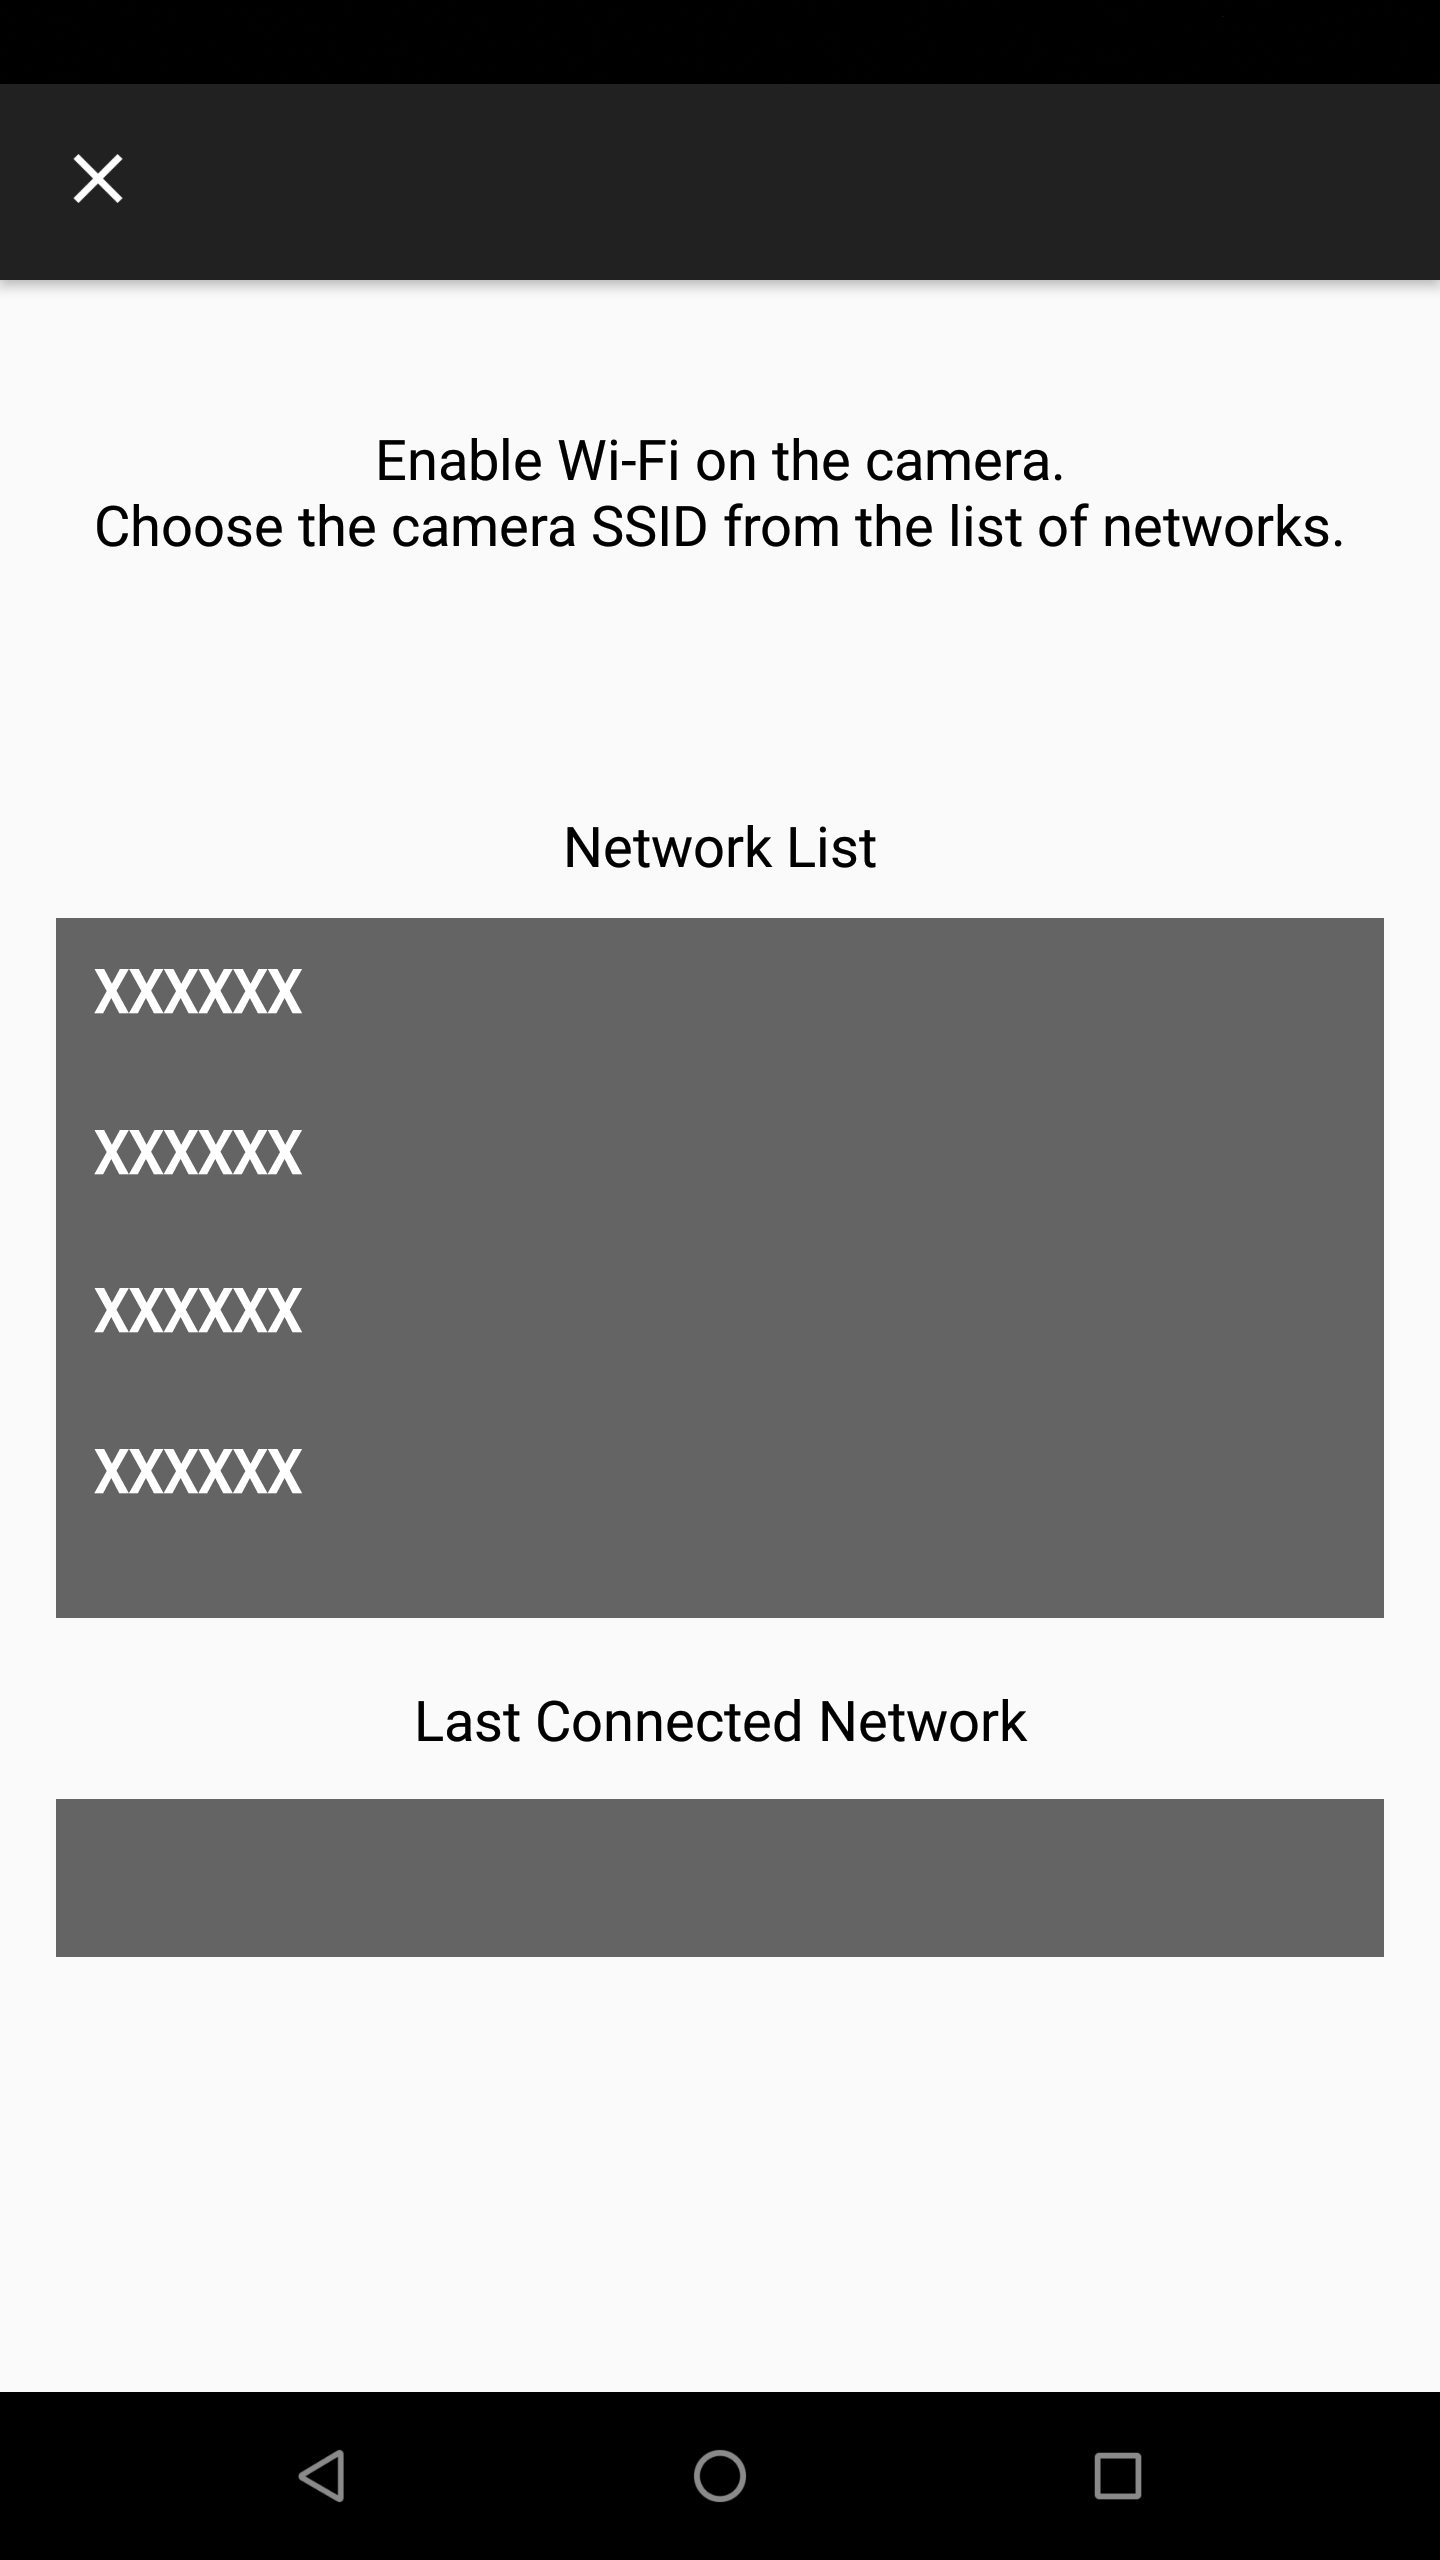
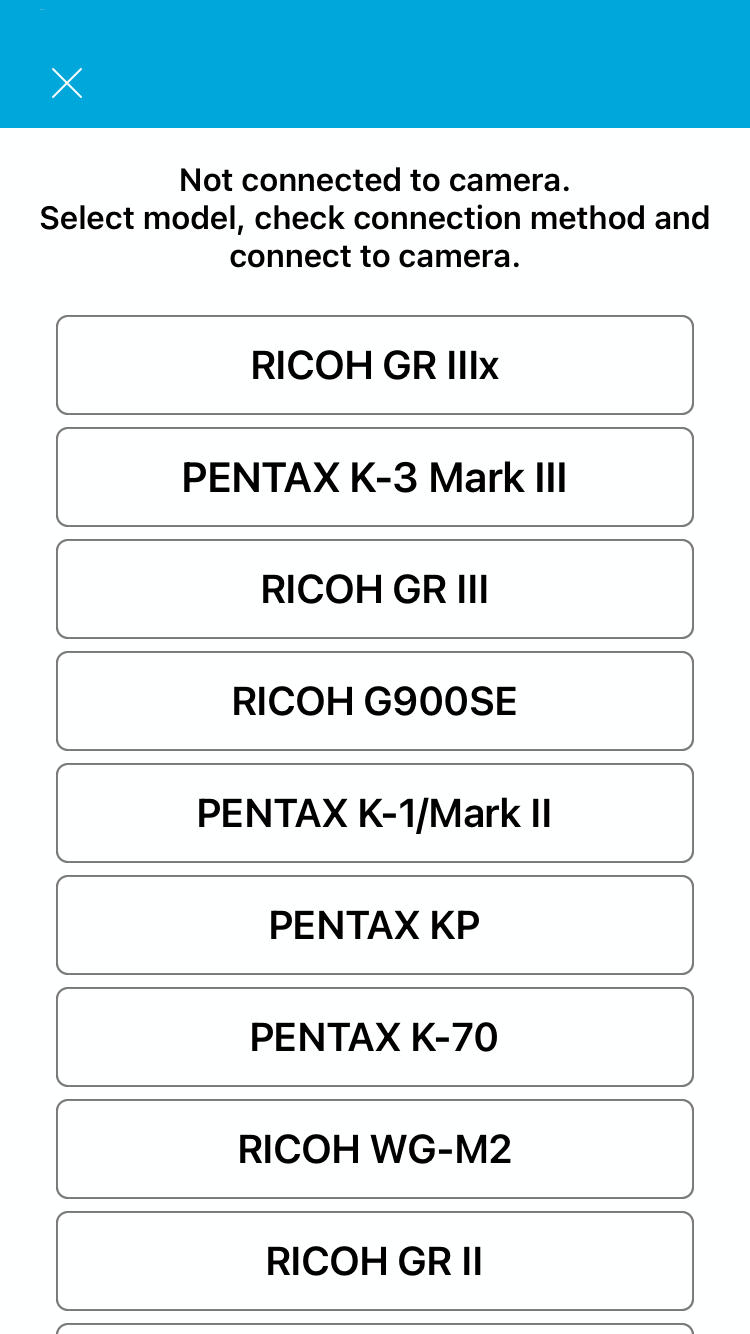
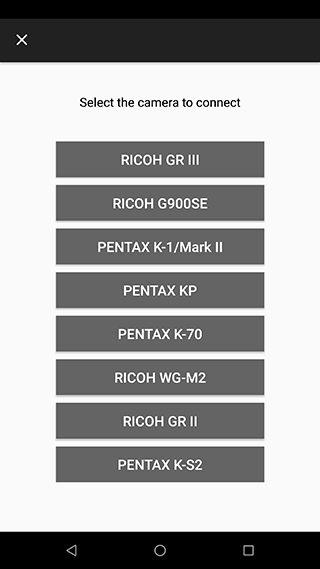
The [Choose a Device] screen appears on the smart device.
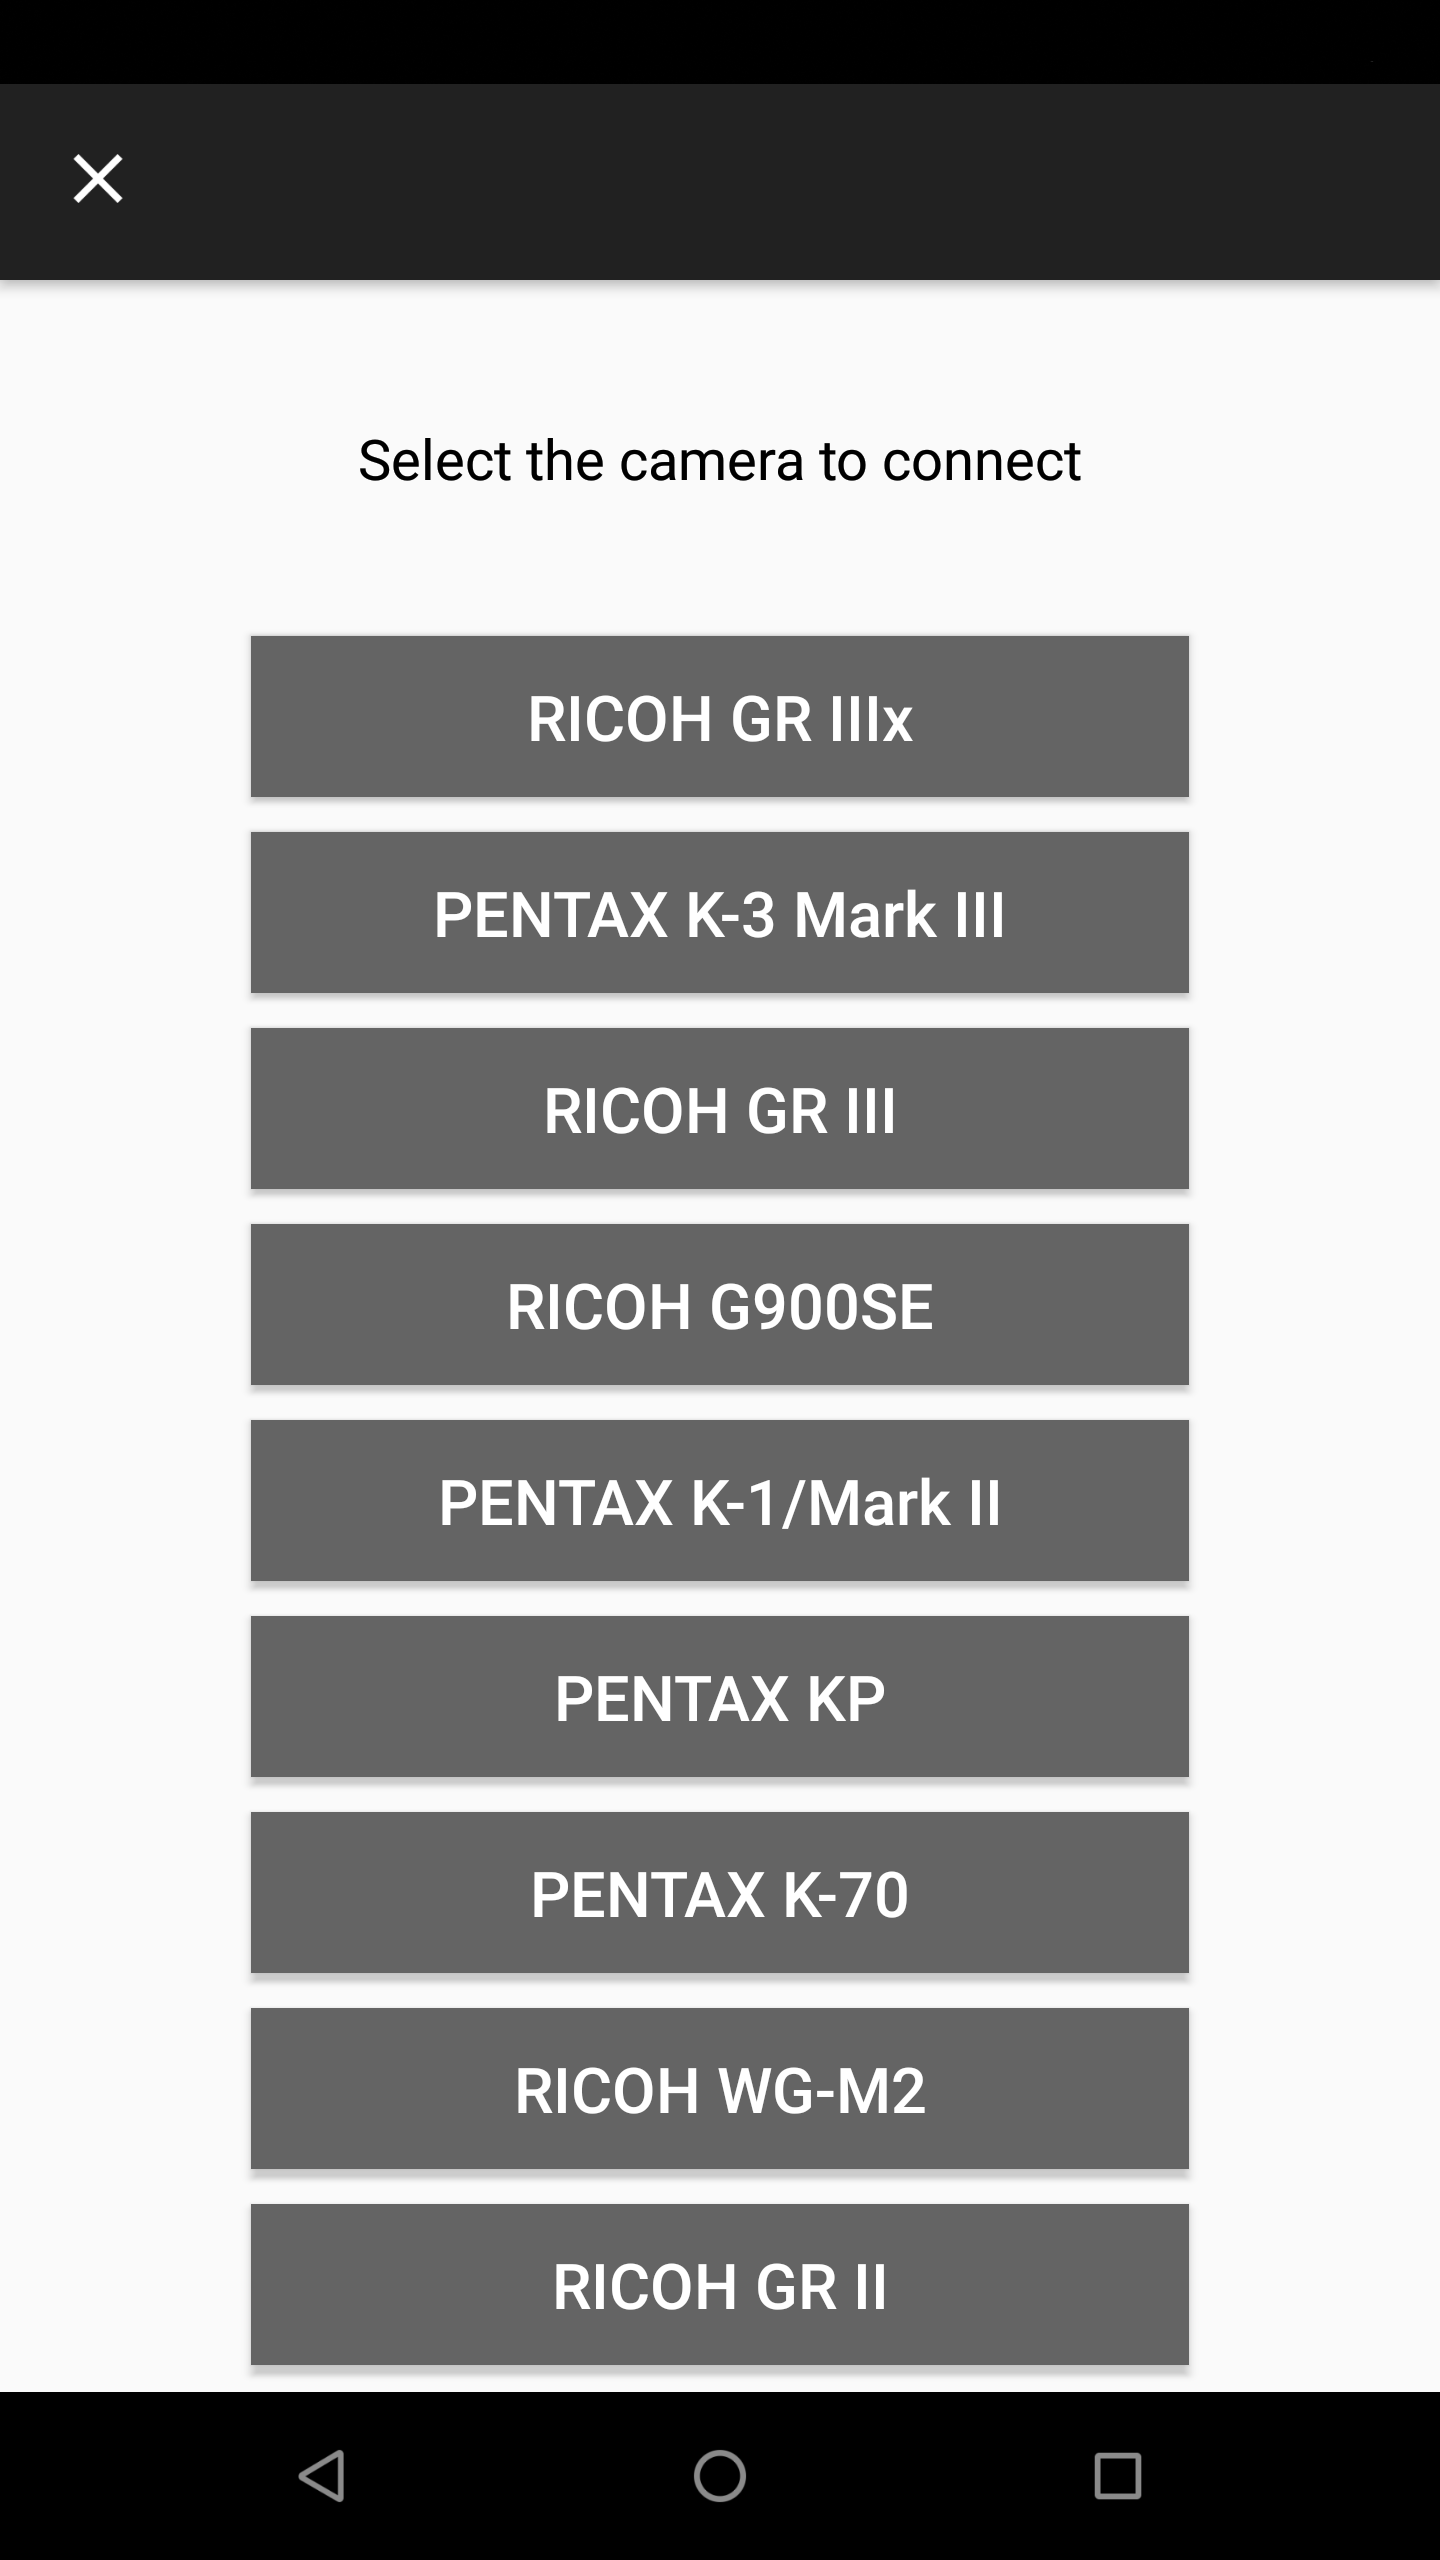
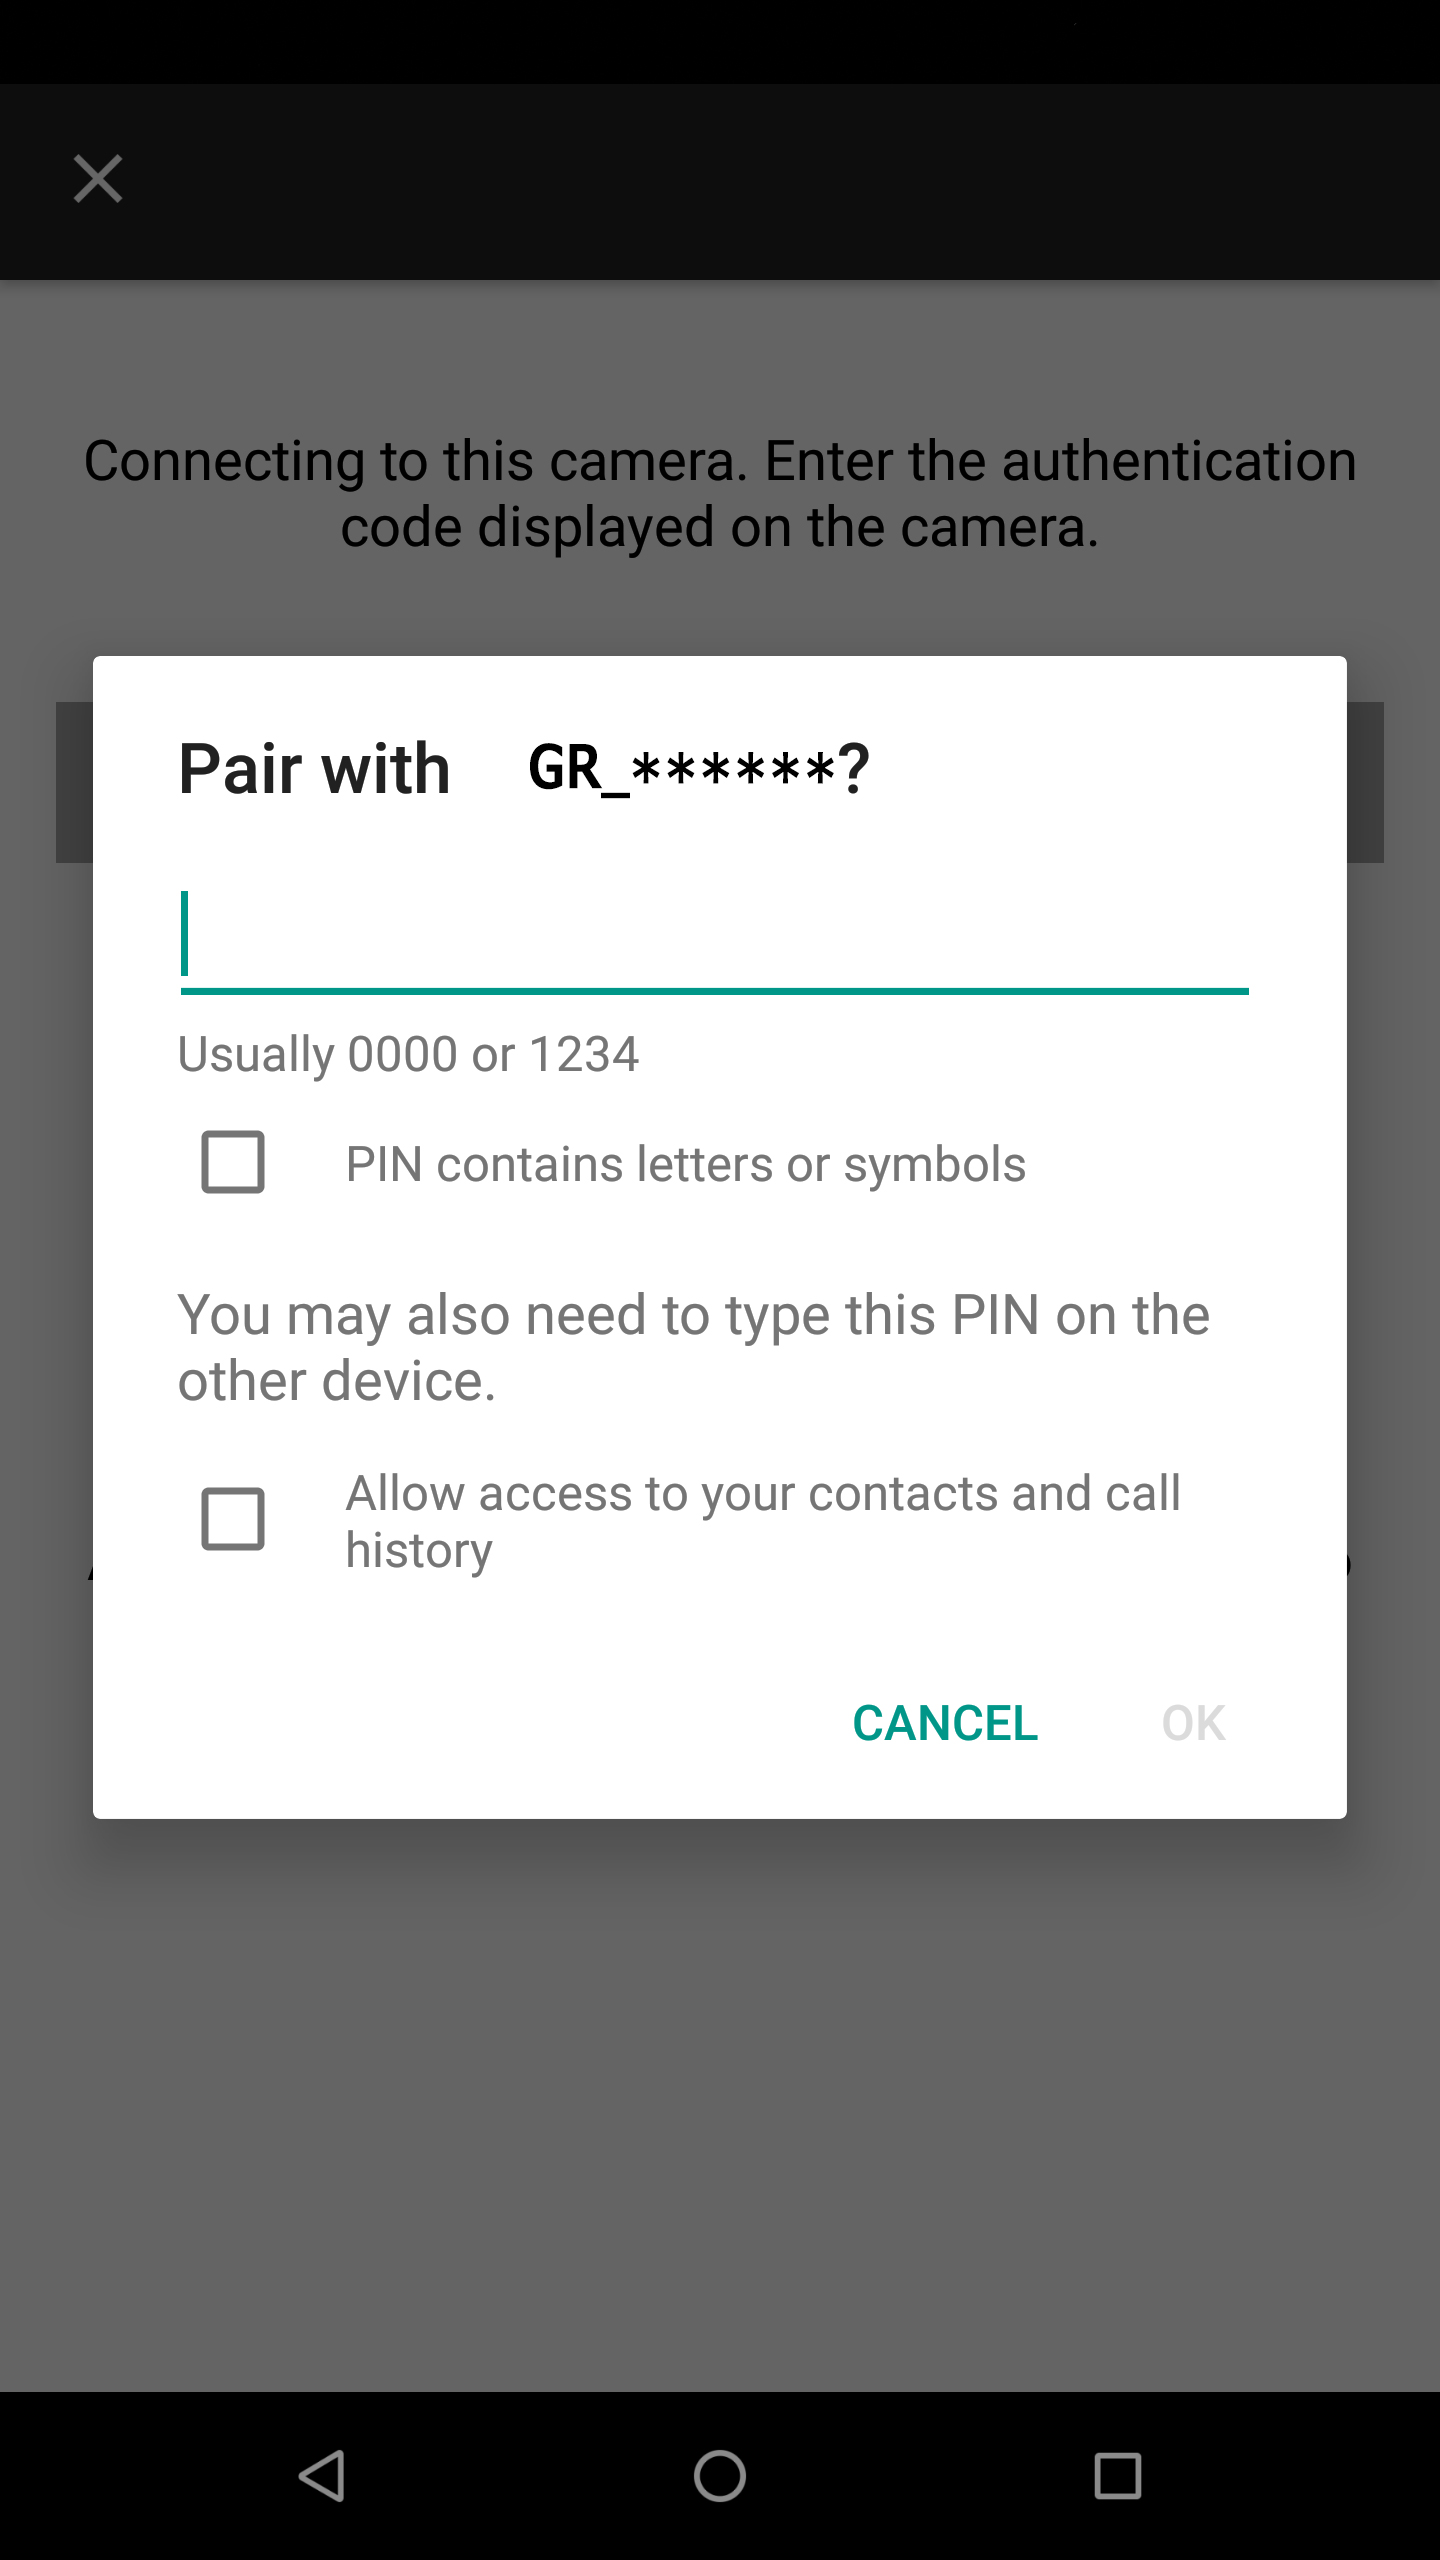
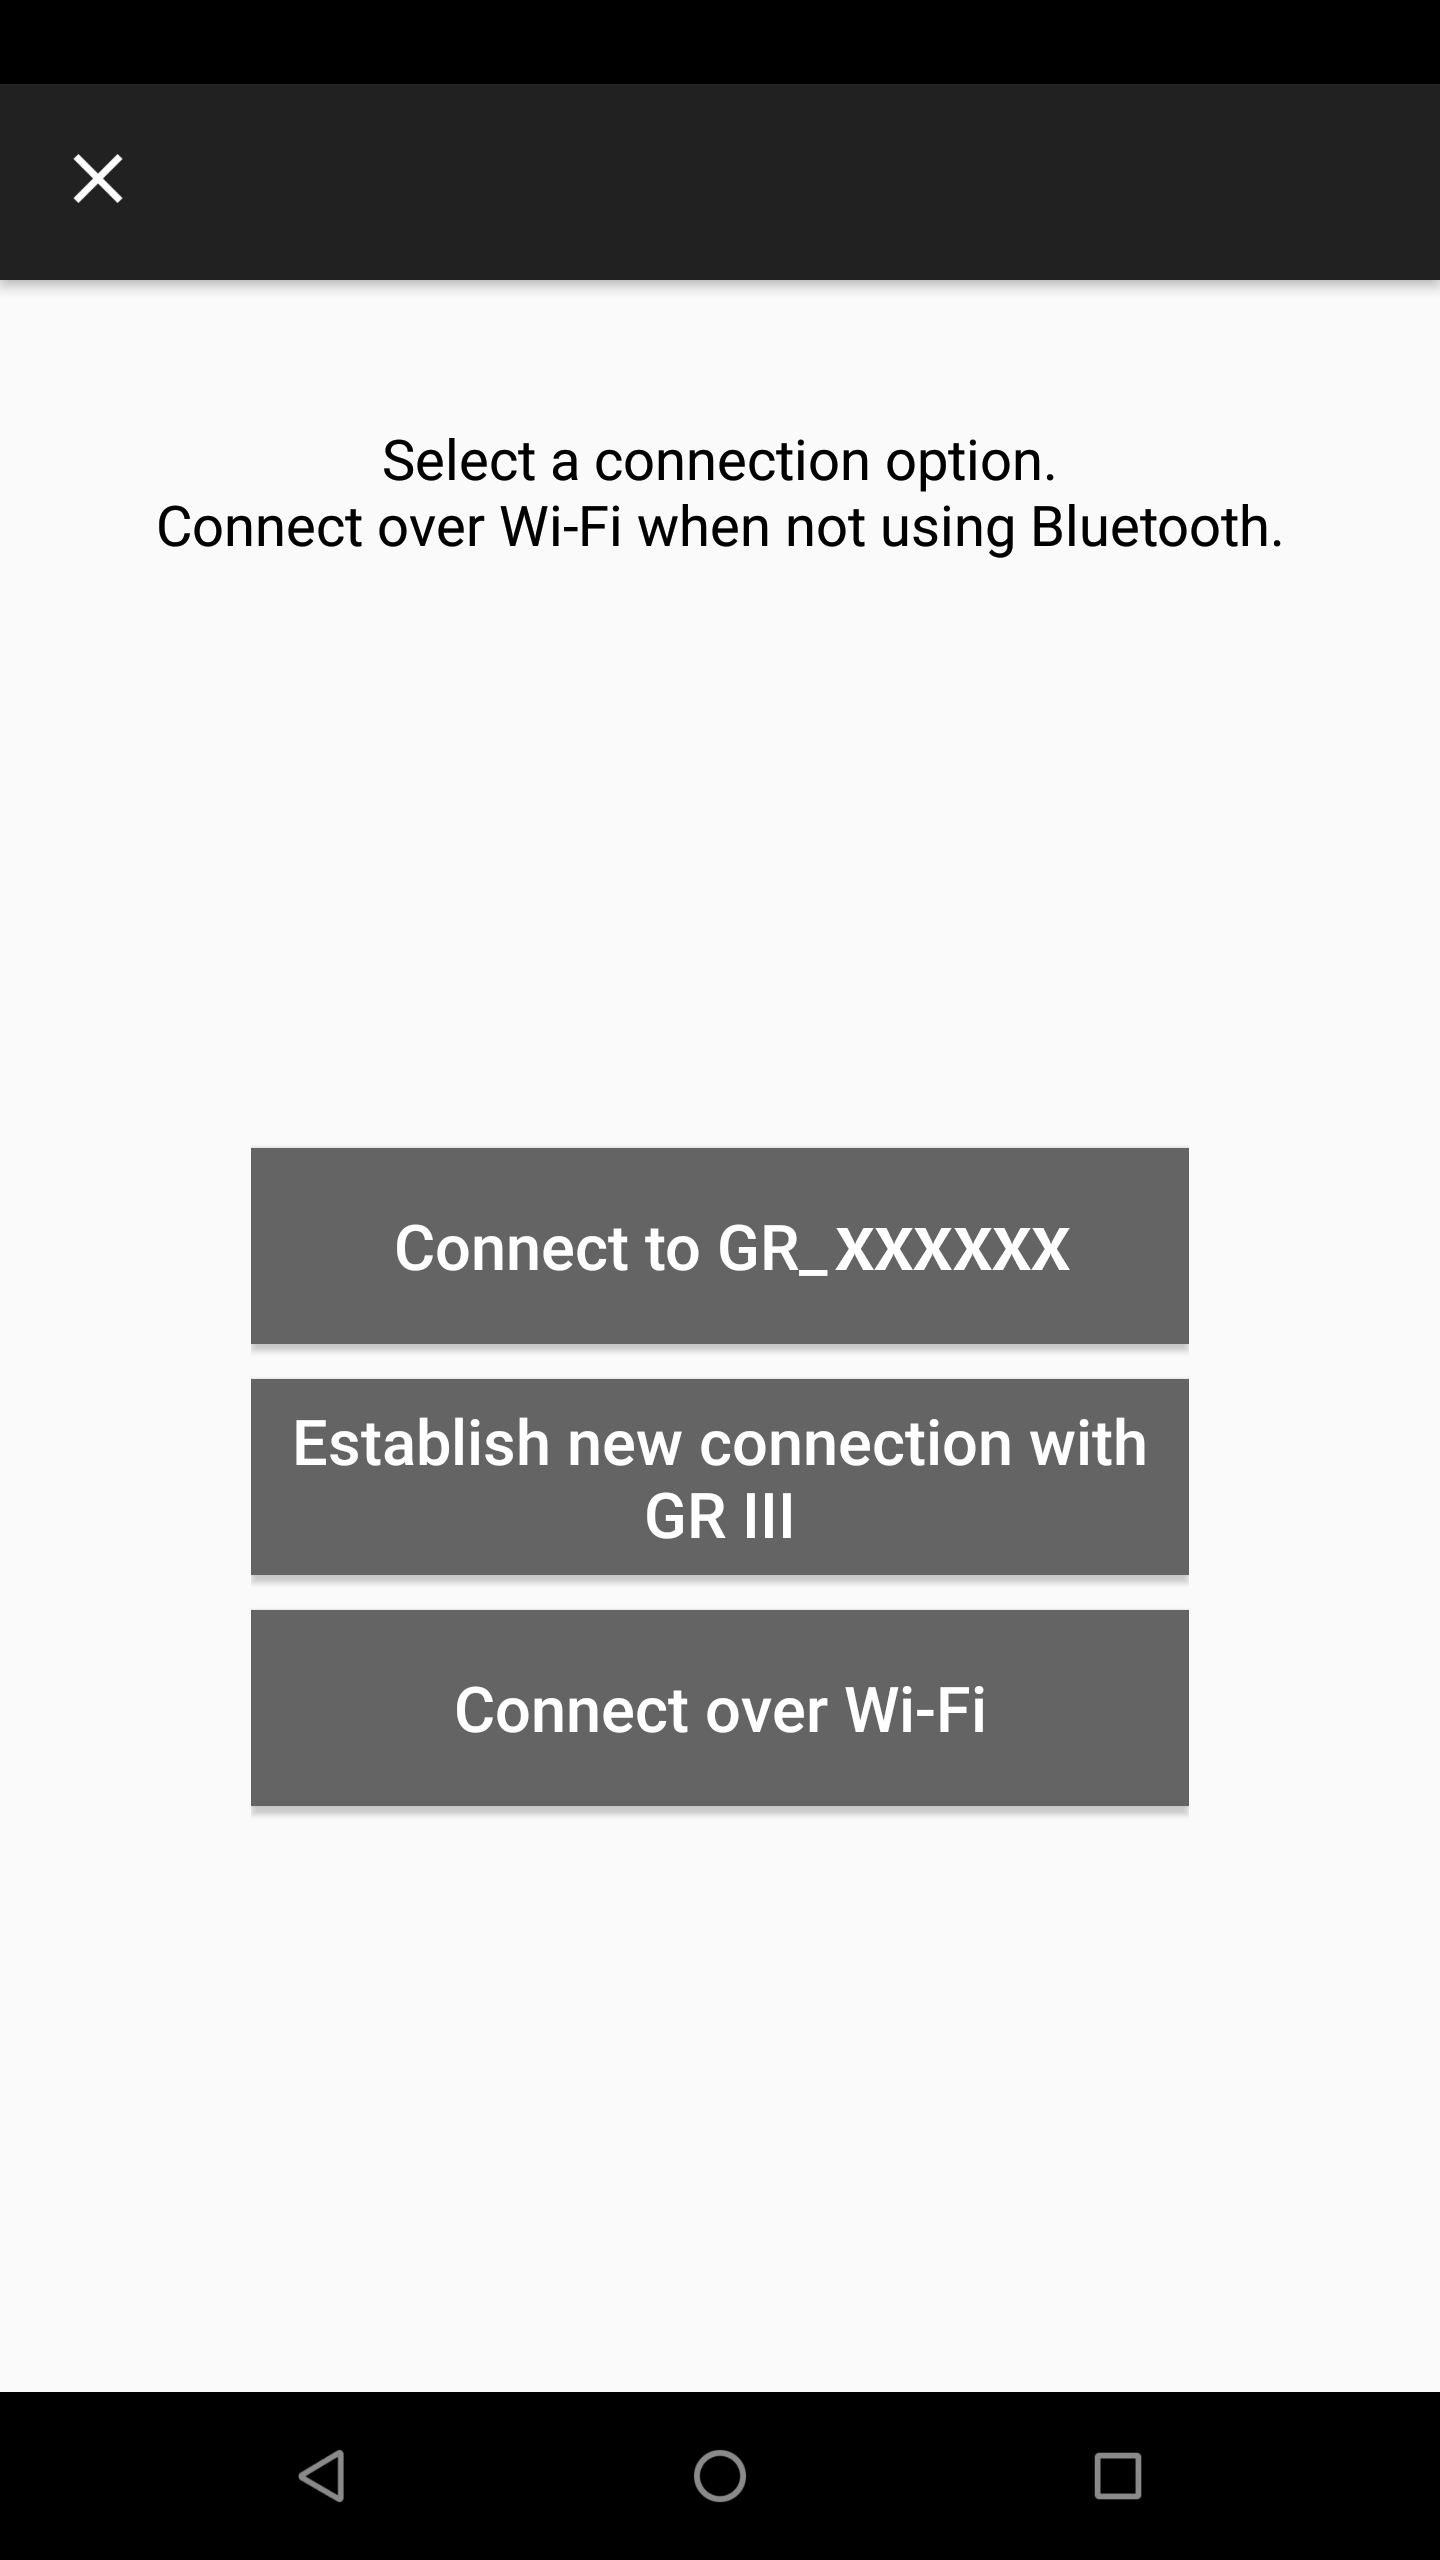
Select the camera you are using.*2
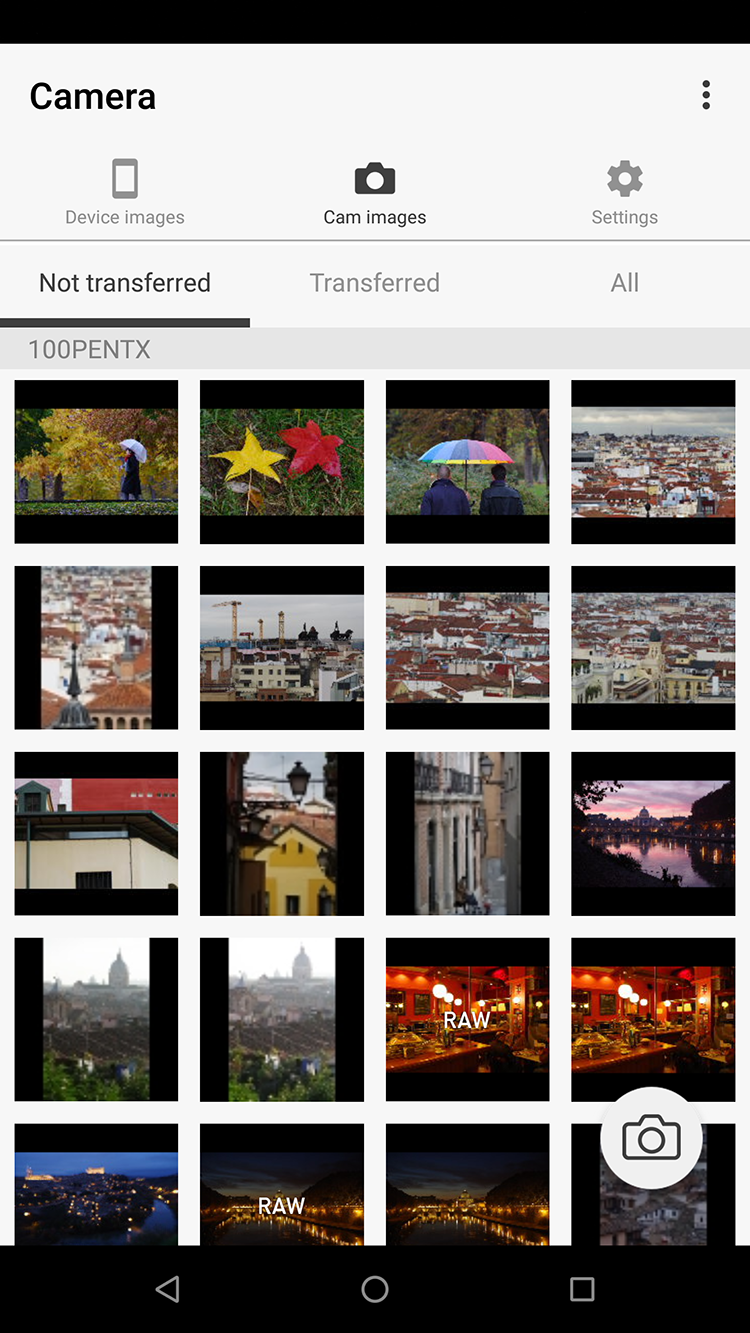
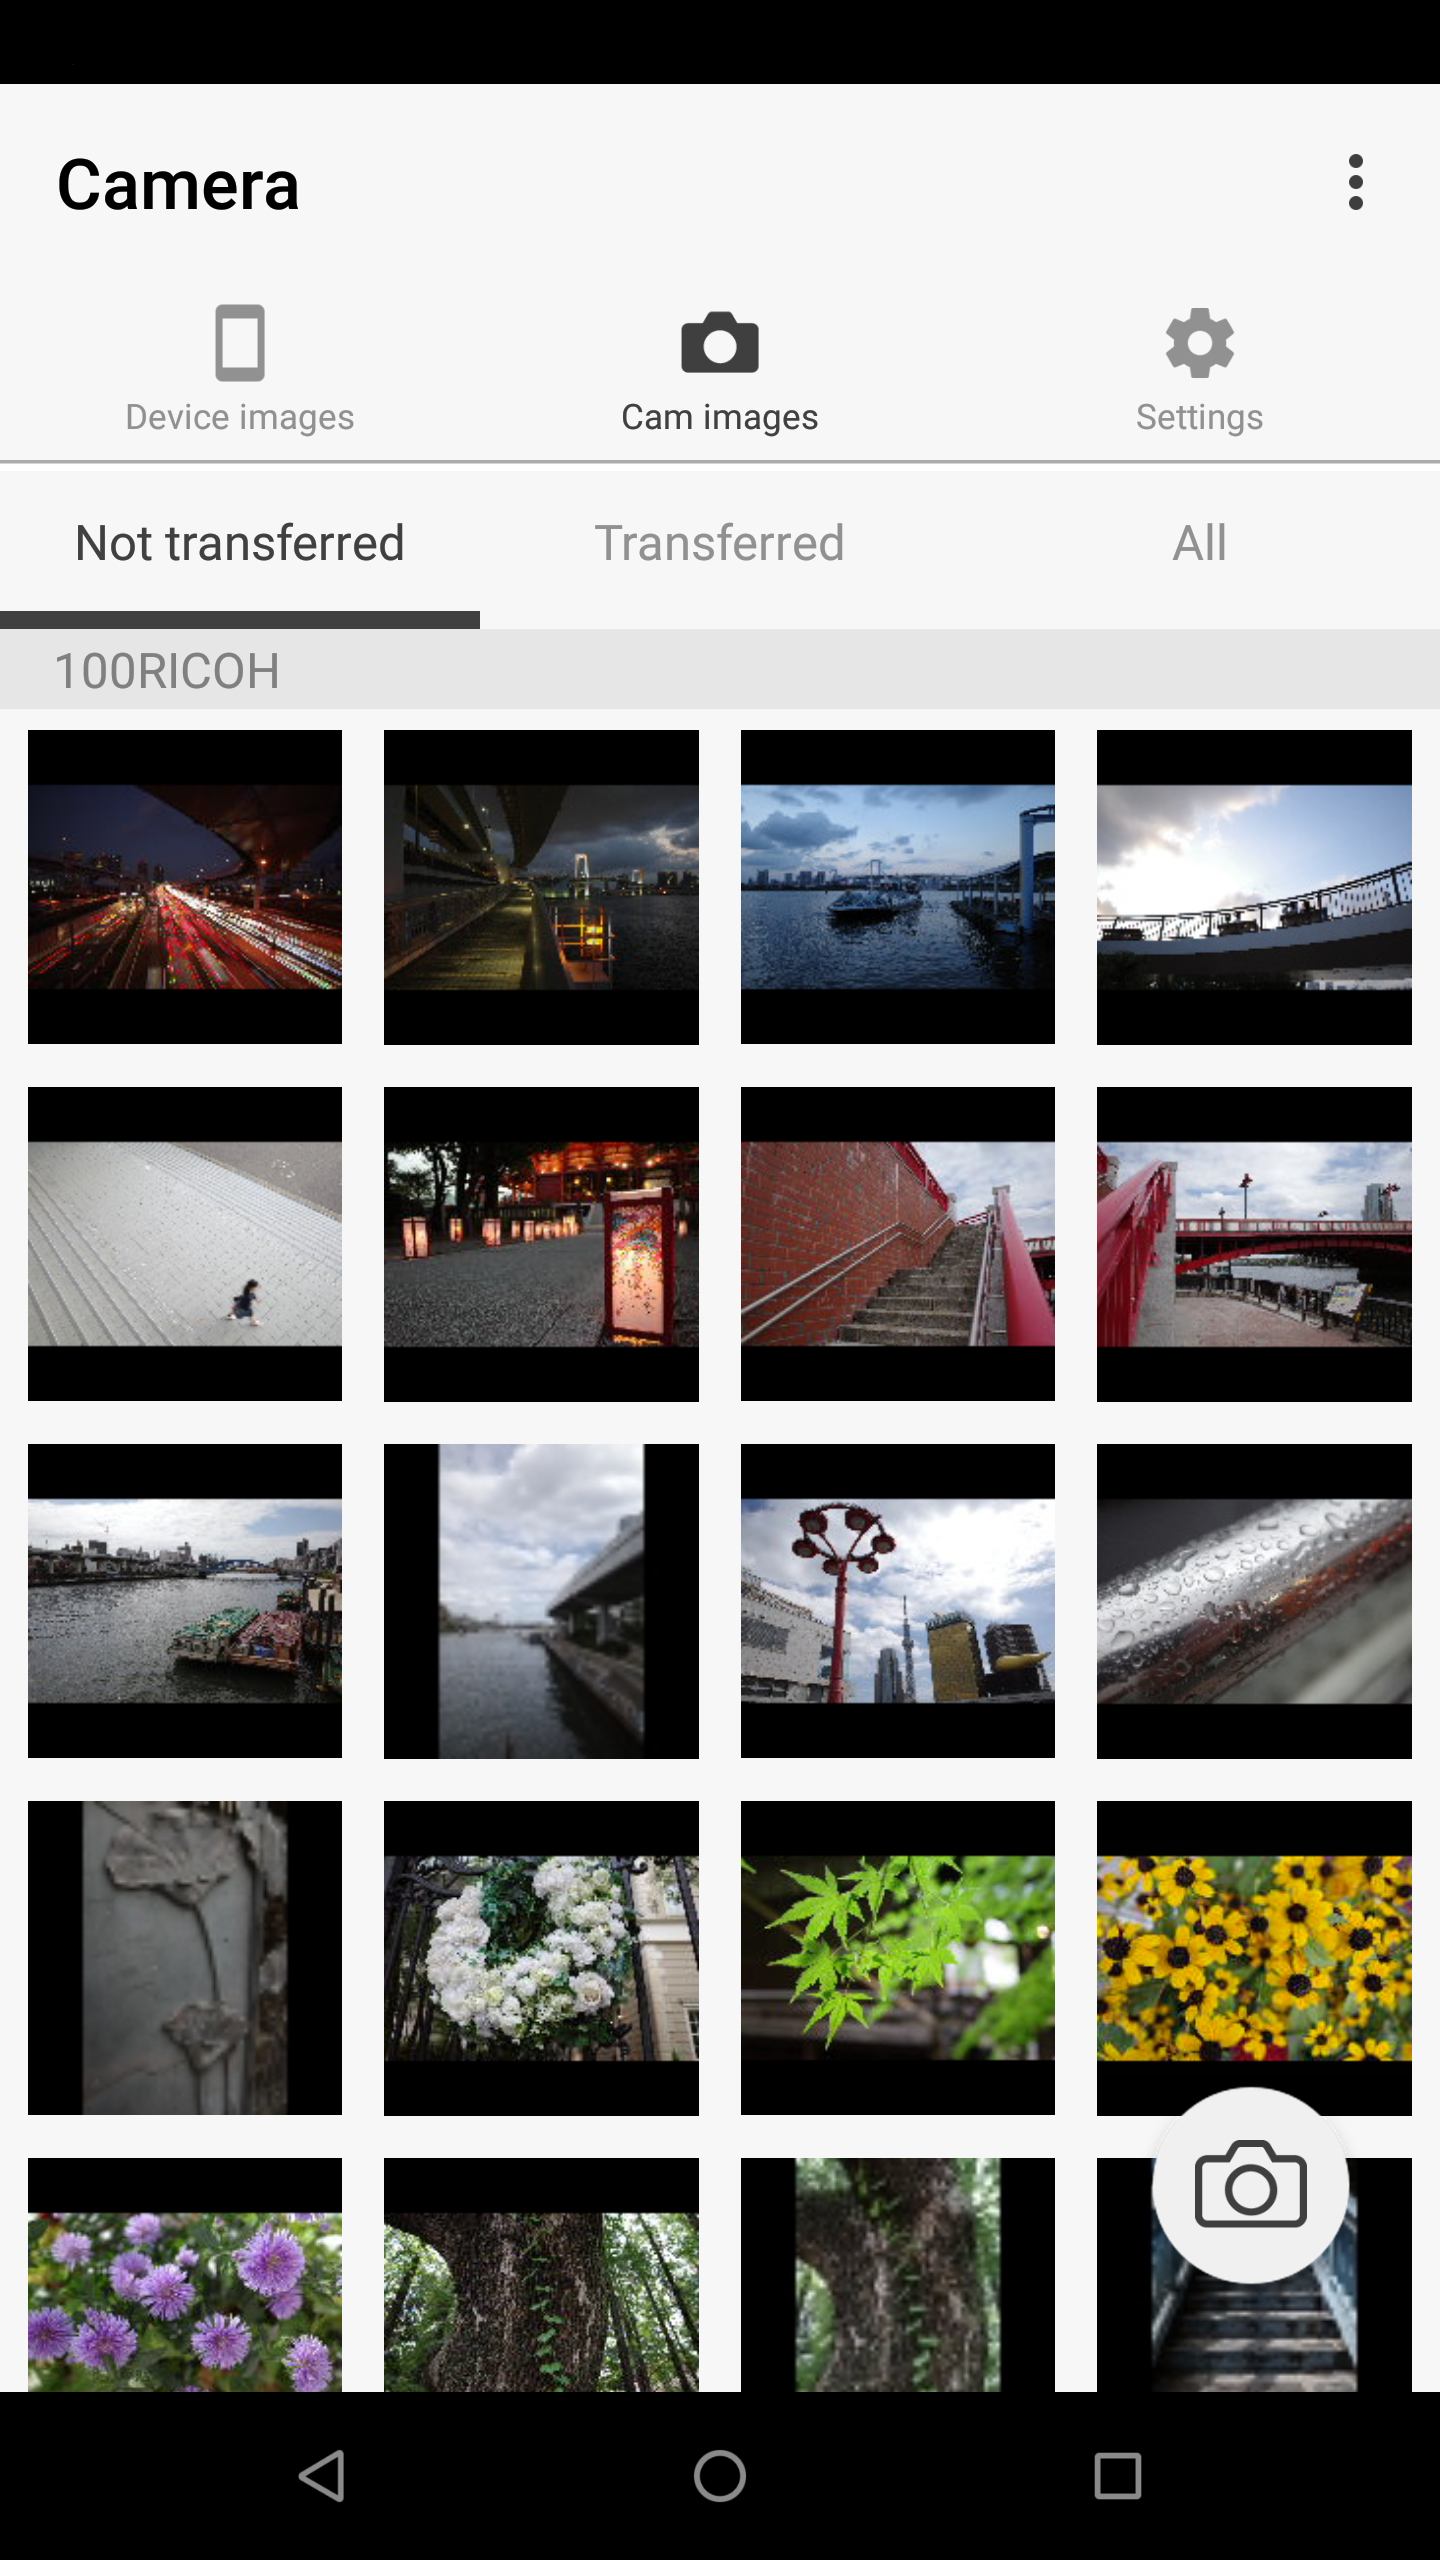
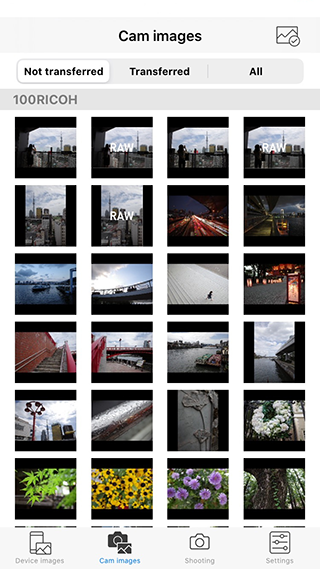
*1 Depending on the OS version, when Image Sync is launched, a message may be displayed asking you to grant access to the SD card. If access is not granted, the gallery viewer function and transfer function are disabled.
*2 Depending on the OS version, after selecting the camera, a message may be displayed asking you to grant access to the location information. If access is not granted, the SSID list cannot be obtained and connection from Image Sync is disabled.