- HOME>
- Digital Camera Basic Knowledge>
- Taking photographs

![]()
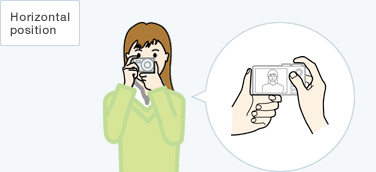
With the right hand, grip the camera so that your index finger is naturally positioned above the shutter release button. With your left hand in an L shape, rest the camera on your gently bent index finger while supporting the left side of the camera with your thumb.

The picture display is held directly in front of your face, but take care not to extend your arms out or raise your arms from your sides. The point here is to keep your arms gently pressed in on both sides so your elbows are close to your body.
-
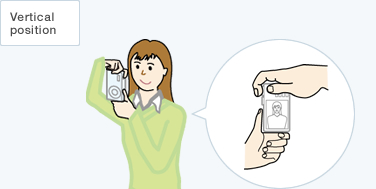
Holding the camera so that the shutter release button is at the top improves your mobility. Since your right arm is raised, keep your left arm gently pressed in so your elbow is close to your body.
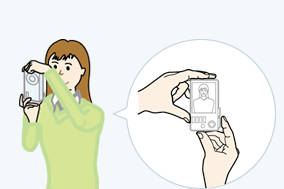
Holding the camera so that the shutter release button is at the bottom improves your stability. Since your left arm is raised, keep your right arm gently pressed in so your elbow is close to your body.
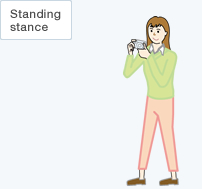
- With your legs open to about shoulder width, moving one leg slightly forward will help stabilize your lower body.
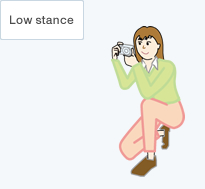
- Placing one knee on the ground will help stabilize your lower body. Placing your elbow on the other knee will also increase stability.
![]()

Turn on the camera power.
Use the mode dial to select a shooting mode that fits the circumstances.
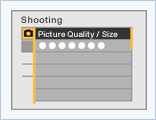
Check the current status of picture quality, size, and other settings on the shooting menu and elsewhere. Changes the settings as necessary.

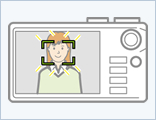
While watching the picture display, decide the size and position of your subject by operating the zoom lever, by moving around, etc. Then position the AF frame over the subject.

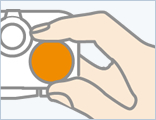
The shutter release button works in two steps. When you press it lightly (=half-press), the autofocus operates by focusing on the subject that is in the AF frame.
Check that the subject is in focus (using AF frame color, focus lamp, operation sound, etc.). If you want to adjust the composition, do it while keeping the shutter release button pressed halfway.
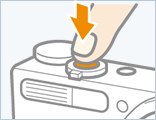
Once you have decided the composition, take the photograph when the time is right. Lightly exhaling while pressing the shutter release button all the way (=full-press) can help you stay steady.

The photograph that you just took will display on the picture display. At the same time, the image data is written to the memory card. Carefully check to see that you captured your subject with good focus, brightness, color, etc. If you are not satisfied with any aspects of the photograph, try again.