Software Download > RDC-i700 update 2.21: Procedure for the Explorer plug-in
This manual explains the procedure for upgrading the Windows Explorer plug-in for the RDC-i700. The following procedure has three steps:
1. Preparation
2. Uninstalling the Explorer plug-in
3. Installing the new software
1. Preparation
2. Uninstalling the Explorer plug-in
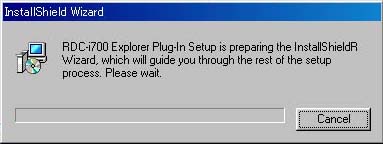
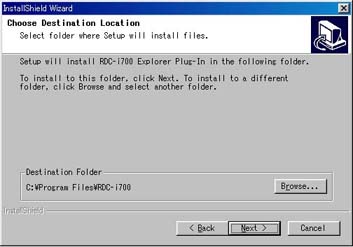
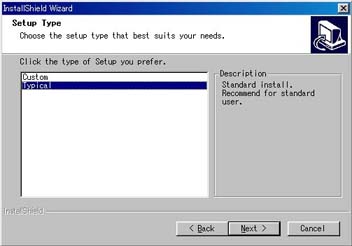
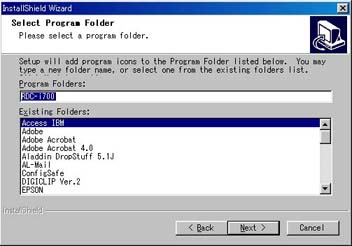
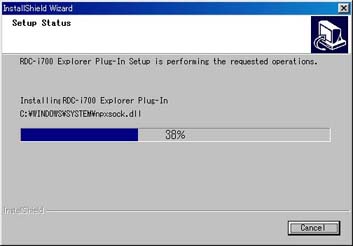
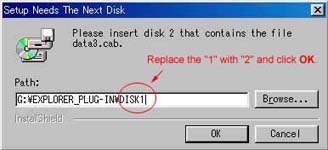
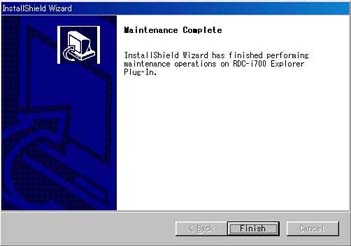
3. Installing the new software
|
|||||||||||||||||||||||||||||||||||||||